Advertisement
Quick Links
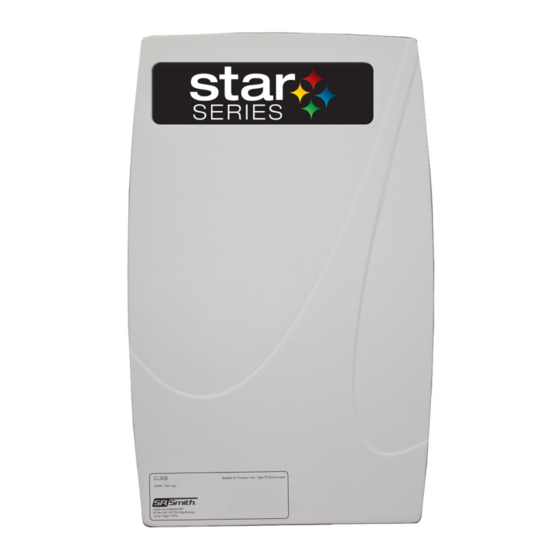
Star Series
™
Fiber J-Box
(CLSFJB or CLSFJB2)
Use only with Class 2 power units
4005496
ETL LISTED
Conforms to UL STD 2108;
Certified to CSA STD C22.2 #250.0
Installation Instructions
Read all instructions before attempting to perform installation work
Suitable for Wet Locations • Suitable for Outdoor Use • Type 3R Rainproof Enclosure
FOR USE WITH POOL AND SPA PRODUCTS
79-15278-00 REV6/18
Advertisement

Summary of Contents for S.R.Smith Star Series
- Page 1 Star Series ™ Fiber J-Box (CLSFJB or CLSFJB2) Use only with Class 2 power units 4005496 ETL LISTED Conforms to UL STD 2108; Certified to CSA STD C22.2 #250.0 Installation Instructions Read all instructions before attempting to perform installation work Suitable for Wet Locations •...
-
Page 2: Table Of Contents
Contents IMPORTANT SAFETY INFORMATION ....... . 3 Electrical Ratings ............4 Recommended Tools and Supplies . -
Page 3: Important Safety Information
I M P O R T A N T S A F E T Y I N F O R M A T I O N CAUTION: POWER AND SIGNAL OUTPUT CONDUITS MUST BE NON-METALLIC ATTENTION: CONDUITS POUR PUISSANCE DE SORTIE ET SORTIE SIGNAL DOIT ETRE NON METALLIQUE ELECTRICAL SHOCK HAZARD –... -
Page 4: Electrical Ratings
E l e c t r i c a l R a t i n g s Do not exceed the maximum electrical output rating of each unit listed below. Model Input CLSFJB 12VAC, 60 Hz, 0.42A max CLSFJB2 12VAC, 60 Hz, 0.42A max (x2) R e c o m m e n d e d To o l s a n d S u p p l i e s Circular hole saw for installation of 3/4”... -
Page 5: Installation Instructions
I N S T A L L A T I O N I N S T R U C T I O N S WARNING • TURN OFF INCOMING POWER BEFORE SERVICING EQUIPMENT. • ALL INSTALLATION AND MAINTENANCE WORK MUST BE PERFORMED BY A QUALIFIED ELECTRICIAN. - Page 6 By hand open the enclosure by pulling the front cover off evenly by the top and bottom tabs. Do not angle or ‘hinge’ the cover when removing or damage may occur. If you cannot open the enclosure by hand, use a flat blade screwdriver to twist open the finger tabs of the cover at the top and bottom of the unit.
-
Page 7: Input / Low Voltage Supply Line
I n p u t / L o w V o l t a g e S u p p l y L i n e Bring the low voltage supply power conduit to one of the two, lower right or left side input power conduit knockout locations. -
Page 8: Final Steps
F i n a l S t e p s Pull 12VAC cable into input power conduit and connect to the appropriate power supply. Pull in fiber optic cable from the water feature and insert port tip into the black compression fitting - tighten until firmly held in place.


