Sign In
Upload
Download
Table of Contents
Contents
Add to my manuals
Delete from my manuals
Share
URL of this page:
HTML Link:
Bookmark this page
Add
Manual will be automatically added to "My Manuals"
Print this page
×
Bookmark added
×
Added to my manuals
Manuals
Brands
GARDASOFT Manuals
Controller
TR-CL Series
User manual
GARDASOFT TR-CL Series User Manual
Hide thumbs
1
2
Table Of Contents
3
4
5
6
7
8
9
10
11
12
13
14
15
16
17
18
19
20
21
22
23
24
25
26
27
28
29
30
31
32
33
34
35
36
37
38
39
40
41
42
43
44
45
46
page
of
46
Go
/
46
Contents
Table of Contents
Bookmarks
Table of Contents
Table of Contents
Getting Started
TR-CL180 Features - a Summary
Gige Visiontm
Safety
Electrical
General
Sicherheit
Elektrik
Allgemeines
Sécurité
Électricité
Général
Mounting the TR-CL180
Environmental Considerations
Connecting the TR-CL180
Power
Lens Output
Trigger Input
Ethernet
Rs232
Connectors (General)
General Description
Triggering
Trigger Input Options
Flags
Factory Settings
Front Panel Commands
Startup
Setting up Continuous Optical Power
Setting up Switched Output
Setting up Analog Control
Setting Numerical Values
Using the Key Lock
Viewing the Output Current
Ethernet Address
IP Address
Dhcp
Fixed IP Address
Webpage Configuration
Main Page
Configuration Page
General Setup Page
Command Structure
Configuration Commands
Ethernet Configuration
RS232 Configuration
General Commands
Analog Mode Commands
Waveform Commands
Programmable Step Commands
Command Summary
TR-CL180 Reference Information
Specifications and Ratings
Restrictions
Event Codes
Error Codes
Advertisement
Quick Links
1
Table of Contents
2
Connecting the Tr-Cl180
Download this manual
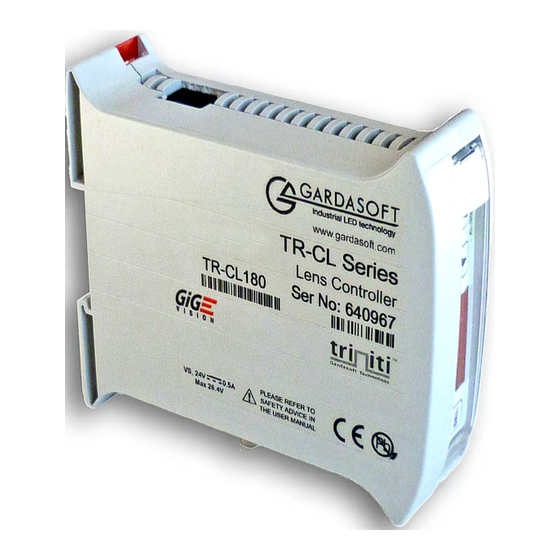
TR-CL180
Lens Controller
Issue 003
User manual
www.gardasoft.com
WWW.STEMMER-IMAGING.COM
Table of
Contents
Previous
Page
Next
Page
1
2
3
4
5
Advertisement
Table of Contents
Need help?
Do you have a question about the TR-CL Series and is the answer not in the manual?
Ask a question
Questions and answers
Related Manuals for GARDASOFT TR-CL Series
Controller GARDASOFT TR-CL180 User Manual
(46 pages)
Controller GARDASOFT TR-HT2 Series User Manual
Led controller (78 pages)
Controller GARDASOFT TR-RC120 User Manual
Led lighting controller (42 pages)
Controller GARDASOFT GigE Vision TR-RC Series User Manual
Led lighting controllers (48 pages)
Controller GARDASOFT TR-RT Series User Manual
Lighting controllers (42 pages)
Controller GARDASOFT CC320 User Manual
Trigger timing controller (40 pages)
Controller GARDASOFT CC320 User Manual
Trigger timing controller (82 pages)
Controller GARDASOFT RT 20 Series User Manual
Lighting controllers (70 pages)
Controller GARDASOFT RT Series User Manual
Led lighting controllers (66 pages)
Controller GARDASOFT PP520 User Manual
Led lighting controllers (50 pages)
Controller GARDASOFT PP420 User Manual
Led lighting controllers (36 pages)
Controller GARDASOFT RC1 Series User Manual
Led lighting controllers (42 pages)
Controller GARDASOFT CL190 User Manual
Lens controller (36 pages)
Controller GARDASOFT RC100 Quick Start Manual
Led lighting controllers (24 pages)
Controller GARDASOFT PP600 User Manual
Led lighting controllers (42 pages)
This manual is also suitable for:
Tr-cl180
Table of Contents
Print
Rename the bookmark
Delete bookmark?
Delete from my manuals?
Login
Sign In
OR
Sign in with Facebook
Sign in with Google
Upload manual
Upload from disk
Upload from URL


Need help?
Do you have a question about the TR-CL Series and is the answer not in the manual?
Questions and answers