Sign In
Upload
Download
Table of Contents
Contents
Add to my manuals
Delete from my manuals
Share
URL of this page:
HTML Link:
Bookmark this page
Add
Manual will be automatically added to "My Manuals"
Print this page
×
Bookmark added
×
Added to my manuals
Manuals
Brands
Baxi Manuals
Boiler
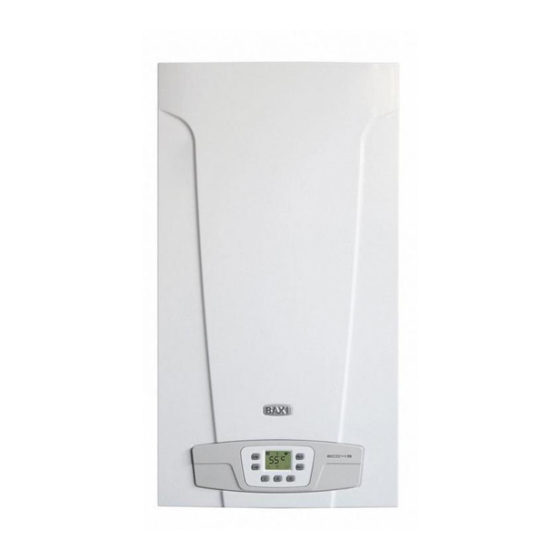
ECO4S 24 F
Operating and installation instruction
Baxi ECO4S 24 F Operating And Installation Instruction
High perfomance gas-fired wall-mounted boiler
Hide thumbs
1
2
3
4
5
6
7
8
9
10
11
12
13
14
15
16
17
18
19
20
21
22
23
24
25
26
27
28
29
30
31
32
33
34
page
of
34
Go
/
34
Contents
Table of Contents
Troubleshooting
Bookmarks
Table of Contents
Contents
Instructions Prior to Installations
Instructions Prior to Commissioning
DHW Circuit
Heating Circuit
Commissioning
To Light the Boiler Correctly
Symbol Key
Button Key
Adjusting Ambient Temperatures and DHW Temperature
Heating
Domestic Hot Water
Filling the System
Turning off
Gas Conversion
Prolonged Shutdown. Front Protection
Troubleshooting
Routine Maintenance
General Information
Instructions Prior to Installation
Additional Pump Warning
Warning
Installation
Dimensions of Boiler
Flue and Air Ducts
Coaxial Flue-Air Duct (Concentric)
Advertisement
Quick Links
1
Contents
2
Instructions Prior to Installations
3
Heating Circuit
4
Symbol Key
5
Adjusting Ambient Temperatures and Dhw Temperature
6
Heating
7
Troubleshooting
Download this manual
,
K
Previous
Page
Next
Page
1
2
3
4
5
Advertisement
Table of Contents
Need help?
Do you have a question about the ECO4S 24 F and is the answer not in the manual?
Ask a question
Questions and answers
Related Manuals for Baxi ECO4S 24 F
Boiler Baxi ECOGEN Product Manual
Baxi ecogen dual energy system (28 pages)
Boiler Baxi EcoBlue System 12 User Manual
Gas fired wall mounted condensing system boiler (32 pages)
Boiler Baxi EcoBlue System 12 Installation And Service Manual
Gas fired wall mounted condensing system boiler (76 pages)
Boiler Baxi Ecogen 24/1.0 User Operating Instructions Manual
Gas fired wall mounted condensing boiler and power generator (24 pages)
Boiler Baxi Eco Compact Operating And Installation Instructions
High performance gas-fired wall-mounted boiler (46 pages)
Boiler Baxi ECO COMPACT Operating And Installation Instructions
High performance gas-fired wall-mounted boiler (68 pages)
Boiler Baxi ECO 3 Instructions Manual
High efficiency wall-mounted gas-fired boilers (32 pages)
Boiler Baxi ECO3 COMPACT Technical Training Course
Wall hung gas boilers (40 pages)
Boiler Baxi ECO4S 10 F Operating And Installation Instruction
High perfomance gas-fired wall-mounted boiler (34 pages)
Boiler Baxi ECO4S 18 F Operating And Installation Instruction
High perfomance gas-fired wall-mounted boiler (34 pages)
Boiler Baxi ECO5 BLUE Operating And Installation Instructions
High performance gas-fired wall-mounted boiler (124 pages)
Boiler Baxi Eco5 Compact+ Operating And Installation Instructions
High performance gas-fired wall-mounted boiler (108 pages)
Boiler Baxi ecofour 24 F Operating And Installation Instructions
High performance gas-fired wall-mounted boilers (34 pages)
Boiler Baxi ecofour 1.14 F Operating And Installation Instructions
High performance gas-fired wall-mounted boilers (34 pages)
Boiler Baxi EcoBlue Advance Combi 28 Installation And Service Manual
Gas fired wall mounted condensing combination boiler (76 pages)
Boiler Baxi Solo 3 Installation And Servicing Instructions
Baxi solo 3 pfl system, wall mounted powered flue system boiler, gas fired central heating unit (48 pages)
This manual is also suitable for:
Eco4s 10 f
Eco4s series
Eco4s 1.24 f
Eco4s 24
Eco4s 18 f
Table of Contents
Save PDF
Print
Rename the bookmark
Delete bookmark?
Delete from my manuals?
Login
Sign In
OR
Sign in with Facebook
Sign in with Google
Upload manual
Upload from disk
Upload from URL


Need help?
Do you have a question about the ECO4S 24 F and is the answer not in the manual?
Questions and answers