
Related Manuals for Coemar ProSpot LX


Summary of Contents for Coemar ProSpot LX
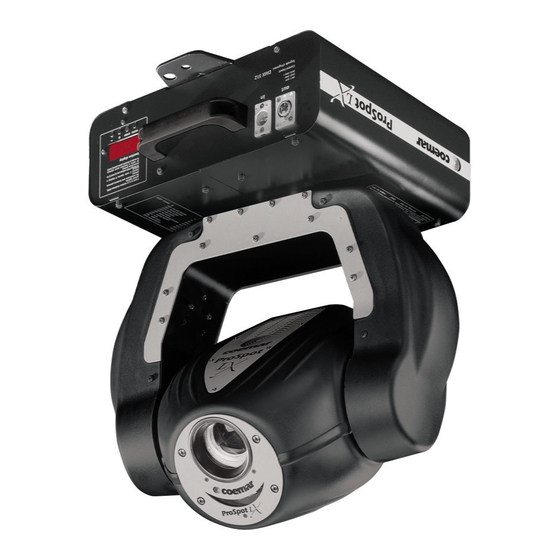
- Page 1 manuale di istruzioni instruction manual 1^ edizione, dicembre 2000 edition, december 2000...
- Page 2 Please note in the space provided above the relative service information of the model and the retailer from whom you purchased your ProSpot LX: This information will assist us in providing spare parts, repairs or in answering any technical enquiries with the utmost speed and accuracy.
- Page 3 16. Altering the operating voltage and frequency (Reserved for technical staff only) 16.1 Selecting the voltage on the autotransformer 16.2 Selecting the frequency on the power supply of the ProSpot LX 17. Maintenance 18. Electronic alignment of motors 19. Error messages...
- Page 4 2. Transportation The ProSpot LX should be transported in its original packaging or in a coemar approved flight case. We recommend the use of a suitable flight case, which will stop the articulated movement of the ProSpot LX during tran- sportation.
-
Page 5: Important Safety Information
3. Important safety information Fire prevention: 1. ProSpot LX utilises a Philips MSD 250W/2. The use of any other lamp is not recommended and will null and void the fixture’ s warranty. 2. Never locate the fixture on any flammable surface. -
Page 6: Lamp: Installation And Replacement
English 4. Lamp: Installation and replacement ProSpot LX utilises a Philips MSD 250W/2 or equivalent. The lamp is available from your authorised coemar sales agent: coemar cod. 105214/1 power 250 w luminous flux 18.000 lm colour temperature 8.500° K lamp base... - Page 7 7) Reposition the lamp cover and replace the three screws C previously removed. Replace the housing B and refasten the four screws A as per the original condition of the ProSpot LX. Prior to switching on the projector with the new lamp installed, reset the lamp life counter as described in section 11 “Display panel functions”.
-
Page 8: Operating Voltage And Frequency
5. Operating voltage and frequency The projector may operate at 100-115-208, 230 or 245V .at 50 or 60 Hz; coemar presets (barring specific requests), an operating voltage of 230V and a frequency of 50Hz. The operating voltage and frequency of the projector is noted on the base of the unit. -
Page 9: Installing The Unit
LX allows the projector to have hook clamps fitted for the purpose of hanging. safety chains The use of a safety chain fixed to the ProSpot LX and to the pri- mary suspension structure is highly recommended to protect against the accidental failure, however unlikely, of the primary suspension point. -
Page 10: Mains Connection
ProSpot LX can operate at voltages from 208V-230V-240V at 50 or 60Hz (operating voltage and frequency can be selec- ted as described in section 5 and 16 of this manual). Prior to connecting the unit to your mains supply, ensure that the model in your possession correctly matches the mains supply available to you. -
Page 11: Signal Connection
Control signal is digital and is transmitted via two pair screened ø 0,5cable. Signal type is DMX 512, conforming to international standard; in order to reduce production costs and to allow easy worldwide availability of parts, coemar utilises XLR 3 plugs and sockets for signal connection. Pin connection conforms to international standards: pin 1= screening 0 V pin 2= data –... - Page 12 Standard DMX 512 Ad altri Prospot LX Connect to other Prospot LX Ensure that all data conductors are isolated from one another and the metal housing of the connector. Note: the housing of the cannon XLR 3 must be isolated.
- Page 13 9. Powering up After having followed the preceding steps, turn on the DMX 512 controller which will be used to control the ProSpot LX; following this, turn on the power to the unit and turn on the unit’ s power switch. The projector will perform a reset func- tion on all the internal and external motors.
-
Page 14: Dmx Addressing
To ensure that each projector accesses the correct signal, it is necessary to correctly address each fixture. Any number between 1 and 497 can be generated via the multifunction panel of the ProSpot LX. This procedure must be carried out on every ProSpot LX being used. -
Page 15: Display Panel Functions
English 11. Display panel functions The display panel on the base of the ProSpot LX is used to display and set function information and various parameters and can enhance the operation of the projector to suit your particular application. Altering the coemar factory settings may vary the functioning of the projector, causing to not respond to external DMX 512 signal. - Page 16 11.1. Turning on the ProSpot LX without articulated movement This function may be useful should you need to turn on the ProSpot LX, whilst it is still in its flight case or located in cram- ped conditions in order to alter its dmx address setting or adjust some other parameter.
- Page 17 The electronic lamp life counter should be reset to zero at every lamp change in order to provide accurate lamp life information. 1) Turn off the projector. 2) Power up the ProSpot LX whilst simultaneously holding down the + and – buttons. function display...
- Page 18 12. DMX 512 channel functions If all the procedures have been carried out correctly to this point, your DMX 512 controller will have control over all the functions of the ProSpot LX as shown in the table below. channel function...
- Page 19 English channel function type of control effect decimal colours step Open/white step colour 1 step colour 2 10-14 step colour 3 15-19 step colour 4 20-24 step colour 5 25-29 step colour 6 30-34 step colour 7 35-39 step colour 8 40-44 step colour 9...
- Page 20 ProSpot emulation setting ProSpot LX may operate using a different channel configuration to the standard set up. This function may be useful in situa- tions where you may be using other ProSpot projector which are not in the LX series or when using various controllers with inflexible channel assignment features.
- Page 21 English channel function type of control effect decimal 3 facet prism livello unico No rotation rotation control proporzionale Forwards rotation from fast to slow 1-126 livello unico No rotation 127-128 proporzionale Backwards rotation from slow to fast 129-255 Rotating gobos, livello unico Open 0-31...
-
Page 22: Aligning The Lamp In The Optical System
English 13. Aligning the lamp in the optical system Alignment is necessary to compensate for the slight variations in the mechanical construction of respective lamps due to the fact that may discharge lamps are still partly constructed manually. The procedure should be undertaken to properly align the lamp in the optical system, thus avoiding the possible overhea- ting of internal components due to incorrect focusing of the beam onto components which are not designed to be expo- sed to this. -
Page 23: Gobo Replacement
English 14. Automatic repositioning features An encoder system based on 4 position indicators allows the ProSpot LX to return to its correct position if it is accidentally moved during operation. This is particularly useful if the projector is to be mounted on the floor in a position where the performer or artist or techni- cian may accidentally bump the unit. -
Page 24: Altering The Operating Voltage And Frequency
(Reserved for technical staff only) If the operating voltage and frequency as preset by coemar does not correspond to that of the country in which you are ope- rating, you may alter the preset by following the instructions in the paragraphs which follow. - Page 25 5) Proceed to the selection of the proper frequency, as described in the following section, and then replace the cover and refasten the screws (A). 16.2 Selecting the frequency on the power supply of the ProSpot LX 1) Locate the power supply (A) locate in the base of the unit.
-
Page 26: Maintenance
English 17. Maintenance Whilst every possible precaution has been taken to ensure the trouble-free operation of your ProSpot LX, the following periodic maintenance is highly recommended. Prior to undertaking any maintenance procedure, make sure the fixture is disconnected from mains power. -
Page 27: Electronic Alignment Of Motors
These procedures should only be carried out by qualified technicians or other specialists The display panel on the ProSpot LX allows for the electronic alignment of the projector’ s motors. This procedure is perfor- med by coemar at the factory. It may be useful to perform this procedure in the case of internal components being repla- ced. -
Page 28: Error Messages
20. Spare parts All the components of the ProSpot LX are available as replacement parts from your authorised coemar sales agent. Accurate description of the fixture, model number, and type will assist us in providing for your requirements in an efficient... - Page 29 Inghilterra 46042 Castelgoffredo (Mantova) Italy Tel. 0376/77521 Fax 0376/780657 coemar si riserva il diritto di apportare modifiche senza preavviso. coemar reserves the right to effect modifications without prior notification. manuale istruzioni instruction manual ProSpot LX 1^ edizione gennaio 2001...
Need help?
Do you have a question about the ProSpot LX and is the answer not in the manual?
Questions and answers