Table of Contents
Advertisement
Quick Links
Read the manual before you begin the installation. If these instructions are not followed,
this may lead to defects and injury in which warranty can't be claimed.
warning:
Children cannot recognize the dangers of electrical equipment and may therefore not work with it.
It is important to follow this instruction for your own safety.
1. Do not operate the motor in humid surroundings.
2. The motor must be installed correctly.
3. Keep the antenna in a good condition and do not shorten. The antenna should not come into contact with other
metal parts otherwise it will reduce the effect.
4. The motor must be protected from direct moisture influences.
____________________________________________________________________________
Functions DC-415
Open A----------
Open B----------
Channel*------------
(* Change channel
works only with DC-416)
Works with all BREL transmitters:
_____________________________________________________________________________
Technical data of the motor
•
Motor Voltage:
•
Power:
•
Speed:
•
Max. curtain weight:
•
Ampèrage
•
Max. duration:
•
Moisture and dust:
•
Working temperature of the motor:
o
Normal use:
o
Heavy use:
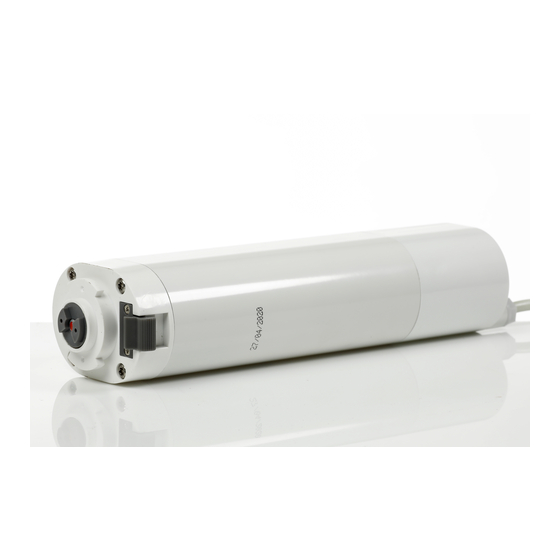
Manual Brel curtaintrack motor
Stop
|
-----------Close A
-----------Close B
-10℃ tot +40℃
-20℃ tot +70℃
BREL motors is part of:
Type MG-45
P1 -------
P2 -------
Type MG45
230V
45 Watt
12 rpm
40 kg
0.23 A
4 min.
IP40
This is a 2-channel transmitter,
two P2 keys for each one channel.
Page 1
Advertisement
Table of Contents

Related Manuals for brel-motors MG-45


Summary of Contents for brel-motors MG-45
- Page 1 Page 1 BREL motors is part of: Manual Brel curtaintrack motor Type MG-45 Read the manual before you begin the installation. If these instructions are not followed, this may lead to defects and injury in which warranty can’t be claimed.
- Page 2 Page 2 ______________________________________________________________________________ Functions Reach L1 = 100 meter L2 = 25 meter P1 Programmbutton Connection for switch _______________________________________________________________________________ Wiring chart _______________________________________________________________________________ Installation motor and rail Attach the rail to the wall / ceiling. Mount the rail not vertical. If the motor don’t want to click easily, turn the gear wheel a bit and try again. _______________________________________________________________________________ Step 1 Setting up the first channel 1x ...
- Page 3 Page 3 ______________________________________________________________________________ Step 2 Setting with another direction of rotation Variant A If the rotation direction is good, skip step 2 and continue with step 3. 1x ➔ 1x P1 2x P2 5x LED You can now with continue setting the end position.
- Page 4 Page 4 ______________________________________________________________________________ Option A Delete transmitter Deleting the transmitter can be done in three ways: When setting up the first channel also the limit setup will be removed. Press P1 button until the LED flashes 3x and blinked 1x. 1x P2 1x STOP 1x P2...
Need help?
Do you have a question about the MG-45 and is the answer not in the manual?
Questions and answers