
Related Manuals for Meyer 31125


Summary of Contents for Meyer 31125
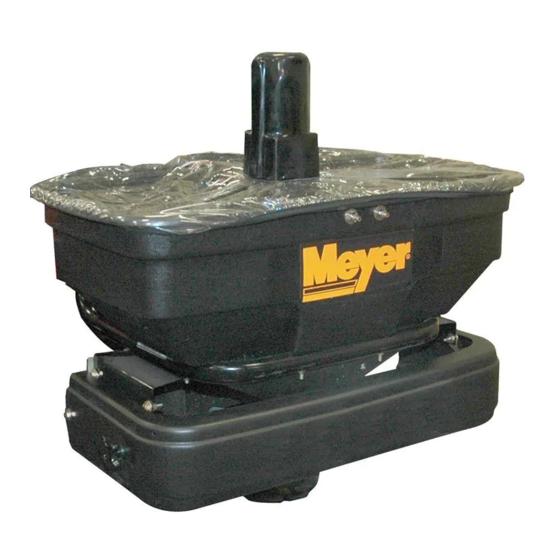
- Page 1 OWNERS MANUAL Model No. 31125 125 LB. ATV SPREADER CAUTION: Read Rules for Assembly Safe Operation Operation and Instructions Maintenance Carefully Repair Parts...
-
Page 2: Rules For Safe Operation
RULES FOR SAFE OPERATION Any power equipment can cause injury if operated improperly or if the user does not understand how to operate the equipment. Exercise caution at all times when operating equipment. • • Read this owners manual before attempting to assemble Always begin with the transmission in first (low) and or operate the spreader. -
Page 3: Hardware Package
HARDWARE PACKAGE SHOWN FULL SIZE NOT SHOWN FULL SIZE DESCRIPTION DESCRIPTION Hex Bolt, 5/16 x 2-3/4" Hair Pin Agitator Hex Bolt, 5/16 x 2" Cotter Pin, 1/8" x 1-1/4" Hex Bolt, 5/16" x 1" Hair Pin, 3/32 x 1.4" Hex Bolt, 1/4 x 3/4" Coupler Hex Bolt, 1/4 x 1"... -
Page 4: Tools Required For Assembly
ASSEMBLY INSTRUCTIONS Position the spreader for adequate clearance if the vehicle muffler discharges straight toward the rear. TOOLS REQUIRED FOR ASSEMBLY (1) Pliers (2) 7/16" Wrenches NOTE: The top of the hopper should be at least 30" above (2) 1/2" Wrenches the ground. The mounting holes shown in figures 3 and 4 (2) 9/16" Wrenches will make the top of the hopper even with the vehicle's rear rack. If exhaust blows against spreader, a higher mounting REMOVAL OF PARTS FROM CARTON position may help. - Page 5 If you are using extension brackets: 6. Attach an angle stop bracket and a swivel bracket to 4. Attach the extension brackets to the legs of the spreader the rear hole in the R.H. shield bracket using a 1/4" frame. Use two 5/16" x 2" hex bolts and 5/16" nylock x 1"...
- Page 6 10. Attach the spreader's mounting brackets to the vehicle's 14. Assemble the impeller coupler onto the motor shaft and rear rack using four 5/16" x 1-3/4" carriage bolts, secure it with the set screw against the flat side of the mounting clamps and plastic knobs. Use the adhesive motor shaft. See figure 8. pads to protect the rack. See figure 6. MOUNTING BRACKET PLASTIC KNOB MOUNTING...
-
Page 7: Wiring Instructions
17. Attach the flow control to the motor mount bracket on the MOTOR SWITCH spreader using the 5/16" x 1" carriage bolt, a mounting clamp and a plastic knob. See figure 11. NOTE: Y ou can also attach to the rear rack if you use a 5/16" x 1-3/4" carriage bolt. If you attach to the rear rack, you can loosely pre-assemble the clamp, bolt and knob to the flow control. The clamp can then be angled down through the slot in the rack. BROWN WHITE PLASTIC KNOB MOUNTING BROWN CLAMP 5/16" x 1" CARRIAGE BOLT NEGATIVE PIN 5/16" x 1-3/4" FUSE AND HOLDER CARRIAGE BOLT... -
Page 8: Operation
OPERATION 8. Shut the closure plate before turning or stopping. 9. To insure uniform coverage, make each pass so that the broadcast pattern slightly overlaps the pattern from the HOW TO USE YOUR SPREADER previous pass as shown in figure 16. The approximate broadcast widths for different materials are shown in SETTING THE FLOW CONTROL the application chart on this page. -
Page 9: Maintenance
MAINTENANCE REMOVING THE SPREADER 13. Disconnect the spreader from the vehicle battery by unplugging the short wire harness from the long wire CHECK FOR LOOSE FASTENERS harness. The short wire harness may be left permanently attached to the battery. 1. Before each use make a thorough visual check of the spreader for any bolts and nuts which may have loosened. - Page 10 REPAIR PARTS FOR ATV MOUNTED 125 LB. BROADCAST SPREADER MODEL 31125 30, 51...
- Page 11 REPAIR PARTS FOR ATV MOUNTED 125 LB. BROADCAST SPREADER MODEL 31125 PART NO DESCRIPTION PART NO DESCRIPTION AF41935 Hopper AF43063 Hex Bolt, 5/16-18 x 1" AF48402 Plastic Plug AF43081 Flat Washer, 5/16" AF45164 Hex Bolt, 1/4-20 x 2-1/4" AF44285 Bushing, Hopper AF46699 Hex Bolt, 1/4-20 x 2"...
-
Page 12: Warranty
Meyer Products LLC warrants to Purchaser the following: Meyer Products LLC, warrants to the original purchaser for a period of one year from the date of purchase of Meyer® brand spreader products that they will be free from defects in materials or workmanship, with the exceptions stated below. No person is authorized to change this warranty or to create any additional warranty on Meyer®...
Need help?
Do you have a question about the 31125 and is the answer not in the manual?
Questions and answers