Sign In
Upload
Download
Table of Contents
Contents
Add to my manuals
Delete from my manuals
Share
URL of this page:
HTML Link:
Bookmark this page
Add
Manual will be automatically added to "My Manuals"
Print this page
×
Bookmark added
×
Added to my manuals
Manuals
Brands
Meyer Manuals
Spreader
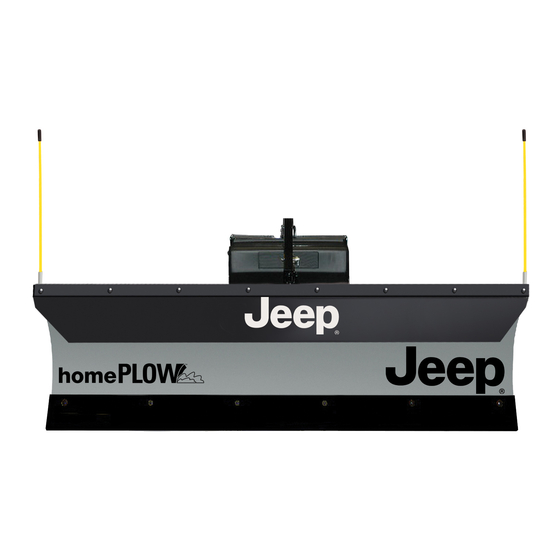
Jeep HomePlow
Original owner's manual
Meyer Jeep HomePlow Original Owner's Manual
Standard operating system with hands free plowing plows, tailgate spreaders
Hide thumbs
1
2
3
Table Of Contents
4
5
6
7
8
9
10
11
12
13
14
15
16
17
18
19
20
21
22
23
24
25
26
27
28
29
30
31
32
33
34
35
36
37
38
39
40
41
42
43
44
45
46
47
48
49
50
51
52
53
54
55
56
57
58
59
60
61
62
63
64
65
66
67
68
69
70
71
72
73
74
75
76
77
78
79
80
page
of
80
Go
/
80
Contents
Table of Contents
Troubleshooting
Bookmarks
Table of Contents
Introduction
Table of Contents
Homeplow
Warranty
Controller
Pistol Grip Controller
Drive Pro
EZ Plus
Hydraulics & Troubleshooting
Wingman
Drive Pro
General Maintenance
Vehicle Maintenance
Pre-Season Maintenance
Post-Season Maintenance
Snow Plow Storage
Spreader Maintenance
Plow
EC Declaration of Conformity
Advertisement
Quick Links
Download this manual
Original Owner's Manual
Standard Operating System with Hands Free Plowing Plows: HomePlow, Wingman, Drive Pro
Tailgate Spreaders: Base Line, Blaster
Table of
Contents
Previous
Page
Next
Page
1
2
3
4
5
Advertisement
Table of Contents
Need help?
Do you have a question about the Jeep HomePlow and is the answer not in the manual?
Ask a question
Questions and answers
Related Manuals for Meyer Jeep HomePlow
Spreader Meyer Jeep Wingman Original Owner's Manual
Standard operating system with hands free plowing plows, tailgate spreaders (80 pages)
Spreader Meyer MDV Series Installation, Operating Instructions And Parts List
(76 pages)
Spreader Meyer PV Series Installation And Instructional Manual
(92 pages)
Spreader Meyer V-MAX 2636 Operator's Manual
Twin expeller super spreader (60 pages)
Spreader Meyer 8720 Operator's Manual
Industrial series twin expeller super spreader (64 pages)
Spreader Meyer BL 240 Parts List & Installation Manual
(3 pages)
Spreader Meyer V-FORCE 7400 Series Operator And Parts Manual
Twin expeller super spreader (88 pages)
Spreader Meyer 9500 Series Owner's/Operator's Manual
(64 pages)
Spreader Meyer Diamond 62209 Installation And Operating Instruction Manual
1.8 & 2.0 cu. yd. insert hopper spreader with replaceable conveyor floor (56 pages)
Spreader Meyer Industrial Series Operator And Parts Manual
Twin expeller super spreader (92 pages)
Spreader Meyer HOTSHOT HD 38180 Owner's Manual
Commercial broadcast spreader (8 pages)
Spreader Meyer LPV 3 Manual
(72 pages)
Spreader Meyer SXI 720 Owner/Operator’s Manual & Parts Book
(132 pages)
Spreader Meyer SEL SERIES Installation And Operating Instruction Manual
Electric tailgate spreader (36 pages)
Spreader Meyer MINI SPREADER 36000 Parts & Installation Instructions
(3 pages)
This manual is also suitable for:
Jeep wingman
Jeep drive pro
Jeep base line
Jeep blaster
Table of Contents
Print
Rename the bookmark
Delete bookmark?
Delete from my manuals?
Login
Sign In
OR
Sign in with Facebook
Sign in with Google
Upload manual
Upload from disk
Upload from URL


Need help?
Do you have a question about the Jeep HomePlow and is the answer not in the manual?
Questions and answers