Table of Contents
Advertisement
Quick Links
Advertisement
Table of Contents

Related Manuals for Taga Harmony THDA-500T


Summary of Contents for Taga Harmony THDA-500T
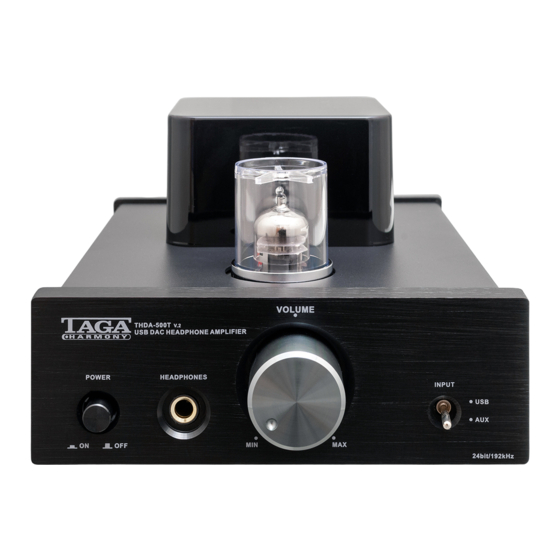
- Page 1 THDA-500T v.2 USB DAC HEADPHONE AMPLIFIER Instruction Manual Edition 05-18...
- Page 2 24bit/192kHz USB-DAC will change your digital music to a thrilling music experience. Thanks to a 3.5V stereo preamp output you can connect your THDA-500T v.2 directly to a power amplifier or powered speakers. A precisely made, extremely quiet and stable, linear internal power supply supports high-end sound performance.
-
Page 3: Table Of Contents
Contents Safety Instructions Important Safety Instructions Controls and Displays Hooking Up the Amplifier Operation USB Connection Additional information Specifications Kit Content... -
Page 4: Safety Instructions
Safety Instructions IMPORTANT READ THIS SECTION CAREFULLY BEFORE PROCEEDING! WARNING: TO REDUCE THE RISK OF FIRE OR ELECTRIC SHOCK, DO NOT EXPOSE THIS PRODUCT TO RAIN OR MOISTURE. DO NOT REMOVE CHASSIS (OR BACK). NO USER-SERVICEABLE PARTS INSIDE. REFER SERVICING TO QUALIFIED SERVICE PERSONNEL. The triangle containing a lightning symbol is intended to alert the user to the presence of uninsulated dangerous voltages within the product’s enclosure that may be of sufficient magnitude to constitute a risk of electric shock to persons. -
Page 5: Important Safety Instructions
Important Safety Instructions 1. Read Instructions – All the safety and operating instructions 13. Overloading - Do not overload wall outlets, extensions should be read before the product is operated. cords, or integral convenience receptacles as this can 2. Retain Instructions – The safety and operating instructions result in a risk of fire or electric shock. -
Page 6: Controls And Displays
Controls and Displays Front Panel: 1. Power Button (ON and OFF) 2. Headphones Output 3. Volume Regulator 4. Input Selector Rear Panel: 5. AUX Input 6. USB Port (for computer) 7. PRE Output (preamplifier output) 8. Power Cable Input and Fuse Box Note! A blown fuse should be only exchanged for exactly the same type as indicated on the rear amplifier panel. -
Page 7: Hooking Up The Amplifier
Hooking Up the Amplifier Headphones A-to-B USB 2.0 digital cable RCA interconnect cable RCA interconnect cable External Power Amplifier, Powered Speakers etc. PC / Laptop CD Player etc. FM/AM Tuner etc. Satellite Tuner etc. Make sure the amplifier is turned off (the Power Switch is in the top position OFF and the Power Cable is removed). -
Page 8: Operation
You can check the setting through the Control Panel→Hardware and Sound→Sound→Manage Audio Devices (Figure 1) If the „TAGA Harmony THDA-500T” is not selected then locate and highlight it and click “Set Default”. To enjoy the best sound quality, we suggest to change a default format (bit and sample rate) of your audio device to the highest available –... - Page 9 Operation /Figure 1/ /Figure 2/ You can now listen to the playback from the computer and the amplifier. You can also control playback settings through the USB BRAVO-HD Audio Device Control Panel. • Start “BRAVO-HD Audio CPL” from the desktop or program menu.
- Page 10 Operation computers (no driver required) ® 1. Go to System Preferences, click on Sound and set Speaker to USB. Set the volume control to Maximum. Note! You may also need to adjust the volume in your music player software. /Figure 3/ Trademark notice: Windows is a registered trademark of Microsoft Corporation in the United States and/...
-
Page 11: Additional Information
Additional information Break-In Your TAGA Harmony amplifier sounds great immediately after it is taken out of the carton but as all tube/hybrid amplifiers, this amplifier requires a “break-in” period to reach its full sonic capabilities. During the “break-in” period it is recommended to operate the amplifier at moderate volume levels. -
Page 12: Specifications
We reserve the right to change the technical data and the design of the product without notice as a result of further development. We strongly advise to contact a professional installer or dealer in order to install TAGA Harmony products. We recommend using high quality TAGA Harmony cables and other installation accessories. Kit Content:...
Need help?
Do you have a question about the THDA-500T and is the answer not in the manual?
Questions and answers