Wintex Agro WINTEX 1000 Instruction Manual
Hide thumbs
Also See for WINTEX 1000:
- Workshop manual (19 pages) ,
- Operating instructions manual (8 pages) ,
- Instruction manual (24 pages)
Advertisement
Table of Contents
Advertisement
Table of Contents

Related Manuals for Wintex Agro WINTEX 1000


Summary of Contents for Wintex Agro WINTEX 1000
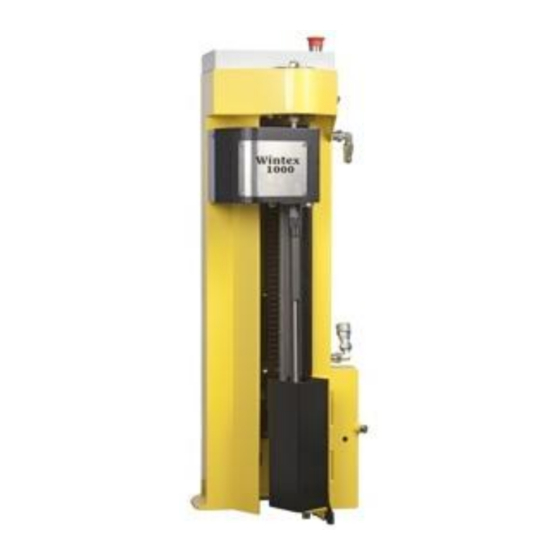
- Page 1 P A G E INSTRUCTION MANUAL WINTEX 1000 INTEGRATED HYDRAULICS 0-25 cm Fully automatic Fast and efficient Optimum speed Minimum maintenance Reliable Competitive Wintex Agro, Vilhelmsborgvej 15, DK-7700 Thisted +45 97990800, contact@wintexagro.com, www.wintexagro.com 201605...
- Page 2 Be seated correctly on the ATV with one leg on each side of the seat, and the hands placed correctly on the steering wheel. When inspecting the WINTEX 1000, you must always activate the emergency stop, and the ATV must be turned off.
- Page 3 Note: The emergency stop must always be activated at long stops, or the battery might be discharged. The WINTEX 1000 has three programs. Program 1: The soil sampler’s standard program. Program 2: The probe conducts an extra rotation.
- Page 4 Filling with hydraulic oil: Remove the screw lid at the top of the oil tank and replenish with hydraulic oil. Important: Do only use DIN HLP 22 or 32 oil! The WINTEX 1000 is pre-filled with Equivis ZS32 hydraulic oil. Fuses: There are two fuses in the control box: one 25 amp fuse for the rotation of the probe (on the latest models a 15 amp fuse) and one 7.5 amp fuse for current control.
- Page 5 Make sure that the probe is up. Loosen the four 8 mm bolts at the front of the WINTEX 1000 with a 6 mm Allen key. Push the two upper 8 mm bolts down until the upper half of the chain is taut. Then tighten the bolts.
- Page 6 When adjusting the ejector make sure to stop the probe approximately 10 cm from the start position. Turn off the WINTEX 1000, and activate the emergency stop. Loosen the six Allen screws (three at the top and three below). Then loosen the nut for the probe.
- Page 7 P A G E 10. PROBLEM SOLVING PROBLEM CAUSE POSSIBLE SOLUTIONS The WINTEX 1000 does not start. 1) The fuse is blown. 1) Put in a new fuse. 2) The emergency stop is activated. 2) Deactivate the emergency stop. 3) Does not activate all switches.
- Page 8 For testing the brake contact, the start switch and the foot switch just activate the ignition on the vehicle, but do not start the motor. If all switches work, the rotation will start. It the rotation does not start, there is an error in one of the switches. Wintex Agro, Vilhelmsborgvej 15, DK-7700 Thisted +45 97990800, contact@wintexagro.com, www.wintexagro.com...
Need help?
Do you have a question about the WINTEX 1000 and is the answer not in the manual?
Questions and answers