Table of Contents
Advertisement
EN
for
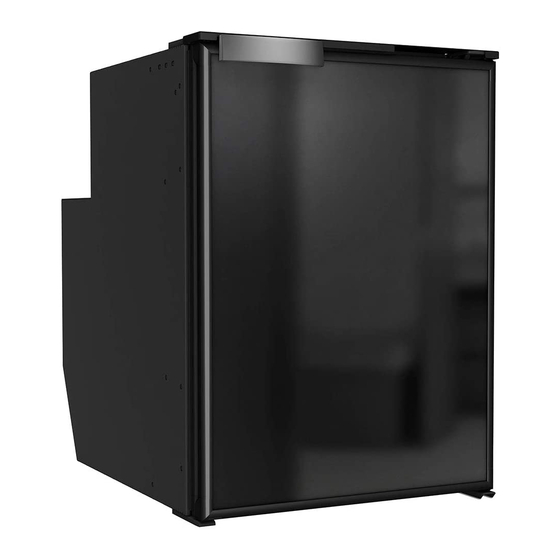
VF51 - VF62
Installation, USE AND MAINTENANCE
ORIGINAL INSTRUCTIONS
17148PP – rev. 00 12/18
For Sales Information Please Contact RoadTrucker Inc (www.RoadTrucker.com)
8312 Sidbury Rd.; Wilmington, NC 28411 - (800) 507-0482 / (910) 686-4281
Advertisement
Table of Contents


Need help?
Do you have a question about the VF51 and is the answer not in the manual?
Questions and answers