Sign In
Upload
Download
Table of Contents
Contents
Add to my manuals
Delete from my manuals
Share
URL of this page:
HTML Link:
Bookmark this page
Add
Manual will be automatically added to "My Manuals"
Print this page
×
Bookmark added
×
Added to my manuals
Manuals
Brands
Seaga Manuals
Vending machines
HF2000
Operator's manual
Seaga HF2000 Operator's Manual
Hide thumbs
1
2
3
4
5
6
7
8
9
10
11
12
13
14
15
16
17
18
19
Table Of Contents
20
page
of
20
Go
/
20
Contents
Table of Contents
Bookmarks
Advertisement
Table of Contents
1
Important Notices
2
Electrical Connection
3
Service Mode
4
Delivery System
5
Loading Product
6
General Notes
7
Common Questions and Answers
8
Coin Validator
9
Clearing Jams
10
Bill Validator
11
Temperature Check
Download this manual
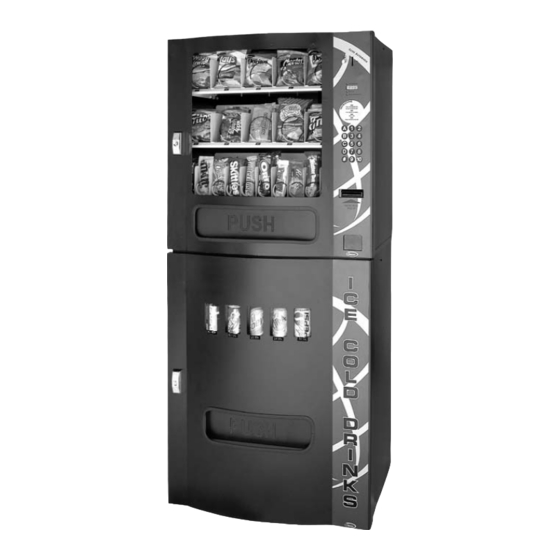
HF2000
HF2500
Operator's Manual
HF3000
HF3500
Seaga Manufacturing, Inc.
700 Seaga Drive
Freeport, IL USA 61032
www.seagamfg.com
Table of
Contents
Previous
Page
Next
Page
1
2
3
4
5
Advertisement
Table of Contents
Need help?
Do you have a question about the HF2000 and is the answer not in the manual?
Ask a question
Questions and answers
Related Manuals for Seaga HF2000
Vending machines Seaga HF2500 Operator's Manual
(20 pages)
Vending machines Seaga HF3500 Operator's Manual
(20 pages)
Vending machines Seaga CA18 Operator's Manual
18 column mechanical snack vendor (12 pages)
Vending machines Seaga SM16S Service And Parts Manual
(65 pages)
Vending machines Seaga Space Saver Series Operator's Manual
Table top soda vendor (19 pages)
Vending machines Seaga SP 432 Service And Parts Manual
Ambient and refrigerated models (44 pages)
Vending machines Seaga Victory Series Operator's Manual
Snack vendor (14 pages)
Vending machines Seaga SL5000 Operator's Manual
(17 pages)
Vending machines Seaga N2G5000 Owner's Manual
(78 pages)
Vending machines Seaga SM16S Service And Parts Manual
(72 pages)
Vending machines Seaga OFFICE DELI User And Service Manual
(34 pages)
Vending machines Seaga JDL-2 COMBO Service And Parts Manual
(78 pages)
Vending machines Seaga Naturals2GO NTG4000 Owner's Manual
(44 pages)
Vending machines Seaga ENVISION ENV5 Service And Parts Manual
(82 pages)
Vending machines Seaga Intelligent Inventory Control IQ640 Service And Parts Manual
(63 pages)
Vending machines Seaga Quick Break Combo QB2000 Service And Parts Manual
(75 pages)
This manual is also suitable for:
Hf3000
Hf2500
Hf3500
Table of Contents
Save PDF
Print
Rename the bookmark
Delete bookmark?
Delete from my manuals?
Login
Sign In
OR
Sign in with Facebook
Sign in with Google
Upload manual
Upload from disk
Upload from URL


Need help?
Do you have a question about the HF2000 and is the answer not in the manual?
Questions and answers