
Related Manuals for Linak BusLink LA25


Summary of Contents for Linak BusLink LA25
- Page 1 BusLink User Guide LINAK.COM/TECHLINE...
-
Page 2: Table Of Contents
Contents Guide to connecting the actuator to BusLink ............3-4 Configure the IC actuator with BusLink 2 software ..........5-11 Controls ..........................5-7 Configure ........................5 Calibration ......................... 6 Virtual- and Current Limit ................... 7 Speed ........................8 Soft Stop/Soft Sart...................... 8 Feedback Types ....................... -
Page 3: Guide To Connecting The Actuator To Buslink
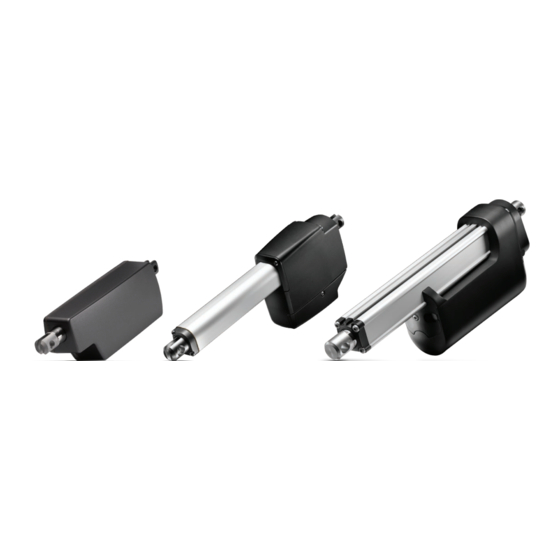
Guide to connect the actuator to BusLink Actuators with IC - Integrated Controllers from LINAK can be configured via the BusLink Configuration Software. ® Please follow the three steps to connect your actuator to BusLink. LA14 LA25 LA33 LA36 LA37 Start by downloading the free BusLink software here: WWW.LINAK.COM/SEGMENTS/TECHLINE/TECH-... - Page 4 Cable connection LA14 LA25 In order to connect your actuator Before connecting the power to the PC tool you will need two supply: separate cables: Connect the interface cable to the actuator... 1 USB2LIN cable. 1 interface cable. Start by connecting the two cables. Please note that the cables must be purchased separately from the LA33/LA36/LA37...
-
Page 5: Configure The Ic Actuator With Buslink 2 Software
Configure the IC actuator with BusLink 2 software The actuator can be controlled from within the software using the buttons at the bottom of the screen. These controls are available at all times. The “Run In/Out” buttons will run the actuator to the limits, real or virtual. The step controls will move the actuator in selectable increments. -
Page 6: Calibration
Calibration The IC platform uses hall effect sensors to determine the actuator’s exact position along its stroke length. If once connected, the actuator’s position status is displayed as “Not available”, then the actuator must first be calibrated to use the full control functionality within the software. A calibration is required each time new parameters have been applied for the actuator’s behavior. -
Page 7: Virtual- And Current Limit
Controls Virtual Limit: A virtual end stop can be selected for either the inward or the outward direction. Only one virtual limit can be selected. Current Limit: The current limit can be edited as a value or percentage for both directions. The maximum current will not exceed the maximum factory settings. -
Page 8: Speed
Controls Speed: The speed percentage can be adjusted as a motor voltage percentage. The lowest recommended speed is 60% to ensure that the actuator will push the rated load. Soft Stop: With a soft stop, you select a time-frame for the actuator to slow down to zero after the stop signal is applied. The time can be set between 0 (hard stop) and 30 sec, with the exception of: 0.1-299 ms. -
Page 9: Feedback Types
Feedback types The IC Actuator can supply the user’s control system with one of several types of feedback listed below, depending on model: PWM: The pulse width modulation (PWM) type is configurable with three parameters: “PWM Feedback In” sets the percentage of the pulse for the IN “End of Stroke” (EOS) postion. The “PWM Feedback Out”... -
Page 10: Current Feedback
Feedback types Current Feedback: The position of the actuator can be correlated to current output. The available current range is 4-20 mA. The user can select values in the whole range but the highest resolution is achieved with the widest current range. -
Page 11: Monitoring
Feedback types Monitoring: The middle tab is a real-time graph showing current, position, and supply voltage. From here, you are able to change the scale by zooming and a snapshot as an image. The graph auto scales when taking a snapshot. You can save a snapshot as an image or as a dataset. -
Page 12: Ic Parallel
IC Parallel IC Parallel Configuration: If you have ordered an IC Parallel actuator, the actuator connects to BusLink in the same way as IC Advanced. An additional “PARALLEL” option is desplayed on the left sidebare on the CONFIGURE screen. When selected, you can change the number of actuators in the parallel system. - Page 13 While LINAK uses its best efforts to fulfil orders, LINAK cannot, for the same reasons as mentioned above, guarantee the availability of any particular product. Therefore, LINAK reserves the right to discontinue the sale of any product displayed on its website or listed in its catalogues or other written material drawn up by LINAK.
Need help?
Do you have a question about the BusLink LA25 and is the answer not in the manual?
Questions and answers