Table of Contents
Advertisement
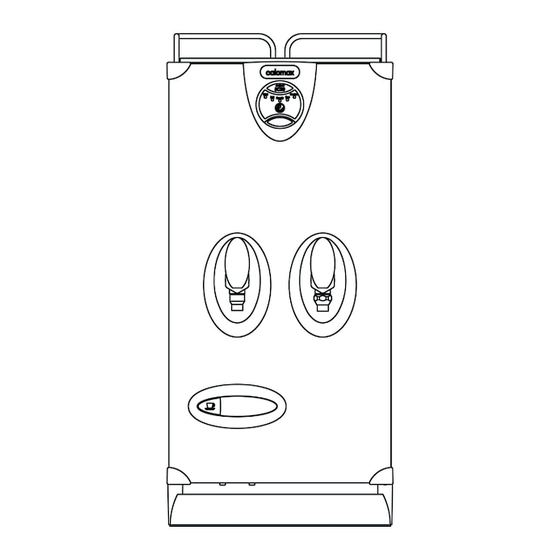
INSTALLATION, OPERATION AND SERVICING INSTRUCTIONS
FOR THE ECLIPSE HT3C10, HT3C20 and HT6C20 WATER BOILERS
Please read these
instructions carefully
before operating your
boiler for the first time
Calomax Limited
Lupton Avenue, Leeds LS9 7DD
Tel. 0113 249 6681 Fax. 0113 235 0358
e-mail: service@calomax.co.uk
www.calomax.co.uk
Advertisement
Table of Contents


Need help?
Do you have a question about the ECLIPSE HT3C10 and is the answer not in the manual?
Questions and answers