Table of Contents
Advertisement
Advertisement
Table of Contents

Related Manuals for Blaupunkt BAC11AFC


Summary of Contents for Blaupunkt BAC11AFC
- Page 1 Instruction Manual FM/AM Alarm Clock Radio - BAC11AFC...
-
Page 3: Table Of Contents
CONTENTS General Safety Product Overview Basic Operation Battery Installation Antenna Setting the Time Setting the Alarm Snooze Function Sleep Timer Adjust Display Brightness Volume Control Radio Operation Listen to FM/AM Radio Store FM Radio Stations Troubleshooting Specification... -
Page 4: General Safety
GENERAL SAFETY Read this manual thoroughly before you start using the radio. Store this manual, the completed warranty card, your receipt and the product packaging. The safety precautions instructions reduces the risk of fire, electric shock and injury when correctly complied to. Please follow all instructions and take notice of all warnings. - Page 5 GENERAL SAFETY (CONT.) IMPORTANT INFORMATION • Do not expose this product to rain or moisture as it may result in fire or an electric shock hazard • Do not temper or change or modify the product in any way. • Only use Accessories outlined and recommended by the manufacturer. •...
- Page 6 GENERAL SAFETY (CONT.) • If you notice any unusual odors or smoke around the unit, immediately disconnect the unit from the outlet and contact the service center. Failure to do so may result in fire or electric shock. • When not using the unit for long periods of time or when you are moving the unit please ensure to disconnect the power supply from the wall socket.
-
Page 7: Product Overview
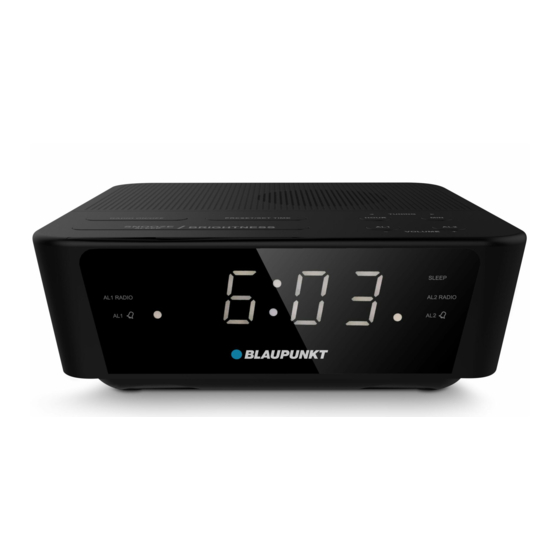
PRODUCT OVERVIEW RADIO ON/OFF button PRESET/SET TIME button SNOOZE/SLEEP/BRIGHTNESS button HOUR SET/TUNING- button MIN SET/TUNING+ button ALARM 1 SET/VOLUME- button ALARM 2 SET/VOLUME+ button ALARM 1 RADIO STATUS indicator ALARM 1 BUZZ STATUS indicator SLEEP STATUS indicators ALARM 2 RADIO STATUS indicator ALARM 2 BUZZ STATUS indicator... -
Page 8: Basic Operation
BASIC OPERATION Back up Battery Installation A Battery backup function has been added to this product to assist with keeping the correct time when the mains power is interrupted for short periods of time. • Remove the battery compartment cover from the bottom of the unit. •... -
Page 9: Antenna
BASIC OPERATION (CONT.) Antenna • Unwind and extend FM wire antenna to its full length for FM reception and place it in the position. Which permits best reception. • If AM reception is weak, slightly rotate or re-position the unit to get the best possible reception. -
Page 10: Setting The Alarm
BASIC OPERATION (CONT.) Setting the Alarm The alarm settings must be performed while in STANDBY mode and make sure radio time has been set. Press and hold the AL1(6) or AL2(7) button (0:00) will be flashing and be shown on the display. When ‘0:00’... -
Page 11: Snooze Function
BASIC OPERATION (CONT.) Snooze Function When the alarm sounds (whether the buzzer or radio), it can be delay for a period of 9 minutes. When the alarm is sounding, press the SNOOZE(3) button. The alarm will stop, and repeats ringing 9 minutes later. Sleep Timer In radio mode, repeatedly press SLEEP(3) button to select the desired sleep time from 120, 90, 60, 30, 15 minutes. -
Page 12: Radio Operation
RADIO OPERATION LISTEN TO FM/AM RADIO Ensure the mains power is connected and powered ON. Fully extend the antenna wire which is located at the rear of the apparatus. Press the RADIO ON/OFF(1) button repeatedly to select the desired band. Press the TUNING-(4) or TUNING+(5) button to tune into the desired station, press and hold the TUNING-(4) or TUNING+(5) button for auto forward or backward radio station searching. -
Page 13: Troubleshooting
TROUBLESHOOTING In the unlikely event of difficulties with your appliance please follow the trouble shooting guide below. -
Page 14: Specification
SPECIFICATIONS Power Supply AC 230-240V ~ 50/60Hz Power Consumption Standby Power Consumption <1W Batteries DC 3V (2x AAA, Not included) Frequency 87.5 - 108MHz 522 KHz-1620 KHz... - Page 16 CUSTOMER HELPLINE: 1300 296 699 info@ayonz.com DISTRIBUTED BY: Ayonz Pty Ltd...
Need help?
Do you have a question about the BAC11AFC and is the answer not in the manual?
Questions and answers
change 24hr time to 12hr
To change the time format from 24-hour to 12-hour on the Blaupunkt BAC11AFC:
1. Press the MENU button.
2. Press the % or fi button repeatedly until “12H MODE” or “24H MODE” appears.
3. Press the @ or # button to switch to “12H MODE”.
4. Press the MENU button to confirm.
This answer is automatically generated