Table of Contents
Advertisement
Quick Links
Advertisement
Table of Contents

Subscribe to Our Youtube Channel
Summary of Contents for Metos LM-32/P
- Page 1 Meat mincer Metos LM-32/P, LM-98/P 2021555, 4221328 User manual 10.03.2011...
- Page 2 MEAT GRINDER USER MANUAL Warning! KT-meat grinders are especially designed to grind meat, although they may be used for grinding various other products as well. These machines are capable of inflicting damage to the user, unless the right safety precautions are observed. Therefore, it is important that utmost care is taken when using this machine.
-
Page 3: Table Of Contents
CONTENTS 1. Introduction ..........3 1.1 Technical specifications ......3 2. General description ........3 3. Unpacking ............ 4 4. Installation ........... 4 4.1 Location ..........4 4.2 Electrical connection ......5 Please note ..........5 4.2.1 Direction of rotation ....... 5 4.2.2 Switch diagram ....... -
Page 4: Introduction
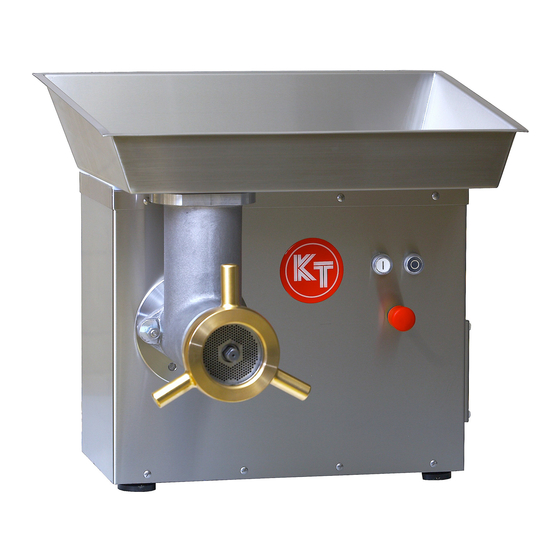
They are easy to dismantle for cleaning purposes. Models LM-32/P and LM-98/P start/stop buttons, as well as emergency stop switch are located in the front of the grinder (Picture 1: No. 1a, 1b, 1c). The starting switch also incorporates an undervoltage circuit breaker to prevent unintentional restarting after the power to the machine has been cut off. -
Page 5: Unpacking
Picture 1 3. Unpacking The meat grinder may be stored in the cold store. All models must be thoroughly cleaned before usage. See chapter 6.1 for the recommended cleaning agents. The meat grinder is delivered with feeding equipment dismantled. The installation of the feeding equipment is dealt in chapter 6.3. -
Page 6: Electrical Connection
4.2 Electrical connection Please note 1. Ensure that the voltage corresponds with the voltage marked on the rating label. 2. The machine must be CORRECTLY EARTHED. 3. Only an authorized electrician may connect the electrical supply to the machine and carry out the servicing work. -
Page 7: Operation
5. CHECK that the blade and hole plate are correctly mounted in the grinder housing. 6. CHECK that the edge of the hole plate remains 2-4 mm outside the housing (LM-32/P), or the edge of the distance ring remains 2-4 mm outside the housing (LM-98/P). -
Page 8: During Use
5.1.3 During use Keep a check on the quality of the product. If the product does not flow out properly or if it has a porridge-like consistency, check the blade and the hole plate. Worn components should be replaced. See chapters 6.2 and 6.3, dismantling and reassembly of the blade assembly. 5.1.4 After use 1. -
Page 9: Recommended Detergents
Remove the distance ring (LM-98/P, No. 15). Remove the blade (No. 6) and the hole plate (No. 7) from the stud. Picture 3 LM-32/P LM-98/P Weight of the entry nut 2,8 kg... -
Page 10: Reassembling Of The Blade Assembly
2. Tighten the nuts (No. 3) with a wrench (clockwise). 3. Insert the feed screw into the grinding house. LM-32/P: 4. Insert the blade (No. 6) onto the stud (No. 8). 5. Insert the hole plate (No. 7)onto the stud. -
Page 11: Maintenance
The hole plate must be over 5 mm thick. If needed, the hole plate must be replaced. 8. Noise emission values Declaration of noise emission values for grinders LM-32/P and LM-98/P are presented in the table below. The measurement has been done in a distance of 0,5 m behind the discharge in the axis of discharge opening in a height of 1,60 m above the ground. -
Page 12: Appendix 1. Switch Diagram
APPENDIX 1. Switch diagram... - Page 14 The crossed-out wheeled bin means that within the European Union the product must be taken to separate collection at the product end-of life. This applies to your device but also to any enhancements marked with this sym- bol. Do not dispose of these products as unsorted municipal waste.


Need help?
Do you have a question about the LM-32/P and is the answer not in the manual?
Questions and answers