
Related Manuals for Xterra Airbike Pro AIR650


Summary of Contents for Xterra Airbike Pro AIR650
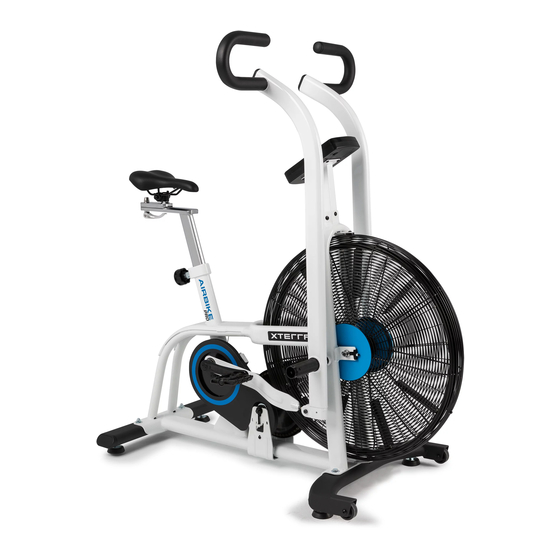
- Page 1 AIR650 Airbike Pro OWNER’S MANUAL PLEASE CAREFULLY READ THIS ENTIRE MANUAL BEFORE OPERATING YOUR NEW Airbike Pro...
-
Page 3: Table Of Contents
Table Of Contents Product Registration Important Safety Instructions Important Operation Instructions AIR650 Assembly Instructions Final Preparations Exploring your new Bike Console Programs Heart Rate Information Troubleshooting Manufacturer’s Limited Warranty WARRANTY COMPLIANCE THIS INDOOR CYCLE IS INTENDED FOR RESIDENTIAL USE ONLY AND IS WARRANTED FOR THE APPLICATION. -
Page 4: Product Registration
XTERRA Fitness will do all we can to make your ownership experience as pleasant as possible for many years to come. -
Page 5: Important Safety Instructions
Important Safety Instructions WARNING - Read all instructions before using this appliance. 1. Use this equipment only for its intended use as described in this manual. Do not attempt to ride this bike at high pedal speeds until you have ridden the bike for some time and are comfortable riding at slower pedal speeds. -
Page 6: Important Operation Instructions
Important Operation Instructions WARNING - AS THE OWNER OF THIS EXERCISE EQUIPMENT, YOU SHOULD INSIST THAT ALL USERS FOLLOW THE SAME GUIDELINES: YOU SHOULD MAKE THIS MANUAL AVAILABLE TO ALL USERS. 1. Obtain a complete physical examination from your medical doctor and enlist a health/ fitness professional’s aid in developing an exercise program suitable for your current health status. - Page 7 AIR650 Assembly Pack Checklist ASSEMBLY TOOLS #94. 10mm Wrench #95. 22mm Wrench #100. 14/15mm Wrench #95. 22x190mm Wrench (1 pc) (1 pc) (1 pc) (1 pc) #126. M4 L Allen Wrench #93. Phillips Head Screw driver (1 pc) (1 pc) AIR650 AIRBIKE Pro...
- Page 8 AIR650 Assembly Pack Checklist STEP 1 #84. 3/8" × 2-1/4" #135. 3/8" #50. 3/8" × 2" #71. 3/8" × 25 × 2T Hex Head Bolt Cap Nut Carriage Bolt Flat Washer (2pcs) (2pcs) (2pcs) (4pcs) STEP 2 #90. M6 × 10mm Phillips Head Screw (3pcs) STEP 3...
- Page 9 Stabilizers Hardware Step 1 #84. Hex Head Bolts (2 pcs) #50. Carriage Bolts (2 pcs) #71. Flat Washers (4 pcs) #135. Cap Nuts (2 pcs) 1. Using the 14/15mm wrench (100) fasten the front stabilizer (2) onto the main frame (1) with two sets of hex head bolts (84) and flat washers (71).
- Page 10 Left & Right Handlebars Hardware Step 3 #136. Bolt (2 pcs) #81. Flat Washer (2 pcs) #75. Nyloc Nut (2 pcs) #148. Spring Washer (2pcs) 1. Using the wrench (95) fasten the left handlebar (3) and right handlebar (4) onto the main frame (1) using a Spring Washer (148) for each side.
- Page 11 Console, Pedals, Seat 1. Carefully connect the Computer Cable (23) to the Console set (34). Be sure to add in 4 AA batteries before installing. 2. Use the phillips screw driver (93) fasten the console set (34) onto the console base (10) with four screws (58).
-
Page 12: Final Preparations
Final Preparations • Tighten all bolts/nuts securely to complete your installation. • Adjust all four levelers so your unit sits flat on the ground for a stable ride. If placing on a mat or on carpet, then it may take time for your unit to settle into the floor padding and will not feel as stable as if placed on a hard surface. -
Page 13: Exploring Your New Bike
Exploring Your New Bike Getting Familiar with the Control Panel AIR650 Console Program Selection Your Airbike Pro offers several different program selections with different intensities and durations. In the next few pages you’ll learn what each program entails so that you can select the program that is most appropriate for your workout that day. - Page 14 Interval Display The Interval Display Panel will show all details for the Interval 20/10, Interval 10/20, and Interval Custom mode. The top-most blocks will tell which interval mode is operating. This display will instruct whether the current operating interval is in WORK or REST period.
- Page 15 Console Setup Battery Installation The console operates on 4*AA batteries (not included). The battery compartment is on the back side of the console. Metric & Imperial Units - Setup The manufacturer has already set the distance to display in Miles, but this can be changed for your preference.
-
Page 16: Console Programs
Console Programs Quick Start The quick start option begins when you get on the bike and begin pedaling, no need to select a program. The console will show all data, including the your heart rate as long as the signal is detected. - Page 17 TARGET TIME, DISTANCE & CALORIES These TARGET programs operate in the same manner. You select which value you want to focus on and you set a goal as the target value. Launch: Press any Target mode button Setup: You will enter the target value of the selected program. Adjust the value by pressing ▲...
-
Page 18: Heart Rate Information
Heart Rate (Chest Strap Not Included) The old motto, “no pain, no gain”, is a myth that has been overpowered by the benefits of exercising comfortably. A great deal of this success has been promoted by the use of heart rate monitors. - Page 19 Rate of Perceived Exertion Heart rate is important but listening to your body also has a lot of advantages. There are more variables involved in how hard you should workout than just heart rate. Your stress level, physical health, emotional health, temperature, humidity, the time of day, the last time you ate and what you ate all contribute to the intensity at which you should workout.
- Page 20 5. Some people have problems with the transmitter picking up a signal from their skin. If you have problems try wearing the transmitter upside down. Normally the transmitter will be oriented so the XTERRA Fitness logo is right side up.
-
Page 21: Manufacturer's Limited Warranty
Effective October 08, 2018 - AIR650 Airbike Pro LIMITED WARRANTY XTERRA Fitness Inc. warrants all its home use Airbike Pro parts for a period of time listed below, from the date of retail sale, as determined by a sales receipt or in the absence of a sales receipt, eighteen (18) months from the original factory shipping date. XTERRA Fitness’s responsibilities include providing new or remanufactured parts, at XTERRA Fitness’s option, and technical support to our independent... - Page 22 AIR650 AIRBIKE Pro...
- Page 23 AIR650 AIRBIKE Pro...
- Page 24 3000 Nestle Road Jonesboro, AR 72401 - Phone:870-336-4286 - Fax:870-935-7611 www.xterrafitness.com ©2018 All Rights Reserved. AIR650 Owner’s Manual AIR650 AIRBIKE Pro...
Need help?
Do you have a question about the Airbike Pro AIR650 and is the answer not in the manual?
Questions and answers