
Related Manuals for Xterra MB500


Summary of Contents for Xterra MB500
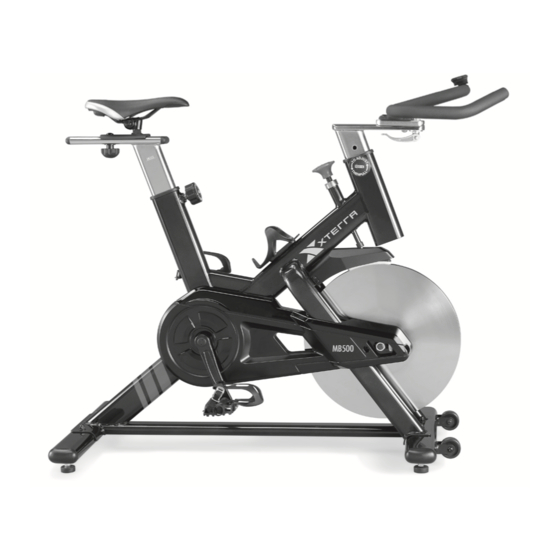
- Page 1 MB500 INDOOR CYCLE OWNER’S MANUAL PLEASE CAREFULLY READ THIS ENTIRE MANUAL BEFORE OPERATING YOUR NEW INDOOR CYCLE...
-
Page 2: Table Of Contents
Table Of Contents Product Registration Important Safety Instructions Important Operation Instructions MB500 Assembly Instructions Operation of Your New Indoor Cycle Troubleshooting Manufacturer’s Limited Warranty ATTENTION THIS INDOOR CYCLE IS INTENDED FOR RESIDENTIAL USE ONLY AND IS WARRANTED FOR THE APPLICATION. ANY OTHER APPLICATION VOIDS THIS... -
Page 3: Product Registration
XTERRA Fitness will do all we can to make your ownership experience as pleasant as possible for many years to come. -
Page 4: Important Safety Instructions
Failure to follow all guidelines may compromise the effectiveness of the exercise experience, expose yourself (and possibly others) to injury, and reduce the longevity of the equipment. SAVE THESE INSTRUCTIONS - THINK SAFETY! MB500 Indoor Cycle... -
Page 5: Important Operation Instructions
5. Proper installation and regular maintenance are required to ensure user’s safety. Maintenance is the sole responsibility of the owner. MB500 Indoor Cycle... -
Page 6: Hardware Step
MB500 Assembly Pack Checklist Hardware Step 1 #106. 3/8” x 2” #107. 3/8” x 19 x 1.5T #108. 3/8” Carraige Bolt (4 pcs) Assembly Pack Checklist Flat Washer (4 pcs) Cap Nut (4 pcs) Hardware Step 3 Hardware Step 2 #109.14/15m/m_Wrench(1pc) -
Page 7: Mb500 Assembly Instructions
MB500 Assembly Instructions Pre-Assembly 1. Using a razor knife (Box Cutter) cut the outside, bottom, edge of box along the dotted Line. Lift Box over the unit and unpack. 2. Carefully remove all parts from carton and inspect for any damage or missing parts. If damaged parts are found, or parts are missing, contact us immediately. - Page 8 1. Install the Left (104L) and Right (104R) pedals to the crank arms. Please note that the Left pedal has a reverse threaded bolt and needs to be tightened in a counterclockwise direction. The pedals are identified by either an R or L stamped into the end of the bolt. MB500 Indoor Cycle...
- Page 9 1. Assemble sliding seat mount (7) on top of seat post (5). Slide carriage bolt (110) from top downwards through sliding seat mount (7), seat post (5) and flat washer (111). Assemble seat fore/aft adjustment knob (103) and secure tightly. MB500 Indoor Cycle...
- Page 10 Load the transmitter with batteries, connect the sensor cable which is al- ready on the unit, and secure the transmitter to the frame with quick tape as shown. (Replace console battery if no digits are shown on LCD) MB500 Indoor Cycle...
-
Page 11: Console Setup
Max. Speed Miles or Kilometers Multi-Display ATM(Auto Timer) Odometer Wireless Motion Activity Display 2 Users/wheel size setting Special Features User Settings Exercise Time Cumulative Calories of the Active Exercise User Changeable Batteries (Sensor and Receiver) Stylish Design MB500 Indoor Cycle... -
Page 12: Operation Of Your New Indoor Cycle
PLEASE NOTE: 1. The XTERRA Fitness Indoor Cycling Console system is designed as a sealed unit and not meant to be opened other than for the sole purpose of installing batteries. Any opened units will void the warranty. 2. To clean the XTERRA Fitness Indoor Cycling Console use a clean damp cloth. Use of any caustic cleaning solutions will void the warranty. -
Page 13: Console Operation
9 hr:59 min:59 sec and distance: 999.99km), then the console will not allow you to measure the correct average speed and show “Err” on the display. Once the time and distance value has been reset, the average speed will show normally. MB500 Indoor Cycle... - Page 14 It would display user’s distance from the beginning to the current point. ODO MODE(Odometer Mode) Display total odometer from the beginning to the current point. Note: Odometer mode will return to Zero, when battery has been taken out. MB500 Indoor Cycle...
- Page 15 Computer will automatically scan your current active result in different modes from CLK, TM, MXS, AVS, DST, ODO, to KCAL. It will automatically switch from one mode to another -18- one every 4 seconds. MB500 Indoor Cycle...
- Page 16 3. Loosen the quick release under the handlebar and slide the handlebar forward or backward as desired. A suitable forward/aft position should allow the rider to comfortably grasp the handlebar with a slight bend at the elbow. 4. Tighten the quick release to secure the handlebar assembly. MB500 Indoor Cycle...
-
Page 17: Basic Operation
2. To apply the brake, press down on the tension knob. 3. Before dismounting, apply the brake to stop flywheel, or increase resistance and let flywheel come to a stop. MB500 Indoor Cycle... -
Page 18: Troubleshooting
Do not use silicone-based lubricants 1. Use of lubricants or cleaning solutions other than those so specified will result in diminished performance and a shorter life span for that part. MB500 Indoor Cycle... -
Page 19: Manufacturer's Limited Warranty
Effective August 1, 2014 - INDOOR CYCLE LIMITED WARRANTY XTERRA Fitness Inc. warrants all its home use indoor cycle parts for a period of time listed below, from the date of retail sale, as determined by a sales receipt or in the absence of a sales receipt, eighteen (18) months from the original factory shipping date. XTERRA Fitness’s responsibilities include providing new or remanufactured parts, at XTERRA Fitness’s option, and technical support to our independent... - Page 20 3000 Nestle Road Jonesboro, AR 72401 - Phone:870-336-4286 - Fax:870-935-7611 www.xterrafitnessstore.com ©2014 All RIghts Reserved. MB500 Owner’s Manual...
Need help?
Do you have a question about the MB500 and is the answer not in the manual?
Questions and answers