
Subscribe to Our Youtube Channel
Related Manuals for Rose electronics CrystalView Mini USB


Summary of Contents for Rose electronics CrystalView Mini USB
- Page 1 CrystalView Mini USB INSTALLATION AND OPERATIONS MANUAL 10707 Stancliff Road Phone: (281) 933-7673 Houston, Texas www.rose.com...
- Page 2 Limited Warranty service may be obtained by delivering this unit during the one-year warranty period to Rose Electronics or an authorized repair center providing a proof of purchase date. If this Unit is delivered by mail, you agree to insure the Unit or assume the risk of loss or damage in transit, to prepay shipping charges to the warranty service location, and to use the original shipping container or its equivalent.
- Page 3 FCC/IC STATEMENTS, EU DECLARATION OF CONFORMITY FEDERAL COMMUNICATIONS COMMISSION AND INDUSTRY CANADA RADIO-FREQUENCY INTERFERENCE STATEMENTS This equipment generates, uses and can radiate radio frequency energy and if not installed and used properly, that is in strict accordance with the manufacturer’s instructions may cause interference to radio communication.
- Page 4 DECLARATION OF CONFORMITY EUROPEAN UNION DECLARATION OF CONFORMITY This equipment is in conformity with the protection requirements of the following Council Directives: The Declaration of Conformity is based upon compliance of the product with the following harmonized standards: EN55022: 1998 EN55024: 1998 EN61000-3-2: 2001...
-
Page 5: Table Of Contents
CrystalView Mini USB Models..............4 Connectors ....................5 Typical Application ..................6 Cables .......................7 CrystalView Mini USB Local Unit to CPU cable ........7 CrystalView Mini USB Remote Unit to a KVM station......7 CrystalView Mini USB Local Unit to Remote Unit .........7 Installation ....................8 Step 1 - Connect interface cables from the Local unit to a computer ...8... - Page 6 Tables Table 1. RJ45 LED functions ..............11 Appendices Appendix A. General Specifications............15 Appendix B. Parts and Cables ..............16 Appendix C. QUICK START GUIDE............17...
-
Page 7: Disclaimer
CPUs from Remote locations. The CrystalView Mini USB is available in a single or dual video model with Serial/Audio options. The single and dual video models have both Local and Remote access capability. -
Page 8: Features
Other standard asynchronous serial devices. Audio Devices Compatible sound cards (Serial/Audio model Amplified or non-amplified microphone only) Amplified computer stereo speakers Other audio devices that transmit/receive signals less than 5 volts peak-to-peak. CRYSTALVIEW MINI USB INSTALLATION AND OPERATIONS MANUAL... -
Page 9: Package Contents
Rose Electronics web site Visit out web site at www.rose.com for additional information on the CrystalView Mini USB and other products that are designed for data center applications, classroom environments and other applications. About this manual This manual covers the installation and operation of the CrystalView Mini USB, single and dual video models and Serial/Audio models. -
Page 10: Crystalview Mini Usb Models
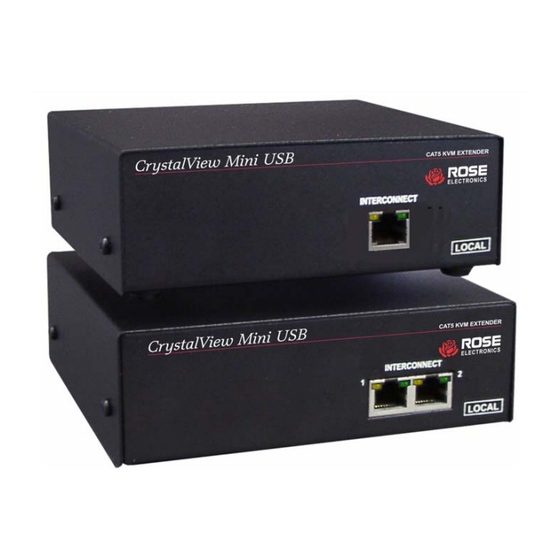
Front - Single Video Model Dual Video Model Remote Local Rear - Single Video Model Single Video Model with Serial/Audio Remote Local Rear - Dual Video Model Dual Video Model with Serial/Audio Figure 1. Models CRYSTALVIEW MINI USB INSTALLATION AND OPERATIONS MANUAL... -
Page 11: Connectors
Power +5VDC adapter connector Local Video In (2) HD15M Video out (2) HD15F Type B Audio (2) 3.5mm audio jacks (Serial/Audio model only) Serial DB9F (Serial/Audio model only) Power Optional +5VDC adapter connector CRYSTALVIEW MINI USB INSTALLATION AND OPERATIONS MANUAL... -
Page 12: Typical Application
Typical Application Figure 2. Typical Application CRYSTALVIEW MINI USB INSTALLATION AND OPERATIONS MANUAL... -
Page 13: Cables
3.5mm audio cable and a DB9FF serial cable. These connect directly from the Local unit to the appropriate PC ports. CrystalView Mini USB Remote Unit to a KVM station The majority of Remote unit installations do not require any additional cables. -
Page 14: Installation
Please refer to the safety section first before proceeding with any installation or configuration of the CrystalView Mini USB. Installation of the CrystalView Mini USB consists of five easy steps. 1. Connect interface cables from the Local unit to a computer 2. -
Page 15: Step 2 - Connect The Remote Equipment To The Remote Unit
Switch 1 On = Video channel 1 75 – 150’ Switch 2 Off = Video channel 2 15-75’ Switch 2 On = Video channel 2 75 – 150’ Switch 1 = Video 1 – Switch 2 = Video 2 CRYSTALVIEW MINI USB INSTALLATION AND OPERATIONS MANUAL... -
Page 16: Step 4 - Connect Local Unit To Remote Unit With Catx Cable
USB ports. If only video is being transmitted and no USB connections are made, a Local power adapter (optional) must be used. With power applied to all units and devices, the Remote monitor should display the computers video. CRYSTALVIEW MINI USB INSTALLATION AND OPERATIONS MANUAL... -
Page 17: Operating Instructions
OPERATION Operating Instructions Operating your equipment using the CrystalView Mini USB extender is no different than having your equipment connected directly to a computer. The only difference is you can be up to 150 feet away. Applications can be executed, data updated, computer maintenance performed, or anything normally performed Locally can now be done remotely. -
Page 18: Serial Interface - Set Up And Operation
The Local unit’s ‘Line Out’ connection should then be wired to ‘Line In’ (Blue) on your sound card. If your microphone is already amplified, follow the second method but DO NOT install the amplification jumper in the Remote unit. CRYSTALVIEW MINI USB INSTALLATION AND OPERATIONS MANUAL... -
Page 19: Service Information
This Unit does not contain any internal user-serviceable parts. In the event a Unit needs repair or maintenance, you must first obtain a Return Authorization (RA) number from Rose Electronics or an authorized repair center. This Return Authorization number must appear on the outside of the shipping container. -
Page 20: Safety
SAFETY Safety The CrystalView Mini USB has been tested for conformance to safety regulations and requirements, and has been certified for international use. Like all electronic equipment, the CrystalView Mini USB should be used with care. To protect yourself from possible injury and to minimize the risk of damage to the Unit, read and follow these safety instructions. -
Page 21: Appendices
1.7in 145mm 110mm 44mm Weight 6.6 lbs (2.0Kg) Environmental Operating Temp: 32°F – 104°F (0°C - 40°C) Storage Temp: -22°F - 149°F° (-30°C - 65°C) Humidity: 5% - 90% non-condensing Approval Europe: CE CRYSTALVIEW MINI USB INSTALLATION AND OPERATIONS MANUAL... -
Page 22: Appendix B. Parts And Cables
CAT5 unshieded twisted pair CAB-08C6UTPnnn CAT6 unshieded twisted pair Cab-08C7UTPnnn CAT7 unhieded twisted pair CAB-08C5STPnnn CAT5 shieded twisted pair CAB-08C6STPnnn CAT6 shieded twisted pair Cab-08C7STPnnn CAT7 shieded twisted pair nnn = cable length in feet CRYSTALVIEW MINI USB INSTALLATION AND OPERATIONS MANUAL... -
Page 23: Appendix C. Quick Start Guide
Connect the Local and Remote units together with up to 150’ of CATx cable. NOTE: Cable length must match DIP switch settings Step 5 – Power up equipment A- CPU / Local monitor B- Remote unit C- Remote monitor, audio and serial devices CRYSTALVIEW MINI USB INSTALLATION AND OPERATIONS MANUAL... - Page 24 10707 Stancliff Road Houston, Texas 77099 Phone: (281) 933-7673 Internet: WWW.ROSE.COM...
Need help?
Do you have a question about the CrystalView Mini USB and is the answer not in the manual?
Questions and answers