Advertisement
Advertisement
Table of Contents

Related Manuals for Anviz M5 PRO


Summary of Contents for Anviz M5 PRO
- Page 1 M5 Pro Outdoor Fingerprint & Card Reader/Controller Quick Guide V1.1...
-
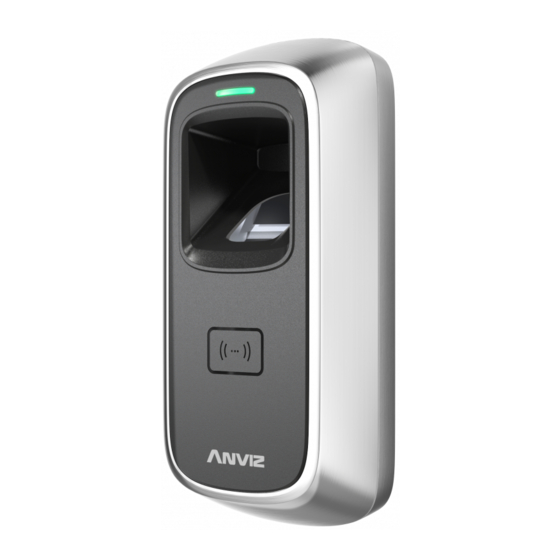
Page 2: Package List
Package List M5 Pro 户外指纹&RFID卡门禁一体机 快速指南 V1.0 ©2018 安威士 ● 中国 了解更多信息,请访问 www.anvizchina@anviz.com,或发送电子邮箱 info.asia@anviz.com 获取更多帮助。 Device Screws RJ45 Connector Quick Guide Note: 1. Please check if the package contains all the items listed above. Contact the distributor if there is any problem. -
Page 3: Incorrect Method
Illustration for placing finger ( Straighten your finger and then place it on the sensor. Ensure the finger is flat and covers Correct method the entire sensor window) Always place finger in Try to place your finger covers the entire sensor window. the center of the sensor. -
Page 4: Installation Diagram
Step2: Install and fix back list has no these screws, according to panel, connect related cables. 2.52in.(64mm) wall thickness select the length of M5 screws. Step3: Place M5 Pro on back 0.41in.(10.5mm) panel, fix screw at the bottom of M5 Pro. Step3 Appearance... -
Page 5: Wiring Instruction
Wiegand DATA1 Output Black Black RS485A RS485B Anviz Wiegand Wiring: SC011 and the device are paired by Anviz wiegand to be a distributed access Switch Power Supply control system. +12V Power off to unlock +12V Power on to unlock Exit Button... - Page 6 SC011 authorization setting: Make sure correct wiring between M5 Pro and SC011, power on them, then move slide switch to ‘PROGRAM MODE’ as below: Switch in‘PROGRAM’on the SC011: Move slide swith to left(ON). Match registered fingerprint or swipe registered card on M5 Pro, then SC011 will Power On:...
-
Page 7: Switching Power Supply
Wiring Type Access Controller Switch Power Supply Power off to unlock Power on to unlock Switching Power Supply Switch Power Supply Power off to unlock Power on to unlock Important notice: Please carefully follow this wiring instruction. Any damage caused by incorrect wiring is not covered by warranty. -
Page 8: Pay Attention
Put the CD in the managemet computer. The installation program will run automatically. How to connect M5 Pro with Software? 1st Method: Mini USB Loose the screw on the bottom of M5 Pro, then pull up the front case, seperate from back panel. - Page 9 2. Enable Communication between M5 Pro and the Management Software CrossChex *Turn on management software CrossChex *Go to Device tab. Search and add the M5 Pro to management software CrossChex *Click Synchronize Time button to communicate with M5 Pro. If Synchronize is successful, the device icon will turn to blue.
-
Page 10: Function Button
*Record\Search: search and view the records *Attendance: Calculate, Search results and generate reports *Data\Backup Database: Backup Database *Setting\Shift: Set up Time table and Scheduling *Device\Device Parameter: Set up device, Clear records on M5 or Reset M5 factory settings Function Button... -
Page 11: Register User
Operation Guide IMPORTANT: M5 Pro is suitable for DC12V power supply only. When connect to DC12V power supply, the indicator light displays blue and flashes fast. Meanwhile, the backlights of fingerprint sensor turn on with beeps. Register User: Add One Fingerprint per User Only: Note: 1. - Page 12 Operation Guide Add Two Fingerprints of one User: 8. Continue to register another user * Two fingerprints belongs to one user ID. 4. Continue to register the 2nd finger Note: 1. After finish enrolling current user, 2/5. Place the 3/6. Place the 1st/2nd 7.
-
Page 13: Delete User
5. Swipe Delete user. Card to end the process 1. Swipe Notice: Delete Card When you place finger on M5 Pro, Red LED Red LED Red LED flashes Green LED lights up flashing with long beeps means the fingerprint flashes fast and with 4 short beeps, does not exist in the device. - Page 14 Red LED flashes fast Green LED lights up 4 short beeps Delete ASuccessed Anviz brand and product are trademarked and protected under law of the United States. Unauthorized use is prohibited. For more information, please visit www.anviz.com, or send email to sales@anviz.com...
Need help?
Do you have a question about the M5 PRO and is the answer not in the manual?
Questions and answers