Advertisement
Quick Links
Advertisement

Subscribe to Our Youtube Channel
Related Manuals for Amantii TRU-VIEW-XL


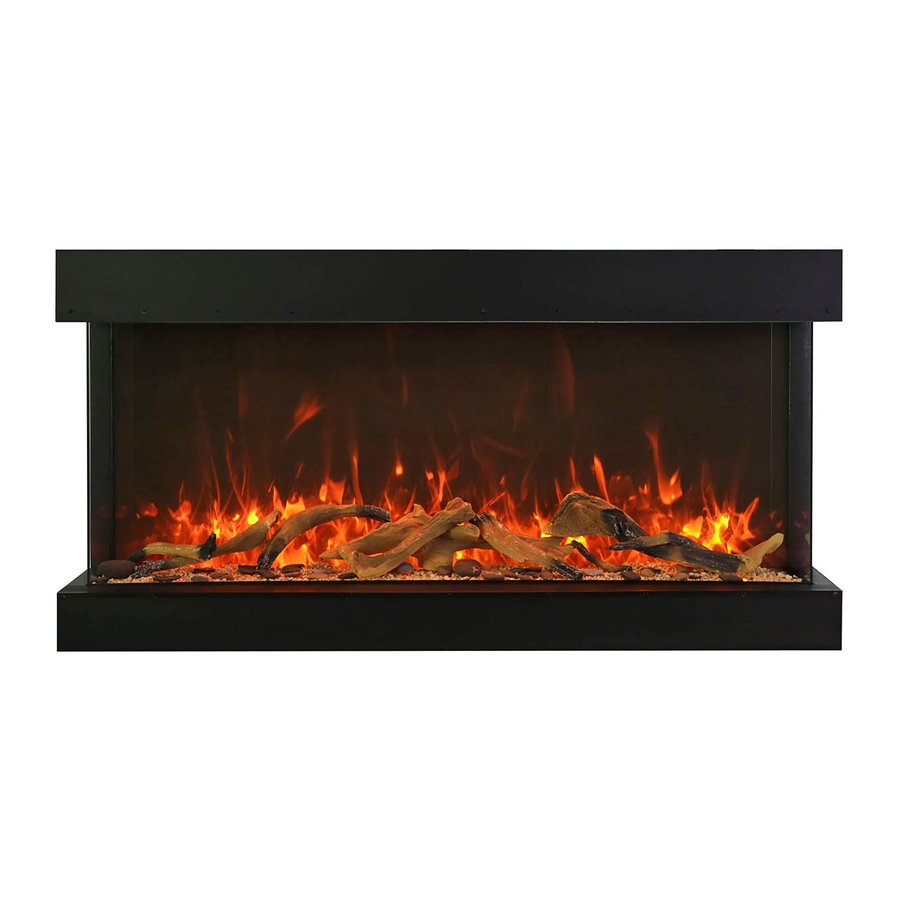
Summary of Contents for Amantii TRU-VIEW-XL
- Page 1 Fix your Fireplace TRU-VIEW-XL...
- Page 2 Content How to replace LED light • How to replace flicker motor • How to replace heating element • How to replace the PCB board • How to replace the signal receiver • How to replace the top light •...
- Page 3 Replace LED light Step 1 Replace ember bed LED light Knob on each side Unscrew the knobs on both sides of the unit and then remove the glass.
- Page 4 After two knobs are removed, the front glass be released and come away from the unit. Take care to catch it. Front glass...
- Page 5 Step 2 Zoomed view Unscrew two screws on both sides and then to take off two bars and the ember bed glass panel...
- Page 6 After the knobs and fending bars are removed, you can remove the ember bed glass panel and long steel bar with it.
- Page 7 Step 3 After the ember bed glass panel is removed, you can now replace the LED light for ember bed effect.(Replace flame light see STEP...
- Page 8 Zoomed view Zoomed view Step 4 Unscrew 2 screws on the left side and 2 screws on the right side of the fireplace (where the arrows marked) to take off the fending bars. After the bars are removed, you can remove two side glass panels.
- Page 9 Screws and fending bars Side glass panels After screws and fending bars are removed, now you can remove the side glass panels.
- Page 10 The top light located here Zoomed view Step 5 Unscrew 3 screws located in the canopy of the unit then disconnect cable to remove the top light from the fireplace.
- Page 11 The fending bar located here Step 6 Remove the screws and take off the fending bar. (Zoomed picture in the next page)
- Page 12 Screws that attach Fending bar the fending bar...
- Page 13 Fending bar Step 7 After fending bar is removed, you can now remove the visual glass panel using the small brackets are used to hold the front glass panel In place. These would have been removed in step Hook Visual glass panel Push the bracket into the gap between the glass and the...
- Page 14 Step 8 After the visual glass panel is removed, you can now replace LED light for flame effect.
- Page 15 Replace the flicker motor Please follow the same 1 – 7 steps as changing the LED light. Continue from this point on.
- Page 16 Step 2 Unplug Now you can replace the Unscrew 4 screws flicker motor for ember bed effect...
- Page 17 Replace flicker motor for ember bed effect The flicker motor for ember bed effect is beneath the ember bed glass panel. Step 1 Unscrew the screw and then disconnect the flicker rod from the motor...
- Page 18 Replace flicker motor for flame effect The flicker motor for flame effect is behind the visual glass panel. Step 3 Unscrew the screw and then disconnect the flicker rod from the motor...
- Page 19 Step 4 Unscrew 4 screws, unplug and now you can replace flicker motor for flame effect.
- Page 20 Replace the heating element Please follow Steps 1 and 2 as in replacing LED light. You will then continue from here: The heating element located here...
- Page 21 Step 1 Unscrew 5 screws, then pull the heating element set down.
- Page 22 Step 2 Remove the heating element.
- Page 23 Unscrew 4 screws and you can separate the heater from the heating element set.
- Page 24 Step 3 Unplug and replace the heater.
- Page 25 Replace PCB board Please follow Step 1 to 2 in replacing LED light, you come to here The PCB board located here...
- Page 26 Step 1 Unscrew 4 screws, release the control board and pull out, you will find the PCB Board attached to it.
- Page 27 Step 2 Unplug and replace the PCB board.
- Page 28 Replace signal receiver Please follow the same 1 – 7 steps as changing the LED light. Continue from this point on. The signal receiver located here...
- Page 29 Step 1 Unscrew 2 screws...
- Page 30 Step 2 Please follow step 1 and step 2 in replace PCB board. Unplug signal receiver from the PCB board and replace with a new receiver.
- Page 31 Replace top light Step 1 Unscrew the screw Unscrew one screw on both sides and then to remove the front glass.
- Page 32 The top light locates here Zoomed view Step 2 Unscrew 3 screws then unplug to replace the top light.
Need help?
Do you have a question about the TRU-VIEW-XL and is the answer not in the manual?
Questions and answers