Table of Contents
Advertisement
Quick Links
Advertisement
Table of Contents

Related Manuals for Fanco Horizon DC CFFCHZ23BLSMR


Summary of Contents for Fanco Horizon DC CFFCHZ23BLSMR
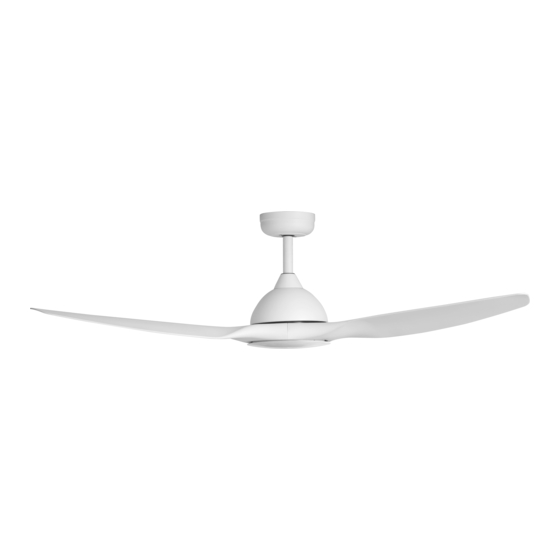
- Page 1 Horizon Installation Manual...
-
Page 2: Important Safeguards
Ceiling fan instruction booklet Thank you for purchasing your Horizon DC Ceiling Fan. Please read all instructions carefully before assembly and use. IMPORTANT SAFEGUARDS Read all instructions carefully, even if you feel you are quite familiar with this type of appliance. -
Page 3: Important Note
19. If it is necessary to replace the live or neutral brushes to ensure operation of the motor then both brushes and the earth brush shall be replaced at the same time. The brushes shall only be replaced by a suitably qualified person. 20. -
Page 4: Parts Included
PARTS INCLUDED Horizon Ceiling Fan without Light Mounting Bracket Reciever Canopy Downrod with Ball Joint Coupling Cover Motor Housing Blades Motor Bottom Cover Remote or Wall Control... - Page 5 PARTS INCLUDED Horizon Ceiling Fan with Light Mounting Bracket Reciever Canopy Downrod with Ball Joint Coupling Cover Motor Housing Blades Motor Light Kit Enclosure Diffuser Remote or Wall Control...
-
Page 6: Installation And Assembly
INSTALLATION AND ASSEMBLY CAUTION: Before installing the fan make sure you have turned OFF the electricity supply. SELECTING A LOCATION: 1. Choose a location for mounting the fan where the blades will have at least 2.1 metres of clearance from the floor. 2. -
Page 10: Installation Steps
INSTALLATION STEPS 1. Remove screws off on the top of the motor. Align the blades with screw holes on top of the motor, and secure with the screws. 2. Remove side screws from extension rod. Put the motor housing through the extension down rod and secure with screws. - Page 11 3. Feed the main motor wire plug up through the inside of the downrod, then insert the downrod into the motor bush. Gently push the cross-pin through the holes aligned with the base of the motor bush and downrod. CAUTION: DO NOT force the cross-pin, gently wiggle and rotate it until it glides through both holes.
- Page 12 6. Carefully lift the assembled fan and face slot on hanging ball to the middle of the hanging bracket. Place hanging ball into the bracket. Place the receiver on top of the hanger ball and connect the wires. 7. Connect power, receiver and the fan as electrical wiring diagram. IMPORTANT: The fan must be earthed! Double pole disconnection switch and wall switch must be connected.
- Page 13 INSTALLATION STEPS FOR LIGHT 1. Twist off the bottom cover and remove the extension bolt.
- Page 14 2. Take metal bush, light kit fixing plate, washer and nuts out from light kit package. Align fixing plate with motor shaft, and secure it with bush, nuts and washer. 3. Attach light kit enclosure to the metal plate with 3 screws supplied in light kit.
- Page 15 4. Connect the push plug wire attached on the light kit with the push plug attached to the motor. Hold the diffuser to the bottom of the motor and rotate clockwise until it locks into space.
- Page 16 CARE & CLEANING: • Periodic cleaning (approximately 6 months) of your ceiling fan is the only maintenance required. • Use a soft brush or lint free cloth to avoid scratching the finish. Please turn off electricity when you do so. •...
-
Page 17: Functions Of The Transmitter
2. If the battery is low it will affect the sensitivity of the remote control and the signal reception and must be replaced (the LED indicator light will flash a warning when the battery runs low). 3. Please remove the battery if the remote control is not being used for a long time. 4. - Page 18 Trouble Possible Cause Suggested Remedy Fans does not start after A) Remote and receiver are A) Re-pair the receiver and pairing process not paired successfully remote B) Battery flat in remote B) Replace the battery in control remote control C) Loose wire connections C) Check wire connections or plugs to fan/receiver and ensure plugs are...
- Page 19 Model Number Rated Voltage Motor Consumption Rated Light Power Control System CFFCHZ23BLSMR 220-240 Vac Max. 45 W Remote CFFCHZ23BLW 220-240 Vac Max. 45 W Wall control CFFCHZ23BRSMR 220-240 Vac Max. 45 W Remote CFFCHZ23BRW 220-240 Vac Max. 45 W Wall control CFFCHZ23WHSMR 220-240 Vac Max.
Need help?
Do you have a question about the Horizon DC CFFCHZ23BLSMR and is the answer not in the manual?
Questions and answers