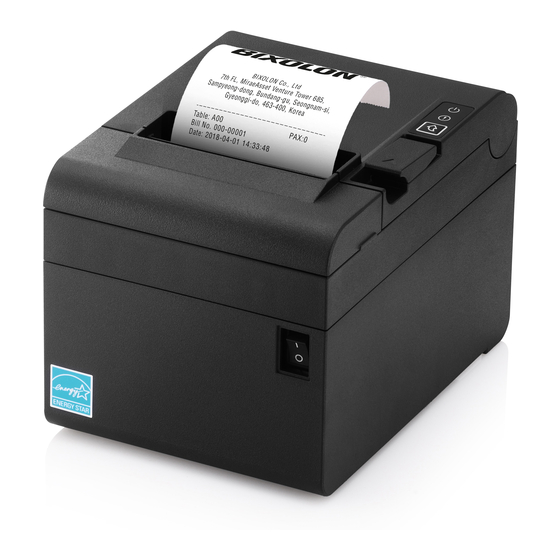
BIXOLON SRP-E300 Connection Manual
Thermal receipt printer
Hide thumbs
Also See for SRP-E300:
- User manual (33 pages) ,
- Installation manual & safety manual (10 pages) ,
- Command manual (122 pages)

Related Manuals for BIXOLON SRP-E300


Summary of Contents for BIXOLON SRP-E300
- Page 1 Network Connection Manual SRP-E300/302 THERMAL RECEIPT PRINTER Ver. 1.00 http://www.bixolon.com...
-
Page 2: Table Of Contents
SRP-E300/302 ■ Table of Contents 1. Manual Information ......................3 2. Specifications ........................ 3 3. How to Connect......................4 4. Ethernet Test by using Windows Test Page ..............6 5. Factory Reset ....................... 13 6. Troubleshooting......................15 - 2 -... -
Page 3: Manual Information
1. Manual Information This Network manual provides information on the connection of network with the printer. We at BIXOLON maintain ongoing efforts to enhance and upgrade the functions and quality of all our products. In following, product specifications and/or user manual content may be changed without prior notice. -
Page 4: How To Connect
SRP-E300/302 3. How to Connect 1) Checking Network Setting Cover Open Lever Feed Button After the printer has finished booting, open the printer cover and press and hold the FEED button for 5 seconds. This will cause the interface setting confirmation mode. - Page 5 SRP-E300/302 2) LAN Setting Values Classification Item Remarks Input Range Inactivity Time TCP connection hold time 0~3600 integer IP Assignment IP Assignment Method DHCP/Manual Method Network IP Address Printer IP IP Address Subnet Mask Subnet mask IP Address Gateway Default Gateway IP Address For changing network setting values using Net configuration tool, Refer to ‘Net...
-
Page 6: Ethernet Test By Using Windows Test Page
SRP-E300/302 4. Ethernet Test by using Windows Test Page You can use the Windows printer driver as shown below when there is no test program. Operating systems that allow you to use the Windows printer driver are Windows, XP, Server 2003, VISTA, 2008 Server, 7, 8, 10. - Page 7 SRP-E300/302 3) Select Installation and click Next. 4) Select Model Name and click Next - 7 - Ver. 1.00...
- Page 8 SRP-E300/302 5) Select Ethernet and click Add TCP/IP Port 6) Enter the IP address and port number, and then click Next. - 8 - Ver. 1.00...
- Page 9 SRP-E300/302 7) Click Next 8) Click Next - 9 - Ver. 1.00...
- Page 10 SRP-E300/302 9) Click Next 10) Click Finish - 10 - Ver. 1.00...
- Page 11 SRP-E300/302 11) Open the printer properties window in the Windows OS. (1) Installing on Windows XP / Server 2003 ※ Control Panel – Printers and Faxes. (2) Installing on Windows VISTA / Server 2008 / 7 / 8 / Server 2012 / 10 ※...
- Page 12 SRP-E300/302 14) Click Print Test Page and check printing status. Proper installation of the driver is indicated if the test page is printed normally. - 12 - Ver. 1.00...
-
Page 13: Factory Reset
SRP-E300/302 5. Factory Reset This function changes the LAN settings of the printer to the initial factory settings. 1) Procedure Cover Open Lever Feed Button After the printer has finished booting, open the printer cover and press and hold the FEED button for 5 seconds. - Page 14 SRP-E300/302 LAN Factory Reset OK! Reboot Printer. After the above message is printed, the printer will automatically reboot. 3) Factory Reset Values Inactivity time Network IP Assignment Method Automatic(DHCP) Local Port 9100 - 14 - Ver. 1.00...
-
Page 15: Troubleshooting
SRP-E300/302 6. Troubleshooting When printing doesn’t work Check network setting (Refer to Configuration for checking/changing the printer settings) IP Address Check the band of the IP Address. Check whether the bands of the printer and the AP(or wireless terminals) are the same. - Page 16 SRP-E300/302 When you see “Request timed out.” as shown below, it means that there is no collision. The corresponding IP can be used. On the other hand, if there is a reply as shown below, then the corresponding IP is used by another network terminal and it cannot be used for the printer IP.
Need help?
Do you have a question about the SRP-E300 and is the answer not in the manual?
Questions and answers