Table of Contents
Advertisement
Quick Links
Advertisement
Table of Contents

Subscribe to Our Youtube Channel
Related Manuals for Tektronix RM5


Summary of Contents for Tektronix RM5
- Page 1 Rackmount Kit Instructions Warning The servicing instructions are for use by qualified personnel only. To avoid personal injury, do not perform any servicing unless you are qualified to do so. Refer to all safety summaries prior to performing service. *P071352302* 071-3523-02...
- Page 2 Tektronix. All rights reserved. Licensed software products are owned by Tektronix or its subsidiaries or suppliers, and are protected by national copyright laws and international treaty provisions. Tektronix products are covered by U.S. and foreign patents, issued and pending. Information in this publication supersedes that in all previously published material. Specifications and price change privileges reserved.
-
Page 3: Table Of Contents
Kit description Products ................................. Minimum tool and equipment list ........................Kit parts list ..............................Warranted characteristics ..........................Clearance requirements ..........................RM5 Installation instructions Assemble the instrument on the rack platform ....................Dimensions Front panel ..............................Rear panel ..............................RM5 Rackmount Kit... - Page 4 Table of Contents RM5 Rackmount Kit...
-
Page 5: Important Safety Information
Use care when servicing with power on. Dangerous voltages or currents may exist in this product. Disconnect power, remove battery (if applicable), and disconnect test leads before removing protective panels, soldering, or replacing components. Verify safety after repair. Always recheck ground continuity and mains dielectric strength after performing a repair. RM5 Rackmount Kit... - Page 6 Important safety information RM5 Rackmount Kit...
-
Page 7: Kit Description
Kit description This document supports Tektronix 5 Series MSO (excluding the 5 Series MSO Low Profile) and 6 Series MSO instruments. The rackmount kit is a collection of parts that, once installed, configure the instrument for mounting into a standard 19-inch equipment rack. - Page 8 SLIDE ASSY; PAIR, W/STD HARDWARE KIT AND REAR BRACKET, SAFETY CONTROLLED The following figure shows an exploded view of the rack kit contents with the identifying item numbers in the preceding table. Figure 1: Rackmount kit parts RM5 Rackmount Kit...
-
Page 9: Warranted Characteristics
The ambient temperature inside the instrument rack will vary depending on the location of the instrument within the instrument rack. Tektronix recommends that you measure the ambient temperature in the desired rack location before you install the instrument to ensure the operating temperature does not exceed the rated ambient temperature limit. If necessary, refer to the Environmental Specifications in your product documentation for the operating temperature limits. - Page 10 Kit description RM5 Rackmount Kit...
-
Page 11: Rm5 Installation Instructions
These instructions are for qualified service personnel who are familiar with servicing the product. If you need further details for disassembling or reassembling the product, refer to the appropriate product manual. Contact your nearest Tektronix, Inc., Service Center or Tektronix Factory Service for installation assistance. - Page 12 RM5 Installation instructions Install the left and right mounting plates. Use the M4 screws from item 5. Figure 3: Mounting plate installation RM5 Rackmount Kit...
- Page 13 RM5 Installation instructions Install the top and bottom support plates and handle as shown. Use the M3 screws from item 5 to assemble the support plates. Use the 10-32 flat-head screws from item 5 to attach the handles. Figure 4: Support plate installation...
- Page 14 RM5 Installation instructions Install the left-side and right-side rack mounts as shown. Use M4 screws from item 5 to attach the slides. Figure 5: Rack mount installation RM5 Rackmount Kit...
- Page 15 RM5 Installation instructions Locate the rack slides and using hardware from items 6 and 7, as appropriate for your rack, install the rack slides in your equipment rack. Figure 6: Installing the rail slides RM5 Rackmount Kit...
- Page 16 RM5 Installation instructions Install the rack platform in your equipment rack by inserting the platform into the slides as shown. Figure 7: Installation of rack mounted instrument assembly in rack (top view) WARNING. To avoid personal injury and prevent the instrument from tipping or dropping, use two or more people to install this instrument into the rack cabinet.
-
Page 17: Dimensions
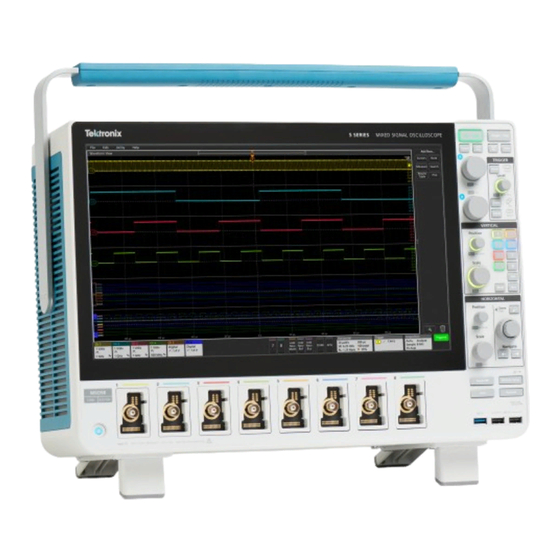
Dimensions Front panel Figure 8: 5 Series MSO front panel RM5 Rackmount Kit... - Page 18 Dimensions Figure 9: 6 Series MSO front panel RM5 Rackmount Kit...
-
Page 19: Rear Panel
Dimensions Rear panel Figure 10: 5 Series MSO and 6 Series MSO rear panel RM5 Rackmount Kit... - Page 20 Dimensions RM5 Rackmount Kit...
Need help?
Do you have a question about the RM5 and is the answer not in the manual?
Questions and answers