Veeder-Root TLS-450PLUS Hardware Replacement Manual
Hide thumbs
Also See for TLS-450PLUS:
- User manual ,
- Troubleshooting manual (127 pages) ,
- Install, setup, & operation manual (98 pages)

Related Manuals for Veeder-Root TLS-450PLUS


Summary of Contents for Veeder-Root TLS-450PLUS
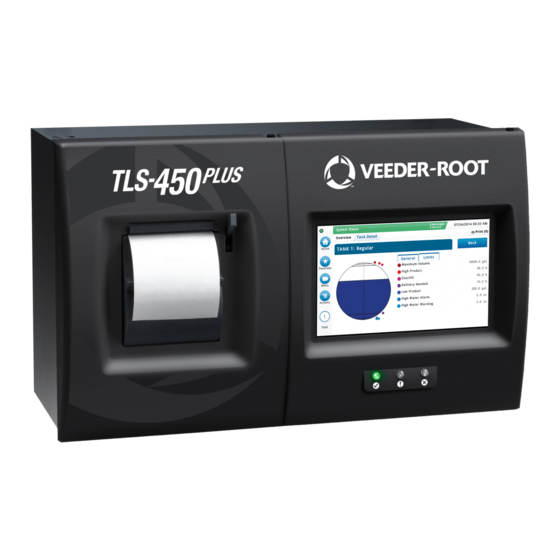
- Page 1 Manual No: 577014-078 ● Revision: A TLS-450PLUS Console Hardware Replacement Guide...
- Page 2 Customer Service will work with production facility to have the replacement product shipped as soon as possible. If “lost” equipment is delivered at a later date and is not needed, Veeder-Root will allow a Return to Stock without a restocking fee.
-
Page 3: Table Of Contents
....9 Figures Figure 1. USB board - USB ports ................3 Figure 2. DB Backup Screen .................3 Figure 3. Opening The TLS-450PLUS Console Doors .........4 Figure 4. CPU board ....................5 Figure 5. Remove Display Cables From CPU Board ..........6 Figure 6. -
Page 4: Contractor Certification Requirements
For troubleshooting information, see 577014-078. Contractor Certification Requirements Veeder-Root requires the following minimum training certifications for contractors who will install and setup the equipment discussed in this manual: Installer Certification (Level 1): Contractors holding valid Installer Certification are approved to perform wiring and conduit routing;... -
Page 5: Safety Warnings
3. Before working on this console, turn off, tag and lockout power to the console. 4. Substitution of components may impair intrinsic safety. 5. Do not modify or use service parts other than those provided by Veeder-Root. Precautions Against Static Electricity Before removing electronic components from their anti-static bags read the following static electricity precautions. -
Page 6: Before Turning Off Power
2. From the Home Screen touch Menu > Software Upgrade > DB Backup to view the Database Backup Screen (see Figure 2). Touch the down arrow in the Backup Destination field to select the Backup thumb drive inserted in Step 1, then follow the on-screen instructions to backup TLS-450PLUS console data. 0 Warning(s) -
Page 7: Replacing The Right Door (Ack Switch Panel Or Display)
20.6 Ullage 100% 8345 Temperature 60.8 Water Height Actions Figure 3. Opening The TLS-450PLUS Console Doors Legend For Figure 3 Item Description Item Description Left blank door or optional printer door. Remove the top and bottom T15 screws securing left... -
Page 8: Figure 4. Cpu Board
Replacing The Right Door (Ack Switch Panel Or Display) Before Turning Off Power Figure 4. CPU board Legend For Figure 4 Item Description Item Description Console beeper SD Card (in metal enclosure) Battery isolator strip - to be removed prior to LED Backlight cable connector (optional dis- startup play) -
Page 9: Figure 5. Remove Display Cables From Cpu Board
Replacing The Right Door (Ack Switch Panel Or Display) Before Turning Off Power 3. Remove the LED Back light cable (pointer 2) from CPU board connector (see Figure 5). Figure 5. Remove Display Cables From CPU Board 4. Remove the Ground wire at the top of the door (see Figure 6). Figure 6. -
Page 10: Figure 7. Remove Top And Bottom Optional Display Door Hinge Screws
Replacing The Right Door (Ack Switch Panel Or Display) Before Turning Off Power 5. Remove the TLS-450PLUS Ack Switch Panel/Display door by removing the top and bottom hinge shoulder screws (see Figure 7). Figure 7. Remove Top And Bottom Optional Display Door Hinge Screws... -
Page 11: Replacing Left Door (With Or Without Printer)
Figure 9). Figure 9. Removing Printer Door Power Connector 6. Remove the TLS-450PLUS Printer door by removing the top and bottom hinge shoulder T15 screws (identical to the Ack Switch Panel/Display Door shoulder screws (item 2, Figure 3). Replace door reversing appropriate steps above. -
Page 12: Replacing The Ac Input Filter And/Or Power Supply Board
Replacing The AC Input Filter And/Or Power Supply Board 1. Perform all of the Steps in the section entitled “Before Turning Off Power” on page 3. 2. Open the console left door as described in Step 2 of the section entitled “Replacing Left Door (With Or Without Printer)”... -
Page 13: Figure 12. Remove Ethernet Module Cables From Cpu Board
Replacing The AC Input Filter And/Or Power Supply Board Before Turning Off Power 5. Lift the Power Supply shield up to disengage the two retention snap pins in its right side flange and remove it from the console (item 2 in Figure 13). 6. -
Page 14: Figure 14. Removing Ac Input Filter
Replacing The AC Input Filter And/Or Power Supply Board Before Turning Off Power 7. Remove the two T15 screws (item 1 in Figure 12) that secure the Power Supply board to the console housing. 8. Place a finger under the edges of the Power Supply board near the upper right and lower left edges of the board and lift the board up until it is free of the three snap pins (item 2 in Figure 12). -
Page 15: Figure 15. Removing Power Supply Shield
Replacing The AC Input Filter And/Or Power Supply Board Before Turning Off Power 12.Attach the printer power supply cable to its connector (J1) on the upper right corner of the replacement Power Supply board. 13.Line up the three holes in the Power Supply board (see item 2 in Figure 12) with the three retention pins in the back of the console housing and push the board down until the pins snap into position. -
Page 16: Figure 16. Removing Power Supply Board
For technical support, sales or other assistance, please visit: www.veeder.com...
Need help?
Do you have a question about the TLS-450PLUS and is the answer not in the manual?
Questions and answers