
Related Manuals for Jumbuck CB001


Summary of Contents for Jumbuck CB001
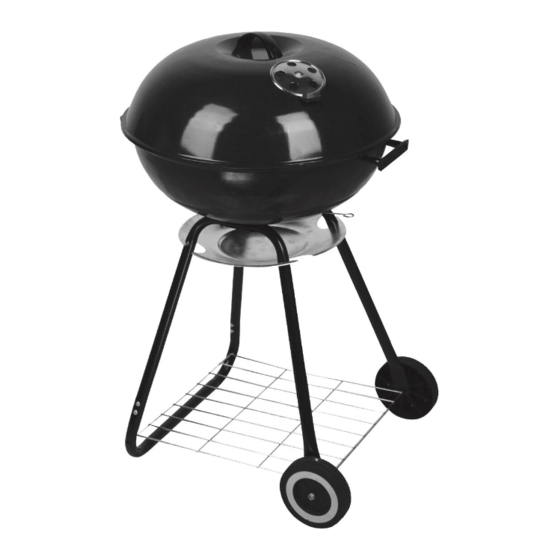
- Page 2 CB001 Assembly instructions...
- Page 3 PART NUMBER PART NAME SUPPLIER CODE Round bakelite handle CB00101 CB00102 Air vent with handle(for CB00103 Lidl) Hanging hook CB00104 Square bakelite handle CB00105 Fire bowl CB00106 Air vent with handle(for CB00107 fire bowl) Ash tray CB00108 Leg R CB00109 Leg L CB00110 Wire shelf...
- Page 4 For outdoor use only. Improper installation, adjustment, alteration, service or maintenance can cause property damage, injury or death. Read the installation, operating and maintenance instructions thoroughly before installing or servicing this equipment. Warning: accessible parts may be very hot. Keep young children away.
- Page 5 Bolt Bolt M5 x 32 mm M4x 20 mm 4pcs 2 pcs Bolt Bolt M6 x 15 mm 4 pcs M5 x 10 mm 2 pcs Bolt Flat Washer M6 x 35 mm 2 pcs Ø4.0 mm 4 pcs Lock Washer Wing Nut Ø5.0 mm 2 pcs...
- Page 6 Dispose of all polythene packing carefully and keep out of the reach of children. Please read the section on barbecue safety prior to using your Barbecue. TOOLS REQUIRED *Philips screwdriver *Pliers or adjustable spanner IMPORTANT NOTES *Do not use this appliance indoors. *Do not use this appliance inside a tent, gazebo or whithin a confined space.
- Page 7 STEP 2 Assemble wheel axis through Leg L & R and Wheel (Part 6), use bolt (x, 2) to tighten. STEP 3 Assemble Body handle (Part 5) to the Pan (Part 8) as shown, use bolt B (x, 4) to tighten.
- Page 8 STEP 4 Assemble Air valve (Part 7) to the Pan as shown, use bolt, nut to tighten. STEP 5 Assemble Pan to the legs as shown, use Lock washer C (x, 4), Nut F(x, 4), Flat washer E(x, 4), Bolt J(x, 4) to tighten.
- Page 9 STEP 6 Place Cooking grid (Part 9) into the Pan. STEP 7 Then place Cooking grid (Part 10) into the Pan.
- Page 10 STEP 8 Assemble Cover air valve (Part 13) to the Top cover (Part 12)as shown, use bolt I (x, 1), Flat washer D(x, 1) and Wing nut K (x, 1) to tighten. STEP 9 Assemble Cover handle (Part 14) as shown, use Bolt H(x, 2) and Nut M(x, 2) to tighten.
- Page 11 STEP 10 Assemble Top cover to the Pan as shown. STEP 11 Uplift Ash pot, turn it clockwise and get it stuck with legs. Your barbecue is now ready for use.Please take care when lighting your barbecue.always keep children away from this barbecue at all time.
- Page 12 . Any parts other than original Jumbuck parts will the failure does not amount to a major failure. Void this warranty.
- Page 13 FOR TECHNICAL ASSISTANCE THE WARRANTY For Australia customers if you experience any technical issues with your JUMBUCK BBQ, in the Removal or re-installation costs. This warranty first instance review the instructions manual or does not cover costs for transit, nor in home contact the warranty service agent.
Need help?
Do you have a question about the CB001 and is the answer not in the manual?
Questions and answers