Advertisement
Quick Links
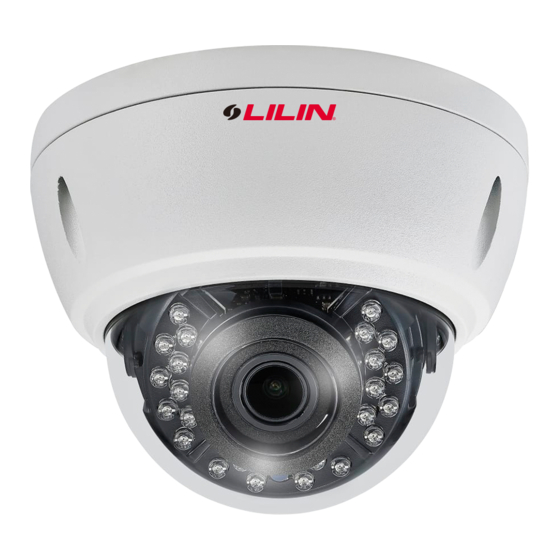
AHD DOME IR CAMERA
Part Description & Dimensions
9
3
53
102
8
VIDEO OUTPUT JACK
DC POWER INPUT JACK (DC12V ± 10%)
SIDE HOLE
BOTTOM CHASSIS
TOP COVER
Installation
1. Please use the enclosed hexagon screwdriver to loosen the 3 screws on the
cover (FIG.1).
FIG. 1
2. Secure the safety rope onto the bottom chassis (FIG.2). Then tighten the truss
head screws (M4.0x25), on which the O rings are put (FIG.3), on the 4 mounting
holes of the bottom chassis (FIG.4). Secure the bottom chassis to the desired
location.
FIG. 3
3. Insert the video cable and power cable through the tube, and connect the video
output jack and the DC power input jack of the camera (FIG.5). Then screw the
tube into the side hole of the bottom chassis (FIG.6).
Instruction Manual
2 4
2 5
2 6
7
140
INNER COVER
DOME COVER
LENS
HOLE PLUG
FIG. 2
FIG. 4
1
DC POWER INPUT
FIG. 5
2 2
4. Adjust the pan, tilt and azimuth of the camera to the desired location (FIG.7).
5. Rotate the focus and zoom knobs for optimal video images. Remember to
tighten the screws once the adjustment is completed (FIG.7).
6. Fix the safety rope on the top cover with a screwdriver (FIG.8). Replace the top
cover and tighten the screws (FIG.9).
FIG. 8
7. Connect to an Up-the-Coax (UTC) digital recorder that supports AHD-Coaxial
protocol. Then use the 8-directional buttons (FIG.10) to adjust settings for the
best images.
.
7-1. USER OSD SETTING
A. (UP)
: Press to move the cursor upwards or to select items.
B. (LEFT)
: Press to move the cursor to the left and to select or
C. (RIGHT)
: Press to move the cursor to the right and select or
D. (DOWN)
: Press to move the cursor downwards or to select
E. SET : Executes selections and displays a submenu for an item
with the mark.
VIDEO OUTPUT
Z O O M
F O C U S
TILT
AZIMUTH
PAN
FIG. 7
UP
SET
LEFT
RIGHT
DOWN
FIG.10
adjust the parameters of the selected item.
The parameters changes each time this button is
pressed.
adjust the parameters of the selected item. The
parameters changes each time this button is pressed.
items.
66-AHD664ACSE-1
FIG. 6
FIG. 9
Advertisement

Related Manuals for Lilin AHD DOME IR CAMERA


Summary of Contents for Lilin AHD DOME IR CAMERA
-
Page 1: Instruction Manual
66-AHD664ACSE-1 AHD DOME IR CAMERA Instruction Manual VIDEO OUTPUT Part Description & Dimensions DC POWER INPUT FIG. 5 FIG. 6 4. Adjust the pan, tilt and azimuth of the camera to the desired location (FIG.7). Z O O M F O C U S... -
Page 2: Menu Map
Menu Map MAIN MENU 1. EXPOSUTE MAIN - EXPOSURE SHUTTER AUTO/ 1/30(1/25)/ 1/60(1/50)/ FLK~1/50000 2. BACKLIGHT MENU AGC 0~15 3. WHITE BAL BRIGHTNESS (1~100) 4. DAY&NIGHT EXIT D-WDR 5. NR - LEVEL (0~15) 6. SPECIAL AUTO 7. ADJUST BACKLIGHT 8. EXIT SAVE&END -...
Need help?
Do you have a question about the AHD DOME IR CAMERA and is the answer not in the manual?
Questions and answers