Advertisement
USER'S GUIDE
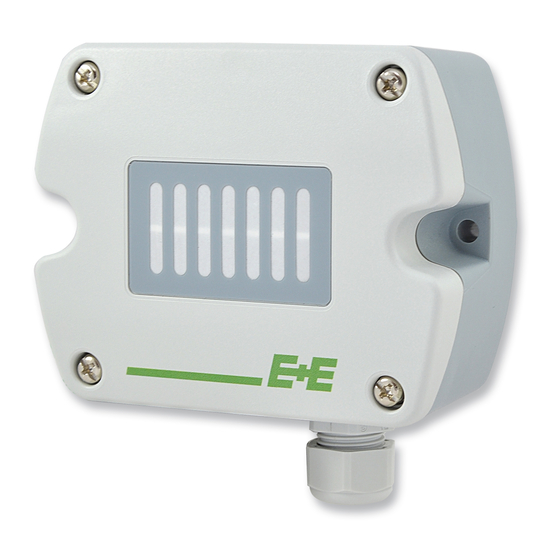
EE820 – CO
Transmitter for Demanding Applications
2
GENERAL
The EE820 transmitter is designed for the measurement of CO
NDIR CO
sensor, which compensates for ageing effects, is highly insensitive to pollution and offers outstanding long term stability.
2
For use in special applications do not hesitate to contact E+E Elektronik or a local distributor.
sCoPE oF suPPLY
•
EE820 Transmitter according to ordering guide
•
Cable gland (only for EE820 with cable gland)
•
Mounting set (screws and rowlplugs/screw anchors)
•
Mating M12x1 connector for self assembly (only for EE820-CxxxNxx with installed M12x1 connector)
•
Two self-adhesive labels for configuration changes (see user guide at www.epluse.com/relabeling)
•
Quick Guide - EE820 Connection Diagram (only for EE820 with M12 connector)
•
Test report according to DIN EN 10204 – 2.2
CAutioN
•
The transmitter shall not be exposed to extreme mechanical or thermal stress.
•
For use in polluted, dirty environment is essential to close tightly the transmitter cover as well as the cable glad or conduit adap-
ter in order to avoid pollution ingress into the enclosure.
•
This device is not appropriate for safety, emergency stop or other critical applications where device malfunction or failure could
cause injury to human beings.
iNstALLAtioN/dimENsioNs
90
mm
±0.3
3.54
"
±0.11
5mm
0.2"
19mm
0.75"
EE820 with M12 plug does not require any wiring inside the device. The external mounting holes allow the device to be mounted
without opening the front cover. The mating M12x1 cable plug for self assembly is included in the scope of supply. Please see EE820
data sheet for optional M12 plugs and cables.
EE820 with cable gland: Use a matching wrench to install the cable gland (in the scope of supply) onto the EE820 enclosure.
EE820 with conduit connection for the North American market: use a flat screwdriver to knock open the blind, carefully, in order to
avoid damaging the electronics inside the enclosure. The conduit adapter is not included in the scope of supply. The M16x1.5 opening
for the cable gland shall be tightly closed using the blind plug included in the scope of supply.
in demanding applications. It incorporates the E+E dual wavelength
2
FOR CONDUIT
INSTALLATION
CABLE GLAND M16x1.5
M12x1 Plug
Advertisement
Table of Contents

Subscribe to Our Youtube Channel
Related Manuals for E+E Elektronik EE820


Summary of Contents for E+E Elektronik EE820
- Page 1 EE820 with M12 plug does not require any wiring inside the device. The external mounting holes allow the device to be mounted without opening the front cover. The mating M12x1 cable plug for self assembly is included in the scope of supply. Please see EE820 data sheet for optional M12 plugs and cables.
-
Page 2: Connection Diagram
CoNNECtioN diAGRAm EE820 with M12 plug EE820 with cable gland 1) Mating M12x1 connector for self assembly is included in the scope of supply 2) Very important: for failure-free operation and performance according to the specs the supply GND and the measurement GND must be wired separately. -
Page 3: Setup And Adjustment
In a polluted environment, the filter on the front cover of EE820 might get clogged in a long run. This is more likely to happen for the EE820 with forced air circulation. -
Page 4: Scope Of Supply
For installing the new EE820-FAC: • Observe the position of the A and B restraints in the cover and of the corresponding cut-outs 1 and 2 in the EE820-FAC board. • Insert first the EE820-FAC into the B restraints. Than press the EE820-FAC as in the picture below, till in snaps into the A restraints. - Page 5 Connect the blue connector of the EE820-FAC to the blue socket on the main EE820 board. • Place the cover on the EE820 so that the cut-out 3 matches the location of the blue connector. • Fix the cover with the 4 bayonett screws D.
Need help?
Do you have a question about the EE820 and is the answer not in the manual?
Questions and answers