
Related Manuals for Dalsa Piranha HS Series


Summary of Contents for Dalsa Piranha HS Series
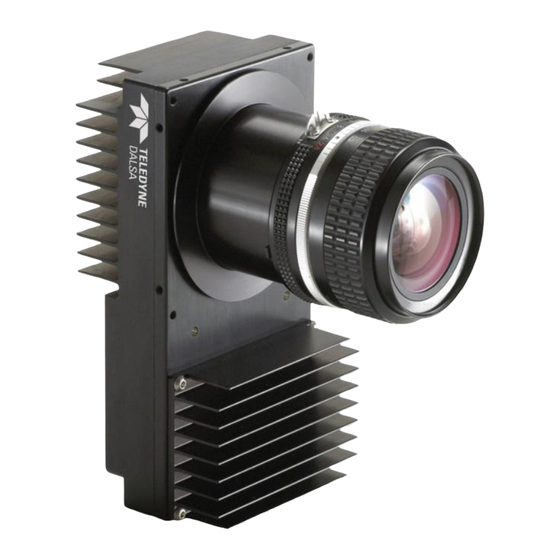
- Page 1 Piranha HS-xx Detailed Getting Started Guide and Worksheet January 2005 03-32-10147-01...
- Page 2 Piranhs HS-xx Detailed Getting Started Guide © 2005 DALSA. All information provided in this manual is believed to be accurate and reliable. No responsibility is assumed by DALSA for its use. DALSA reserves the right to make changes to this information without notice. Reproduction of this manual in whole or in part, by any means, is prohibited without prior permission having been obtained from DALSA.
- Page 3 Line should be perpendicular to the axis of the web’s motion Note: All commands mentioned in this Getting Started Guide are described in the camera user’s manual. You will have to refer to the user’s manual while performing some of the tasks in this guide. DALSA Corp. 03-32-10147-01...
- Page 4 2. you will have to reduce your bit depth or line rate. Record the value from the table. ___________ Record the value from the table. ____________ DALSA Corp. 03-32-10147-01...
- Page 5 Connect the Camera Link data cables. The Camera Link Base configuration is supported on DATA1 (labeled on the back of the camera). It must be plugged into the correct framegrabber DALSA Corp. 03-32-10147-01...
- Page 6 (either 0 for left to right or 1 for right to left). desired mirroring mode Set the throughput to the configuration entered in Part 1. Enter . Camera responds with OK> or a warning message if desired throughput DALSA Corp. 03-32-10147-01...
- Page 7 Enter to observe the camera’s test pattern. Grab an image with your svm 1 framegrabber. Ensure that you are viewing your entire image. The test Note: pattern should look like the one below. The following diagrams show DALSA Corp. 03-32-10147-01...
- Page 8 Table 3 to ensure proper camera configuration. Framegrabber Configuration Camera Mirror Mode Direction Configuration matches smm 1 readout smm 1 scd 1 Configuration matches smm 0 readout smm 0 DALSA Corp. 03-32-10147-01...
- Page 9 Camera Mirror Mode Direction direction, you have to re-enter all of Configuration matches smm 1 smm 0 the commands in Table 3 to ensure readout proper camera configuration. scd 0 or 1 Configuration matches smm 0 smm 1 readout DALSA Corp. 03-32-10147-01...
-
Page 10: Area Mode
Align the camera so that it is square to the test target. If there is a 10 row tilt in the line over 1000 pixels then this will result in about a 1 pixel blurring (96 stage operation) in TDI mode of operation. See diagram for good alignment definitions. DALSA Corp. 03-32-10147-01... - Page 11 (in order to enter the same values for the reverse direction) for each of the camera’s taps, otherwise, skip to Part 5. Tap # Gain Value Select the reverse direction by entering scd 1 DALSA Corp. 03-32-10147-01...
- Page 12 MTF since the pixel size is on internal frame effectively increased by the rate binning factor. Refer to the Set the horizontal binning factor OK> or a warning camera’s user’s manual for more sbh 1 to 1 message depending information on binning. DALSA Corp. 03-32-10147-01...
- Page 13 Notice how the framegrabber configuration matches the camera mirroring mode. Framegrabber Configuration Camera Mirror Mode Direction Configuration matches smm 0 readout smm 0 scd 0 Configuration matches smm 1 readout smm 1 DALSA Corp. 03-32-10147-01...
- Page 14 Configuration matches smm 0 readout smm 1 If you cannot see these test patterns, ensure that: • Your framegrabber configuration file is correct • You have entered all previous commands correctly. Repeat steps in Part 5 if you are unsure. DALSA Corp. 03-32-10147-01...
- Page 15 It is also the region used in automated gain routines and flat field correction algorithms. In most applications, the field of view exceeds the required object size and these extraneous areas should be DALSA Corp. 03-32-10147-01...
- Page 16 27. If you will be operating the camera using external direction control, test the external control by entering the command , otherwise skip to step 32. scd 2 28. Have your system send the forward direction signal on CC3 (high). DALSA Corp. 03-32-10147-01...
- Page 17 This can generally be achieved with some type of synchronously strobed or intensity controlled illumination, and because of the high sensitivity of the camera, LED illumination systems can be reliably used. For further information on using DALSA Corp. 03-32-10147-01...
- Page 18 Piranhs HS-xx Detailed Getting Started Guide strobed LED illumination with high sensitivity line scan cameras, refer to DALSA document 03-32-00540. DALSA Corp. 03-32-10147-01...
Need help?
Do you have a question about the Piranha HS Series and is the answer not in the manual?
Questions and answers