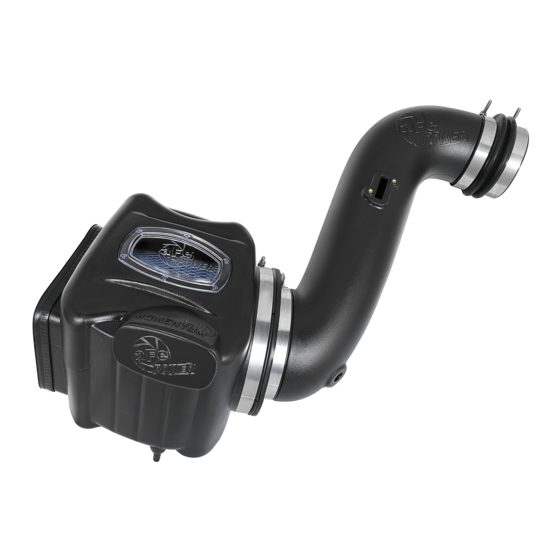
Summary of Contents for aFe Power MOMENTUM HD
- Page 1 The Next Generation of Intakes advanced FLOW engineering Instruction Manual P/N: 50-73004 Make: FORD Model: F-250/350/450/550 Year: 2008-2010 Engine: V8-6.4L (td)
- Page 2 • Please read the entire instruction manual before proceeding. • Ensure all components listed are present. • If you are missing any of the components, call technical support at 951-493-7100 or e-mail tech@afepower.com. • Ensure you have all necessary tools before proceeding. •...
- Page 3 aFepower.com Page 3...
- Page 4 REMOVAL Figure A Refer to Figure A for steps 1-6 Step 1: Disconnect both batteries. Step 2: Loosen the (2) Intake tube clamps using an 8mm nut driver. Step 3: Disconnect the wire harness 1 from the Mass Air Flow (MAF) sensor. Step 4: Disconnect the wire harness 2 from the filter minder.
- Page 5 NOTE: Wipe the filter flange with acetone to remove excess oil. Step 7: Install the filter D in the Momentum HD housing A and install the large T-bolt clamp C . Install the medium T-bolt clamp D on the filter. Do not tighten yet.
- Page 6 Step 9: Install the factory filter minder grommet and filter minder onto the Momentum HD intake tube. Step 10: Install the MAF sensor into the Momentum HD intake tube using the provided screws E . Step 11: Install supplied rubber grommet I onto the intake tube F for the crank case breather.
- Page 7 INSTALL Figure D Refer to Figure D for step 13 Step 13: Place the Momentum HD housing in the truck. DO NOT push it completely into its final location. aFepower.com Page 7...
- Page 8 Refer to Figure E for steps 14-15 Step 14: Connect the Momentum HD tube to the turbo. Leave the tube at a 45-degree angle. Step 15: PLEASE READ CAREFULLY: Rotate the intake tube down into the filter and at the same time you will need to push the housing into the factory grommets.
- Page 9 T-bolt clamps on the filter and on the housing. Step 17: Install the crank case breather hose into the rubber grommet on the Momentum HD intake tube. Early models (built before 5/6/2007) 90-degree fitting can be reused. For later model (built after 5/7/2007) production tubes, cut or pry the upper clamp off and use the provided plastic 90-degree fitting H &...
- Page 10 INSTALL Figure G Refer to Figure G for steps 18-20 Step 18: Reconnect the harness to the MAF sensor and the Filter Minder. Step 19: Check all components are tight and secured. Step 20: Tighten all clamps and re-connect the batteries. Your installation is now complete. Use the furnished plug B to close off the front auxiliary air inlet to completely seal the airbox.
- Page 11 Page left blank intentionally aFepower.com Page 11...
- Page 12 Page left blank intentionally Page 12...
- Page 13 Page left blank intentionally aFepower.com Page 13...
- Page 14 PRO 10R P/N: 20-91061 P/N: 28-10283 P/N: 90-50001 P/N: 90-50501 PRO DRY S P/N: 21-91061 PRO GUARD 7 P/N: 72-91061 aFe Power Diesel T-Shirt aFe Power Hat aFe Power Ladies Hat aFe Power Backpack P/N: 40-30222 (L) P/N: 40-10114 (S/M)
-
Page 15: Warranty
Warranty General Terms: • aFe warrants their products to be free from manufacturer’s defects due to workmanship and material. • This warranty applies only to the original purchaser of the product and is non-transferrable. • Proof of purchase of the aFe product is required for all warranty claims. •... - Page 16 advanced FLOW engineering, inc. 252 Granite Street Corona, CA 92879 TEL: 951.493.7155 • TECH: 951.493.7100 E-Mail:Tech@aFepower.com P/N: 06-80436...


Need help?
Do you have a question about the MOMENTUM HD and is the answer not in the manual?
Questions and answers