
Related Manuals for HobbyKing skipper


Summary of Contents for HobbyKing skipper
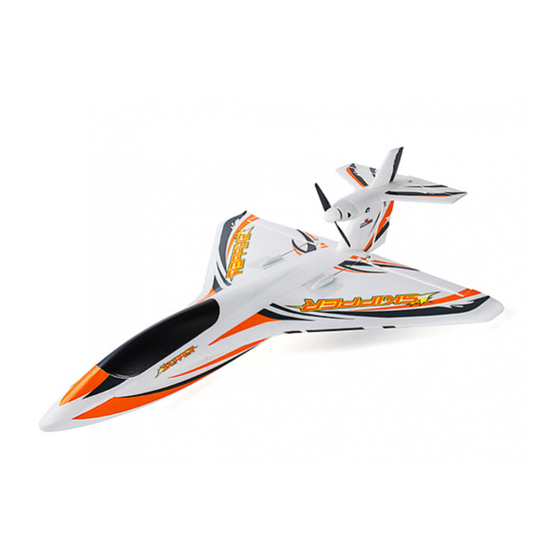
- Page 1 USER MANUAL INCLUDED: 1. Almost completely assembled EPO fuselage and wings. 2. 40A brushless power system - waterproof ESC W/BEC. 3. 9g waterproof servo x 4. 4. Nylon propeller (2pcs).
- Page 2 THIS MODEL IS NOT R TOY! THESE INSTRUCTIONS SHOULD BE READ BY A SUPERVISING ADULT HobbyKing Skipper All Terrain Launching Airplane PNP Model No:40228 IMPORTANT: Before beginning assembly, please read and understand the warnings listed following. Failure to read and understand these warnings could lead to bodily harm and/or injury.
- Page 3 Please note: It is important to thoroughly clean and prepare the foam surface of this model before using the tape to adhere the elevators to the wings. Also ensure that the temperature of the room/workshop is sufficient to aid proper adhesion.
- Page 4 ASSEMBLIN.G YOUR Sl<IPPER 1. Remove battery compartment hatch and electronic compartment hatch as photos show. 2. Rip off the double side tape on the left wing as photos show. 3. Insert servo extend wire into the fuselage hole. plug in left wing with fuselage and press them together so that double sided tape can secure them.
- Page 7 STEP 2: CHARGING THE LIPO PACK (NOT INCLUDED) The following parts are optional purchasing parts. 11.1V 1300mAh 35C LiPo pack. 2S/3S Balance charger with adapter NOTE: Familiarize yourself with the charging procedure of the lipo battery. Read the charger Manual completely and fully charge the lipo battery.
- Page 8 STEP 5: TEST THE AILERON (Mode 2) 1. Move the aileron control stick to the left, the left aileron moves up and the right aileron moves down. 2. Move the aileron control stick to the right, the left aileron moves down and the right aileron moves up. NOTE: If the movement of aileron works in opposite position, please check the aileron reverse switch and make necessary adjustment.
-
Page 9: Valuable Experience
1. For your first couple of flights we recommend that you attempt to land with reserve battery power. 2. During your first flight, while at a high altitude, turn the motor off and notice how the Skipper seaplane reacts. This will give you an idea of how the airplane will react during a landing. At this higher atltitude, familiarize yourself with how the model responds at low power and slower speeds as this is how the model will fly when landing. - Page 10 Command And Fly (Mode 2) Speed up � • --- �,!- Speed down Left stick down 111<__"---=c:::::----=_- ------ r- -. ::::,,,_ \ _ � - - � ff r�p8 Ascending Right stick down - - - - - � ��� L �...
- Page 11 Adjusting trims during flight (Mode 2) 1. Let go of control sticks. If airplane moves left, adjust rudder trim to the right. • � ,'"":--- 2. Let go of control sticks. If airplane moves upward, adjust elevator trim to downward. 3.
- Page 12 \. ., Made in China page 12...
Need help?
Do you have a question about the skipper and is the answer not in the manual?
Questions and answers