Table of Contents
Advertisement
Quick Links
LED-BLINDER-260-RGBW
USER'S MANUAL
Thank you for purchasing a product from our LED-BLINDER-260-RGBW. Every suit has
been thoroughly tested and shipped in perfect condition. Carefully check the shipping carton
for damage that may have occurred during shipping. If the carton appears to be damaged,
carefully inspect your unit for any damage and be sure all accessories necessary to operate
the unit has arrived intactly. In the case damage has been found or parts are missing, please
contact Acson Comercial or your local supplier for further instructions. Do not return this unit
without any warning.
Advertisement
Table of Contents

Related Manuals for ELAN Lighting LED-BLINDER-260-RGBW


Summary of Contents for ELAN Lighting LED-BLINDER-260-RGBW
- Page 1 LED-BLINDER-260-RGBW USER’S MANUAL Thank you for purchasing a product from our LED-BLINDER-260-RGBW. Every suit has been thoroughly tested and shipped in perfect condition. Carefully check the shipping carton for damage that may have occurred during shipping. If the carton appears to be damaged, carefully inspect your unit for any damage and be sure all accessories necessary to operate the unit has arrived intactly.
-
Page 2: Table Of Contents
Contents 1. Before Using.............................3 1.1 What is included............................3 1.2 Open Instructions ............................. 3 1.3 AC Power Supply ............................. 3 1.3 AC Safety Instructions ..........................4 2. Introduction .............................4 2.1 Dimensions .............................. 4 2.2 Specifications ............................5 2.3 Features..............................5 2.4 Product Introduction .......................... -
Page 3: Before Using
1. Before Using 1.1 What is included • Equipment x 1 • Power cable with Plug x 1 • User manual x 1 1.2 Open Instructions Attention! Please help preserve the environment. Make sure this product is recycled at the end of its life. Ask your supplier for information on local arrangements for the disposal of this kind of products. -
Page 4: Ac Safety Instructions
1.4 Safety Instructions • This product is I level protection equipment,so it is must be connected well and connected by the profes- sional people. • Make sure the voltage don’t be above or below which the user manual rated values. •... -
Page 5: Specifications
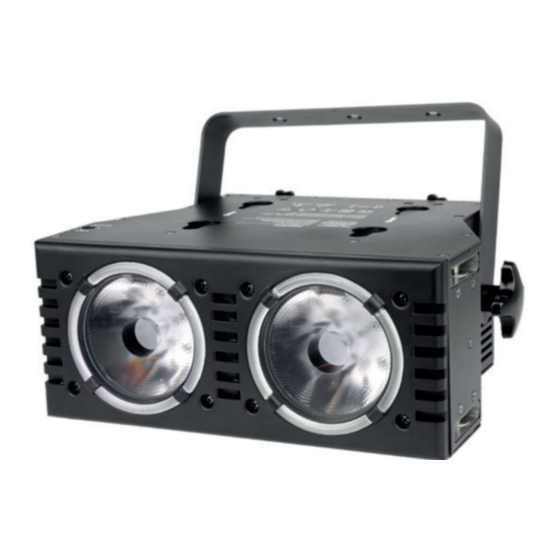
2.2 Specifications • Rated Voltage: AC100V-240V, 50-60HZ • IP Class: IP20 • Rated Consumption: 180W • DMX Modes: 13CH (Basic mode) | 24CH (Stan- • LED Qty: 2x60W high power 4 in 1 LEDs dard mode) | 45CH (Extended mode) 16x0.5W 3 in 1 LEDs •... -
Page 6: Installation
3. Installation 3.1 Installating requirements • This equipment can be used in many places, it can hang and put on the ground. • Choosing a suitable place to put or hang the equipment when installation. Must be use the special screws and hook to make sure the lamp’s weight is in the weight range. -
Page 7: Dmx Signal Connection
3.4 DMX Signal Connection 1. Use DMX512 controller, use the DMX signal (male) to plug into the first lamp (female)3 &5pin. 2. Put out of the equipment of the first signal wire (head), connected to the equipment of the next 3 pin plug (female), and so on, the output terminal of the following inputs have been connected to it (see pic- tures below). -
Page 8: Menu Map
4.2 Menu Map 4.3 Menu Description... - Page 9 [Static color settings] • Press MENU, Operated UP or DOWN to select [STATIC COLOR] Menu, then press ENTER to do it. Press UP or DOWN to choose [Beam Red1], [Beam • Green1], [Beam Blue1], [Beam White1], [Beam Red2], [Beam Green2], [Beam Blue2], [Beam White2], [Aura Red1], [Aura Green1], [Aura Blue1], [Aura Red2], [Aura Green2], or [Aure Blue2].
- Page 10 [DMX Mode Select] • Press the MENU button, the operation UP or DOWN key to select [DMX MODE] menu, and then press ENTER. Operation UP or DOWN key to select [Stand mode], [Ba- • sic mode], [Extand mode]. Press ENTER to save [Test Mode] •...
-
Page 11: Dmx Channel Table
[White balance adjustment] • Press the MENU button, the operation UP or DOWN key to select [CAL Parameter] menu, and then press ENTER key to enter. Operation UP or DOWN select [Beam1 RGB], [Beam2 • RGB], press ENTER to enter optional Red0-255, Green0-255, Blue0-255, press ENTER to save after the operation. -
Page 12: Standard Mode (24Ch)
32-63 LED turn on 64-95 Strobe effect slow to fast 96-127 LED turn on 128-159 Pulse-effect in sequences 160-191 LED turn on 192-223 Random strobe effect slow to fast 224-225 LED turn on 0-255 Dimmer 0-100% 0-255 Dimmer Curve select 5.2 Standard mode (24CH) Channel DMX value... -
Page 13: Extanded Mode (45Ch)
Aura LED Effect & Beam LED 0-255 Auto speed 5.3 Extanded mode (45CH) Channel DMX value Function 0-255 Beam1 Red 0-100% 0-255 Bema1 Green 0-100% 0-255 Beam1 Blue 0-100% 0-255 Beam1 White 0-100% 0-255 Beam2 Red 0-100% 0-255 Bema2 Green 0-100% 0-255 Beam2 Blue 0-100% 0-255... -
Page 14: Beam Macro Color
0-255 Aura1 Red4 0-100% 0-255 Aura1 Green4 0-100% 0-255 Aura1 Blue4 0-100% 0-255 Aura2 Red1 0-100% 0-255 Aura2 Green1 0-100% 0-255 Aura2 Blue1 0-100% 0-255 Aura2 Red2 0-100% 0-255 Aura2 Green2 0-100% 0-255 Aura2 Blue2 0-100% 0-255 Aura2 Red3 0-100% 0-255 Aura2 Green3 0-100% 0-255... -
Page 15: Auto
6.1 AUTO 0-99 No Function 100-114 Auto1 115-129 Auto2 130-144 Auto3 145-159 Auto4 160-174 Auto5 175-189 Auto6 190-204 Auto7 205-219 Auto8 220-234 Auto9 235-255 Auto10 6.2 Linear CTO NO Function 10-53 10000K 54-98 8000K 99-116 7200K 117-143 6500K 144-187 5600K 188-223 4200K 224-249... -
Page 16: Dimmer Curve Select
6.4 Dimmer Curve Select 0-63 Curve1 64-127 Curve2 128-191 Curve3 192-255 Curve4... - Page 17 IMPORTANT INFORMATION! In order to optimize the recovery and recycling of the materials that old appliances contain and reduce the impact on human health and the environment, please make sure that this product is recycled at the end of its life. Note: All information is subject to change without prior notice.
Need help?
Do you have a question about the LED-BLINDER-260-RGBW and is the answer not in the manual?
Questions and answers