Sign In
Upload
Download
Table of Contents
Contents
Add to my manuals
Delete from my manuals
Share
URL of this page:
HTML Link:
Bookmark this page
Add
Manual will be automatically added to "My Manuals"
Print this page
×
Bookmark added
×
Added to my manuals
Manuals
Brands
Xantech Manuals
Receiver
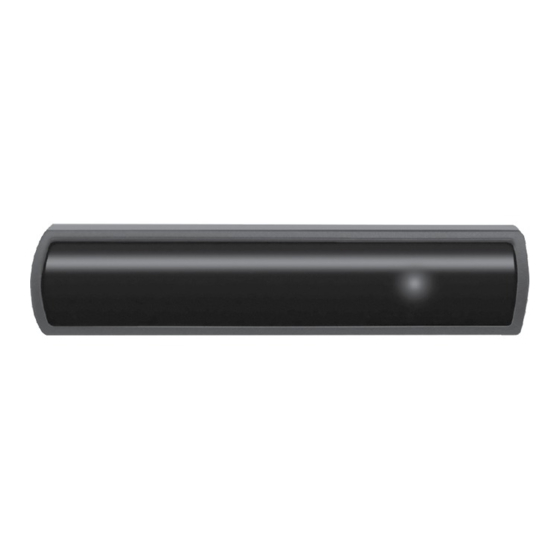
XT-DL-IRK
Installation manual
Xantech XT-DL-IRK Installation Manual
Dl series hl series ml series wl series plasma / lcd / led / cfl friendly ir receiver dinkylink ir receiver kit
Hide thumbs
1
2
3
4
5
6
7
8
9
10
11
12
13
14
15
16
page
of
16
Go
/
16
Contents
Table of Contents
Bookmarks
Advertisement
Table of Contents
1
Specifications
2
Installation
3
Quick Start
4
Included Items
5
Limited Warranty
Download this manual
XT-DL-IRK
DinkyLink
IR Receiver Kit
™
Plasma / LCD / LED / CFL Friendly IR Receiver
INSTALLATION INSTRUCTIONS
Table of
Contents
Previous
Page
Next
Page
1
2
3
4
5
Advertisement
Table of Contents
Need help?
Do you have a question about the XT-DL-IRK and is the answer not in the manual?
Ask a question
Questions and answers
Subscribe to Our Youtube Channel
Related Manuals for Xantech XT-DL-IRK
Receiver Xantech WL85 Installation Instructions
Wall link plasma, lcd, led, cfl friendly ir receiver (5 pages)
Receiver Xantech HL95 Installation Instructions
Hidden link shelf top extended range plasmalcdledcfl friendly ir receiver (4 pages)
Receiver Xantech ML85 Installation Instructions
Micro link peep-hole style plasma, lcd, led, cfl friendly ir receiver (4 pages)
Receiver Xantech Dinky Link DL95 Installation Instructions
Dinky link surface mount extended range plasmalcdledcfl friendly ir receiver (3 pages)
Receiver Xantech XT-CAT-ARC-KIT User Manual
(4 pages)
Receiver Xantech 490-85 Installation Instructions Manual
Clf / lcd friendly micro link ir receiver (10 pages)
Receiver Xantech HDRXSG01 Installation Instructions
High definition receiver module (4 pages)
Receiver Xantech 291-455 Installation Instructions
455 khz hidden link infrared receiver (3 pages)
Receiver Xantech 291-10 Installation Instructions
Hidden link infrared receiver (3 pages)
Receiver Xantech BDX TT Installation Instructions
Stereo bluetooth receiver (2 pages)
Receiver Xantech 291-95 KITRP Installation Instructions
Plasma friendly shelf-top ir receiver (2 pages)
Receiver Xantech 29110D Installation Instructions
Hidden link shelf top standard ir receiver (4 pages)
Receiver Xantech 78095 Installation Instructions
“plasma friendly” j-box infrared receiver (5 pages)
Receiver Xantech 480-95 Installation Instructions Manual
Plasma friendly dinky link ir receiver (11 pages)
Receiver Xantech 480-85 Installation Instructions
Dinky link “cfl & lcd friendly” infrared receiver with adjustable carrier frequency (4 pages)
Receiver Xantech 780-10 Installation Instructions
J-box infrared receiver (2 pages)
This manual is also suitable for:
Dl85
Dl95
Hl85
Hl95
Ml85
Wl85
...
Show all
Ml95
Wl95
Table of Contents
Print
Rename the bookmark
Delete bookmark?
Delete from my manuals?
Login
Sign In
OR
Sign in with Facebook
Sign in with Google
Upload manual
Upload from disk
Upload from URL


Need help?
Do you have a question about the XT-DL-IRK and is the answer not in the manual?
Questions and answers