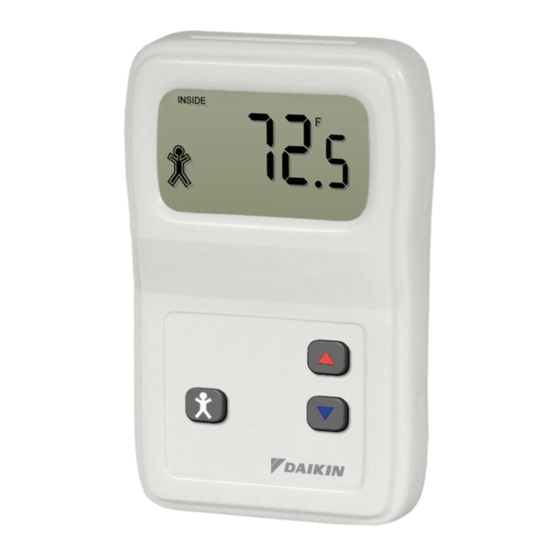
Daikin DPS Installation Manual
Space sensor
Hide thumbs
Also See for DPS:
- Installation and maintenance manual (160 pages) ,
- Installation and maintenance manual (82 pages) ,
- Installation and maintenance manual (20 pages)
Summary of Contents for Daikin DPS
- Page 1 Installation Manual IM 1199 Group: Applied Air DPS/MPS/RAH/RPS/SWP Part Number: IM 1199 Space Sensor Date: May 2013 © 2013 Daikin Applied...
-
Page 2: Table Of Contents
Table of Contents Introduction . . . . . . . . . . . . . . . . . . . . . . . . . . . . . . . . . . 2 Installation . -
Page 3: Installation
Installation Mounting Figure 1: Junction Box and Drywall Mounting Junction Box 1. Pull the wire through the wall and out of the junction box, leaving about six inches free. 2. Pull the wire through the hole in the base plate. 3. -
Page 4: Front Panel
Installation Front Panel Figure 3: Front Panel Display The display is standard for all sensors. The functional keys on the display include the setpoint adjustment buttons and the tenant override button, as well as a numerical display to view changes. Setpoint Buttons When pressed, the setpoint will display for three to four seconds. -
Page 5: Specifications And Parts
Specifications and Parts Specifications and Parts Sensor Specs Parts Power: Part Number: 15 to 28 VAC 924 VAC nominal) 910143408 Power Consumption: .17 VA maximum AC Wiring: See Terminal section (page 3) Display: LCD - 3.5 digits @ 0.6 inch H Temperature display units - 0.1°... - Page 6 Now that you have made an investment in modern, efficient Daikin equipment, its care should be a high priority. For training information on all Daikin HVAC products, please visit us at www.DaikinApplied.com and click on Training, or call 540-248-9646 and ask for the Training Department.


Need help?
Do you have a question about the DPS and is the answer not in the manual?
Questions and answers