Tower Hobbies P-51 MUSTANG MKII EP Rx-R Instruction Manual
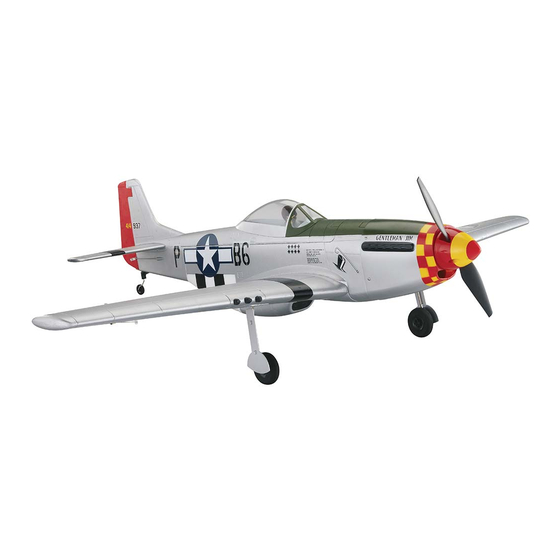
For all styles and trim schemes, length 34 in 864mm, weight 30-34 oz 850-964 g, wingspan 40 in 1016mm, wing loading 15.3 - 17.2 oz/ft2 46.7 - 52.5 g/dm2, wing area 282 sq in 18.2 dm2, radio 4-channel minimum required 5-6 if optional flaps/retracts are use
Table of Contents
Advertisement
Quick Links
MKII EP Rx-R
LENGTH
WEIGHT
To w e r
®
Hobbies
34 in [864 mm]
30 – 34 oz [850 – 964 g]
guarantees
this kit to be
WING LOADING
free from defects
WINGSPAN
in both material and
15.3 –17.2 oz/ft
2
[46.7– 52.5 g/dm
2
]
workmanship
at
the
40 in [1016 mm]
date of purchase. This
RADIO
warranty does not cover any
WING AREA
component parts damaged by
4-Channel minimum required
use or modification. In no case shall
282 sq in [18.2 dm
]
2
Tower Hobbies' liability exceed the
5–6 if optional flaps/retracts are used
original cost of the purchased kit. Further,
Tower Hobbies reserves the right to change
or modify this warranty without notice.
READ THROUGH THIS MANUAL
In that Tower Hobbies has no control over the final
assembly or material used for final assembly, no
BEFORE STARTING CONSTRUCTION.
liability shall be assumed nor accepted for any damage
IT CONTAINS IMPORTANT INSTRUCTIONS
resulting from the use by the user of the final user-assembled
AND WARNINGS CONCERNING THE
product. By the act of using the user-assembled product, the
user accepts all resulting liability.
ASSEMBLY AND USE OF THIS MODEL.
If the buyer is not prepared to accept the liability associated with the
use of this product, the buyer is advised to return this kit immediately in
new and unused condition to the place of purchase.
TOWER HOBBIES
To make a warranty claim send the defective part or item to Hobby Services at
the address below:
Champaign, Illinois
Hobby Services • 3002 N. Apollo Dr. Suite 1 • Champaign IL 61822 • USA
(217) 398-8970 ext. 6
Include a letter stating your name, return shipping address, as much contact information as
possible (daytime telephone number, fax number, e-mail address), a detailed description of
airsupport@hobbico.com
the problem and a photocopy of the purchase receipt. Upon receipt of the package the problem
will be evaluated as quickly as possible.
®
© 2016 Tower Hobbies.
A subsidiary of Hobbico, Inc.
v1.1
1
Advertisement
Table of Contents

Related Manuals for Tower Hobbies P-51 MUSTANG MKII EP Rx-R


Summary of Contents for Tower Hobbies P-51 MUSTANG MKII EP Rx-R
- Page 1 Tower Hobbies reserves the right to change or modify this warranty without notice. READ THROUGH THIS MANUAL In that Tower Hobbies has no control over the final assembly or material used for final assembly, no BEFORE STARTING CONSTRUCTION. liability shall be assumed nor accepted for any damage...
-
Page 2: Table Of Contents
TABLE OF CONTENTS AMA ......... . 2 Check the Controls &... -
Page 3: Required Items
12V battery), or a 110V AC outlet. The Onyx also has an adjustable charge rate to charge your batteries in as little If any parts are missing or damaged, consult Tower Hobbies as a half-hour or less (depending on the condition of your Order Assistance. -
Page 4: Contents
CONTENTS 1. Fuselage 5. Propeller Adapter 9. Tail Wheel 2. Canopy Hatch 6. Fixed Landing Gear w/ Covers 10. Wing 3. Spinner 7. Horizontal Stabilizer 11. Cowl 4. Propeller 8. Foam Plugs... -
Page 5: Before Assembly
BEFORE ASSEMBLY 1. Read the Motor Safety Precautions section on page 13 of this manual. Charge the battery pack following the instructions that came with your charger. 2. Remove all of the components from the plastic packaging and lay them out on your work surface. Set the wing aside and begin the fuselage assembly. -
Page 6: Radio Setup
To prepare your other battery packs, you may purchase more Great Planes hook and loop material (GPMQ4480) from Tower Hobbies. 7. Remove the nylon Faslink from the end of the elevator pushrod by rotating the Faslink until it unsnaps from the long part of the pushrod and rotates around the L-bend. -
Page 7: Optional Flap Installation
OPTIONAL FLAP INSTALLATION 5. With the servos centered, check to make sure that the control surfaces are centered. If they need to be adjusted, loosen the locking screw on the pushrod connector and adjust the fl ight control until it is centered. When you are satisfi ed, tighten the locking screw to hold the pushrod wires in position. - Page 8 6. Insert the nut in the opening in the fl ap servo recess. Gently shake the wing to guide the nut and string to the opening in the top center of the wing. 3. Use CA to glue the control horn in the slot with the quick connector towards the wing root.
-
Page 9: Install The Fixed Landing Gear (Optional)
1. Install the main landing gear legs by fi tting them 10. Use CA, Canopy glue or thin double-sided tape (not into the slots in the bottom of the wing so that the wheel included) to secure the fl ap servo in the wing. faces inboard. -
Page 10: Get The Model Ready To Fly
6. Snap the optional retract landing gear covers onto the landing gear wires. 2. Insert the nut in the opening in the retract recess. Gently shake the wing to guide the nut and string to the opening in the top center of the wing. GET THE MODEL READY TO FLY Check the Controls &... -
Page 11: Check The Control Throws
Check the Control Throws Install the Propeller & Spinner The control throws are limited by the travel of the servos and IMPORTANT! Unplug the motor battery! the mechanical set up of the pushrods. You can change the control throw using the end-points or ATV feature of your radio, or you can change the mechanical linkage to increase or decrease the amount of control movement in relation to the amount of servo movement. -
Page 12: Balance The Model (C.g.)
4. If the tail drops, the model is “tail heavy” and the battery Balance the Model (C.G.) pack must be shifted forward or weight must be added to the nose to balance. If the nose drops, the model is “nose WARNING! DO NOT plug the motor battery into the ESC. -
Page 13: Preflight
ALWAYS charge through the “charge” lead. PREFLIGHT ALWAYS KEEP OUT OF THE REACH OF CHILDREN. Identify Your Model ALWAYS remove the batteries from the plane after a crash. Set them aside in a safe location for at least 20 No matter if you fl y at an AMA sanctioned R/C club site or minutes. -
Page 14: Perform A Range Check
Perform a Range Check Take Off As a precaution, an operational ground range test should be Until you have become comfortable with fl ying your P-51, performed before the fi rst fl ight each time out. Performing a do not fl y if the wind speed is greater than 10 mph [16 range test is a good way to detect problems that could cause kilomoters/hr]. -
Page 15: Landing
Remember to keep the model high enough to give yourself CAUTION: If, during a rough landing, the propeller be- time to make corrections, but don’t let it get too far away. comes jammed and cannot rotate, the battery and speed Otherwise, it will be diffi cult to detect its attitude and which control will become very hot if you attempt to add power. - Page 16 ® © 2016 Tower Hobbies. v1.1 A subsidiary of Hobbico, Inc. ...
Need help?
Do you have a question about the P-51 MUSTANG MKII EP Rx-R and is the answer not in the manual?
Questions and answers