Advertisement
Quick Links
Advertisement

Related Manuals for soundsation BEAM-ARC5-10W


Summary of Contents for soundsation BEAM-ARC5-10W
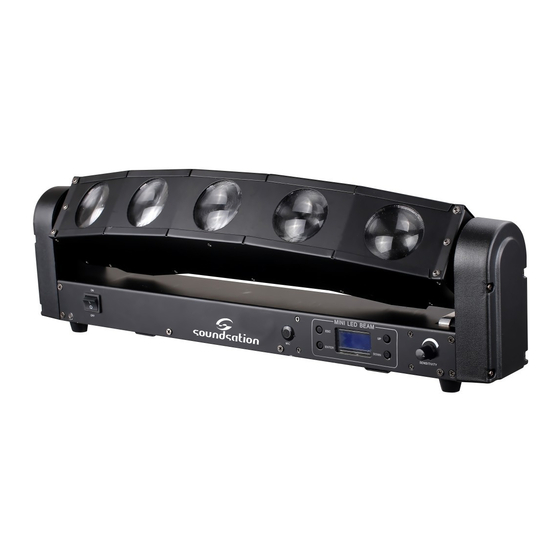
- Page 1 BEAM-ARC5-10W USER MANUAL PRO-LIGHTIN...
- Page 2 Dear customer, first of all thanks for purchasing a SOUNDSATION® product. Our mission is to satisfy all the possible needs of musical instrument and professional audio users offering a wide range of products using the latest technologies for a reasonable price.
- Page 3 - Do not place the product on anything containing water or other fluids. If any foreign objects enter the instrument, please contact your dealer or an authorized SOUNDSATION center. The serial number, electrical features and international standards are printed on a label located in the bottom of the instrument.
- Page 4 FRENEXPORT SPA – Via Enzo Ferrari, 10 - 62017 Porto Recanati – Italy Specification © SOUNDSATION 2012 – All rights reserved – All total or partial reproduction of this manual by any other company or person without express authorization of SOUNDSATION is strictly forbidden.
- Page 5 To avoid any damages in transit, please use the original packaging if available. Alternatively you can send the product to SOUNDSATION SERVICE CENTER – Via Enzo Ferrari , 10 – 62017 Porto Recanati - Italy . In order to send a product to service center you need an RMA number.
- Page 6 Safety Instruction Stand alone CH10 0-255 from slow to fast speed For your safety,please read this user manual carefully before CH11 Y run speed 0-255 from fast to slow operation. The machine should be operated by qualified engineer! CH12 LED1 RGBW brightness adjust,2-31RED,32-61 GREEN, CH13 LED2...
- Page 7 (17CH) DMX Protocol Section 2. Set Up Function Description 0-255 Installation Y 16 bit 0-255 Controlling Board Dimmer 0-255 from dark to bright Machine Connection 0-255 from dark to bright 0-255 from dark to bright 0-255 from dark to bright Installation 0-255 from dark to bright This machine should be mounted through the screw holes of truss.
- Page 8 Controlling Board strobe 0-255 from slow to fast 1-7 Y stand-alone①,8-14 Y stand-alone② ,15-21 Y stand-alone③ ,22-28 Y stand-alone④ ,29-35 Y Stand-alone/ stand-alone⑤ ,36-42 Y stand-alone⑥ ,43-49 Y sound-active stand-alone⑦ ,50-56 Y stand-alone⑧ ,57-63 Y stand-alone⑨ stand-alone① , 71-77 64-70 Y off Y off stand-alone②...
- Page 9 Test UP/DOWN to choose Y off sound active model 1-9, Sound:x press ENTER to save Cable Connectors Cables must have a male XLR connector on one end and a female XLR connector on the Test UP/DOWN to adjust Y value address, press ENTER other end.
- Page 10 Section 3. Troubleshooting Section 4. Reference Control Menu Probable cause(s) Remedy DMX Protocol No power to fixture Check power cables No response from Specification Primary fuse blown Replace fuse fixture when power Control Menu Secondary fuse is applies Replace fuse blown Operation...
Need help?
Do you have a question about the BEAM-ARC5-10W and is the answer not in the manual?
Questions and answers