Sign In
Upload
Download
Table of Contents
Contents
Add to my manuals
Delete from my manuals
Share
URL of this page:
HTML Link:
Bookmark this page
Add
Manual will be automatically added to "My Manuals"
Print this page
×
Bookmark added
×
Added to my manuals
Manuals
Brands
Brother Manuals
Sewing Machine
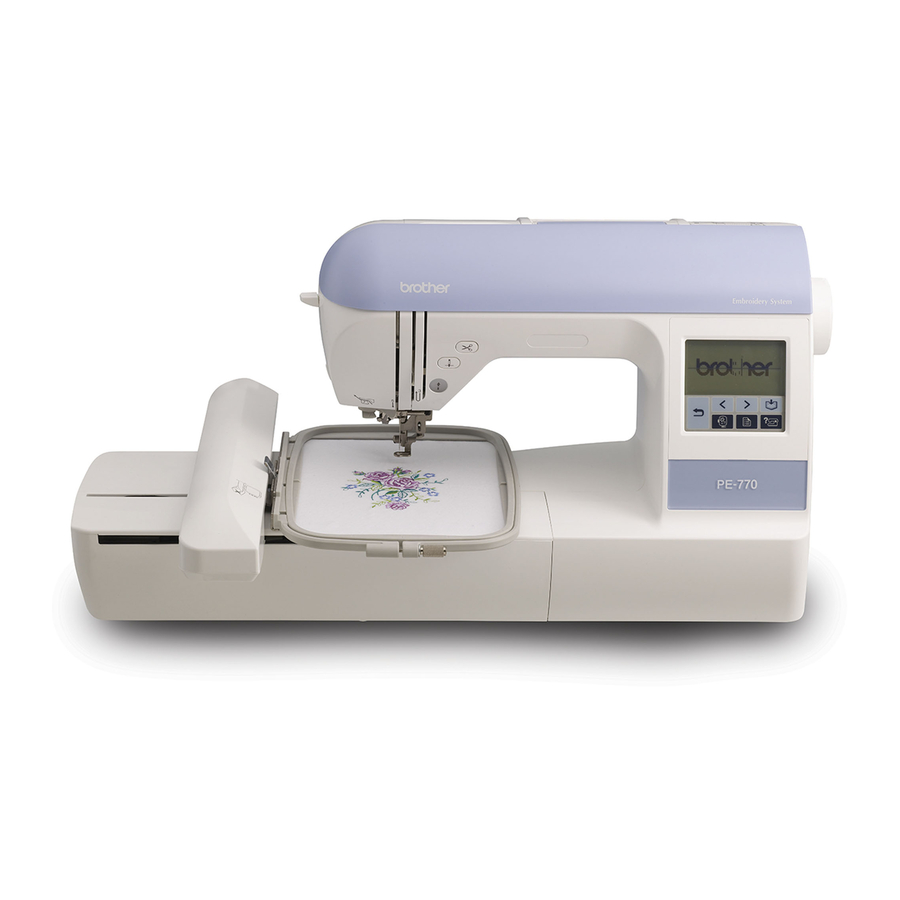
PE770
Service manual
Brother PE770 Service Manual
Computerized sewing machine
Hide thumbs
Also See for PE770
:
Operation manual
(88 pages)
,
Parts reference list
(25 pages)
1
2
3
4
5
6
7
8
9
10
11
12
13
14
15
16
17
18
19
20
21
22
23
24
25
26
27
28
29
30
31
32
33
34
35
36
37
38
39
40
41
42
43
44
45
46
47
48
49
50
51
52
53
54
55
56
57
58
59
60
61
62
63
64
65
66
67
68
69
70
71
72
73
74
75
76
77
78
79
80
81
82
83
84
85
86
87
88
89
90
91
92
93
94
95
96
97
98
99
100
101
102
103
104
105
106
107
108
109
110
111
112
113
114
115
116
117
118
119
120
121
122
123
124
125
126
127
128
129
130
131
132
133
134
135
136
137
138
139
140
141
142
143
144
145
146
147
148
149
150
151
152
153
154
155
156
157
158
159
160
161
162
163
164
165
166
167
168
169
170
171
172
173
174
175
176
177
178
179
180
181
182
183
184
185
186
187
188
189
190
191
192
193
194
195
196
197
198
199
200
201
202
203
204
205
206
207
208
209
210
211
212
213
214
215
216
217
218
219
220
221
222
223
224
225
226
227
228
229
230
231
232
233
234
Table Of Contents
235
page
of
235
Go
/
235
Contents
Table of Contents
Bookmarks
Table of Contents
Outline of Mechanism
Main Mechanisms
Driveline
Positions of Electronic Components
Control System Block Diagram
Operation of Other Electronic Components
Disassembly
Main Parts
Electrical Parts and Motors
Thread Release Holder Assy. F Removal
Tension Releaser Link Removal
AT Pulse Motor Removal
Thread Guide Wire Removal
Bobbin Winder Mechanism
Bobbin Winder Cover Removal
BW Holder Supporter Removal
Rotary Hook Drive Mechanism / Feed and Bobbin Mechanism / Cutter Assy. Mechanism
Coating Clip Removal
Lower Shaft a Assy. Removal
Needle Bar, Presser Mechanism / Upper Shaft Mechanism
Upper Shaft Removal
Needle-Presser Module Removal
Plate Spring Removal
Needle-Presser Module
Quilting Foot Removal
Spring Removal
Needle Holder Guide Assy. Removal
Lever AB Assy. Removal
Thread Guide Plate Removal
Presser Foot Lifter Removal
Thread Take-Up Counter Weight Removal
Thread Take-Up Lever Link Removal
Feed Module
Needle Plate a Removal
Photo Diode Holder Assembly Removal
Lower Shaft B Assy. Removal
Stopper Plate Block Assy. Removal
Thread Cutter Module
Thread Cutter Frame Assembly Removal
Cutter Holder Assembly Removal
Thread Cutter Lever Assy. Removal
Embroidery Parts
YPM Cover Removal
ES Main Cover Assembly Removal
Lead Wire Assembly (EMB Unit FCOMB) Removal
Lock Release Lever Assembly Removal
Groove Cover Removal
XY Carriage Unit Removal
X Tension Pulley Assembly Removal
X Initial Shutter Removal
Y Slider Removal
Y Carriage ASSY Disassembly
Y Tension Pulley Assembly Removal
Y Driving Gear Pulley Assembly Removal
Assembly
Needle Bar, Presser Mechanism / Upper Shaft Mechanism
Plate Spring Attachment
Needle-Presser Module Attachment
Pulley Attachment
Connecting the Needle-Presser Module and Upper Shaft
Rotary Hook Drive Mechanism / Feed and Bobbin Mechanism /Cutter Assy. Mechanism
Assembling the Lower Shaft a Assembly
Lower Shaft a Attachment
Thread Cutter Module Attachment
Bobbin Winder Mechanism
Bobbin Winder Shaft Stopper (Bobbin Winder Assembly Holder) Assembly
BW Holder Supporter Attachment
Bobbin Winder Cover Attachment
Thread Tension Mechanism
Spring Tape Attachment
Thread Take up Spring Attachment
Tension Disk Attachment
Thread Tension Gear Attachment
Tension Releaser Link Attachment
Thread Release Holder Assy. Attachment
Tension Plate Attachment
Thread Guide Cover Assembly
Electrical Parts and Motors
Belt Guard Attachment
Main Motor Assembly Attachment
Connector Holder ASSY Assembly and Attachment
PBC Unit LED Lamp-FL Attachment
Main Parts
Handle Assembly and Attachment
Front Cover Assembly (SV Cover Attachment)
Front Cover Assembly (Spool Pin Attachment)
Touch Panel Assembly Attachment
Main PCB Assembly Attachment
Front Cover Attachment
Free Arm Cover Attachment
Face Plate Assembly
Embroidery Attachment
Needle-Presser Module
Shaft Bushing Assembly Attachment
Presser Bar Attachment
Thread Take-Up Counter Weight Attachment
Thread Take-Up Lever Assy. Attachment
Presser Foot Lifter Attachment
Threader Hook Assy. Attachment
Thread Guide Plate Attachment
Lever AB Assy. Attachment
Lever a Spring Attachment
Needle Bar Assembly Attachment
Spring (for Needle Bar Supporter Assy.) Attachment
Quiltintg Foot Attachment
Feed Module
Bushing Supporter Assy. Assembly
Assembling the Lower Shaft B Assy
Lower Shaft B Assy. Attachment
Outer Rotary Hook Assy. Attachment
Cord Holder Attachment
Needle Plate a Assy. Attachment
Thread Cutter Module
C Pulse Motor Attachment
Assembling the Thread Cutter Lever Assy
Assembling the Thread Hook Assy
Sensor Holder Attachment
Thread Cutter Frame Assembly Attachment
Embroidery Parts
Y Sensor PCB Assembly Attachment
Y Tension Pulley Assembly Attachment
Y Pulse Motor Assembly Attachment
Y Carriage Unit Attachment
Cord Guide Attachment
X Driving Gear Pulley Attachment
X Tension Pulley ASSY Attachment
Oil Guard Plate Attachment
X Belt Presser Removal
Rubber Cushion and Rubber Cushion Cover Attachment
ES Base Cover Unit Attachment
Groove Cover Attachment
X Carriage Cover Attachment
Adjustment
Needle Point Damage
Starting Test Mode
List of the Test Mode
Touch Panel
Timing Belt Tension
Motor Belt Tension
Fine Tension
Upper Thread Tension
Needle Left/Right Position
Needle Bar Rising
Needle Bar Height
Clearance between Needle and Rotary Hook Point
Needle Threader
Presser Bar Height
Bobbin Winder
Needle and Presser Foot Front/Back Position
Inner Rotary Hook Bracket Position
Inner Rotary Hook Assy. (Lower Thread) Tension
Belt Tension (Embroidery Unit)
Embroidery Unit Center Position
Failure Investigation for Electronic Parts
Error Message List
The Power Does Not Come on
Pulse Motors Do Not Return to Starting Position
The Touch Panel Does Not Work
LCD Backlight Does Not Come on
Main Motor Does Not Turn
Main Motor Rotation Abnormal
Cannot Sew Pattern Correctly
Thread Tensioning Is Not Correct
Thread Cutter Does Not Work Normally
Bobbin Winding Cannot be Done
Lamp Does Not Come on
Bobbin Thread Detection Does Not Work Normally
Upper Thread Sensor Does Not Work Normally
Card Cannot be Used Normally
Embroidery Unit Does Not Operate Normally
Error Is Displayed
Replacement of Main PCB Assy or Motor PCB Assy
Correspondence Table of "Model" and "Printed-Circuit Board"
Repair Manual
Special Instructions of Wiring
Needle Bar Module Wiring
Rotary Hook Module Wiring
Motor PCB Assembly Wiring
Front Cover Assembly Wiring
Embroidary Unit Assembly Wiring
Advertisement
Quick Links
1
Outline of Mechanism
2
Disassembly
Download this manual
See also:
Operating Manual
Table of
Contents
Previous
Page
Next
Page
1
2
3
4
5
Advertisement
Table of Contents
Need help?
Do you have a question about the PE770 and is the answer not in the manual?
Ask a question
Questions and answers
Related Manuals for Brother PE770
Sewing Machine Brother PE-780D Operation Manual
Computerized embroidery machine (88 pages)
Sewing Machine Brother PE780D Parts Reference List
Brother home sewing machine parts reference list (25 pages)
Sewing Machine Brother PE-780D Manual De Instrucciones
Users manual - spanish (88 pages)
Sewing Machine Brother Innov-ís 2500D Manual
Accessory catalog (42 pages)
Sewing Machine Brother Computerized Embroidery Machine Operation Manual
Computerized embroidery machine (86 pages)
Sewing Machine Brother PE-700 Brochure
Brother embroidery machine brochure (2 pages)
Sewing Machine Brother PE-700 User Manual
Users manual - multi (2 pages)
Sewing Machine Brother PE-700II Instruction Manual
Usb connections (41 pages)
Sewing Machine Brother PE-700II Instruction Manual
User manual - french (86 pages)
Sewing Machine Brother PE-700II Instruction Manual
Usb connections (41 pages)
Sewing Machine Brother PE-750D Quick Reference Manual
Quick setup guide - english (24 pages)
Sewing Machine Brother Pe-150 Service Manual
Home embroidery machine (44 pages)
Sewing Machine Brother PE-180D User Manual
Personal embroidery system (147 pages)
Sewing Machine Brother PE-270D Service Manual
Disney design guide - multi (8 pages)
Sewing Machine Brother PE500 Operation Manual
Computerized embroidery machine (92 pages)
Sewing Machine Brother PE535 Operation Manual
(53 pages)
This manual is also suitable for:
Dz820e
Sb7900e
Nv770e
Nv750e
Pe780d
Table of Contents
Save PDF
Print
Rename the bookmark
Delete bookmark?
Delete from my manuals?
Login
Sign In
OR
Sign in with Facebook
Sign in with Google
Upload manual
Upload from disk
Upload from URL


Need help?
Do you have a question about the PE770 and is the answer not in the manual?
Questions and answers