Table of Contents
Advertisement
Quick Links
NORTH AMERICA
3130 East Miraloma Avenue
Anaheim, CA 92806 USA
USA and Canada –
Phone: 800-368-9700
Fax: 800-832-4888
Other Locations – Phone: (001)-714-632-7100; Fax: (001)-714-632-1044
©Premier Mounts 2008
9531-027-224-02
INSTALLATION INSTRUCTIONS
SCM-103
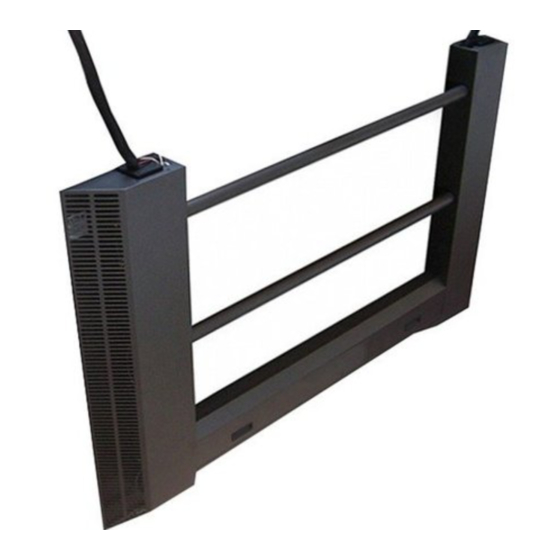
Suspended Ceiling Mount
EUROPE
Swallow House,
Shilton Industrial Estate,
Shilton, Coventry, England CV79JY
Phone: +44 (0) 2476 614700
Fax: +44 (0) 2476 614710
AUSTRALIA, NEW ZEALAND,
OCEANIA (DISTRIBUTOR)
P.O. Box 295
Mordialloc Victoria 3195
Australia
Phone: 039586 6330
www.premiermounts.com.au
Advertisement
Table of Contents

Subscribe to Our Youtube Channel
Summary of Contents for Premier Mounts SCM-103
-
Page 1: Installation Instructions
NORTH AMERICA 3130 East Miraloma Avenue Anaheim, CA 92806 USA USA and Canada – Phone: 800-368-9700 Fax: 800-832-4888 Other Locations – Phone: (001)-714-632-7100; Fax: (001)-714-632-1044 ©Premier Mounts 2008 9531-027-224-02 INSTALLATION INSTRUCTIONS SCM-103 Suspended Ceiling Mount EUROPE Swallow House, Shilton Industrial Estate,... -
Page 2: Table Of Contents
THESE INSTALLATION INSTRUCTIONS IN AN EASILY ACCESSIBLE LOCATION FOR FUTURE REFERENCE. PREMIER MOUNTS DOES NOT WARRANT AGAINST DAMAGE CAUSED BY THE USE OF ANY PREMIER MOUNTS PRODUCT FOR PURPOSES OTHER THAN THOSE FOR WHICH IT WAS DESIGNED OR DAMAGE CAUSED BY UNAUTHORIZED ATTACHMENTS OR MODIFI- CATIONS, AND IS NOT RESPONSIBLE FOR ANY DAMAGES, CLAIMS, DEMANDS, SUITS, ACTIONS OR CAUSES OF ACTION OF WHATEVER KIND RESULTING FROM, ARISING OUT OF OR IN ANY MANNER RELATING TO ANY SUCH USE, ATTACHMENTS OR MODIFICATIONS. -
Page 3: Parts List
This ceiling mount is shipped with all proper installation hardware and components. Make sure that none of these parts are missing and/or damaged before beginning installation. If there are missing and/or damaged parts, please stop the installation and contact Premier Mounts (800-368-9700). Mounting Brackets... -
Page 4: Locating The Mounting Points
Step 1. Locate the 4 quick release sleeves on the back of the display and remove. Place the M16 bolts and split washers to the side. These will be used for bracket installation on the next page. Page 4 SCM-103 Mounting Points... -
Page 5: Mounting The Brackets To The Display
SCM-103 Mounting the Brackets to the Display The following steps will require a minimum of 3 people. This should not be done with less then 3 people due to the weight of mounting brackets. Step 1. Align the mounting bracket holes up with the mounting holes on the back of the display. There are two mounting holes used on each side of the display. -
Page 6: Securing The Lower Cover
Securing the Lower Cover THE SCM-103 IS HEAVY. IT IS STRONGLY RECOMMENDED THAT THREE PEOPLE PERFORM ALL INSTALLATION STEPS. Lower Cover Pre Installed Handy Box Step 1. Insert the lower cover between the vertical mounting brackets. Step 2. Attach four (4) 10-32 Kep Nuts and tighten down securing the lower cover into place. - Page 7 SCM-103 THE SCM-103 IS HEAVY. IT IS STRONGLY RECOMMENDED THAT THREE PEOPLE PERFORM ALL INSTALLATION STEPS. Step 5. Once the tubes are locked into place insert the clevis pins into the hole at the end of each tube. Step 6. Lock each clevis pin into place by inserting the attached cotter pin into the hole.
-
Page 8: Lifting The Display Into Position
The components (below) that are used to hang the SCM-103 are sold separately and may be ordered through Premier Mounts (800) 368-9700. 1/4” stainless steel 7 x 19 wire rope assembly w/ 1/2”... -
Page 9: Cable Routing
SCM-103 Cable Routing Step 1. Route the pre-hung cables through the top of the left and right mounting brackets attached to the display. Two holes are provided at the top of each mounting bracket. Cables can be routed so both are going through one hole or routed so each cable runs through its own hole. - Page 10 THE SCM-103 IS HEAVY. IT IS STRONGLY RECOMMENDED THAT THREE PEOPLE PERFORM ALL INSTALLATION STEPS. Page 10 Step 3. Slide plastic insert plug down cabling and Step 4. Locate the 6-32 x 1/4” Set Screw and insert Plastic Top 6-32 x 1/4”...
- Page 11 SCM-103 THE SCM-103 IS HEAVY. IT IS STRONGLY RECOMMENDED THAT THREE PEOPLE PERFORM ALL INSTALLATION STEPS. Leveling adjustment can be made at this stage by setting the nut position at different heights on the threaded post attached to the cable.
-
Page 12: Installing The Beauty Covers
Step 2. Install the panel by sliding it into position behind the tubes. Step 3. Lock the cover into position by tightening the six (6) 8-3 x 3/8” screws. Mounting Bracket Cover Step 4. Slide the mounting bracket covers into position. Page 12 8/32 x 3/8” Screw SCM-103 Installation Instructions... - Page 13 SCM-103 Step 5. Once cover is slid into position tighten down using the 8-32 x 3/8” screws. Lower Cover Step 6. Drop the lower cover into position between the 2 display mounting brackets and lock into place using the 8-32 x 3/8” screws provided.
-
Page 14: Technical Specifications
SCM-103 Technical Specifications All measurements are in inches(mm). Page 14 Installation Instructions... -
Page 15: Warranty
What Premier Mounts Will Do At the sole option of Premier Mounts, Premier Mounts will repair or replace any product or product part that is defective. If Premier Mounts chooses to replace a defective product or part, a replacement product or part will be shipped to you at no charge, but you must pay any labor costs.


Need help?
Do you have a question about the SCM-103 and is the answer not in the manual?
Questions and answers