Advertisement
Quick Links
PrimeTec
B
PrimeScan
B
Combined detector AIR/Radar for opening and protecting automatically controlled sliding doors
Translation of the original instructions
General
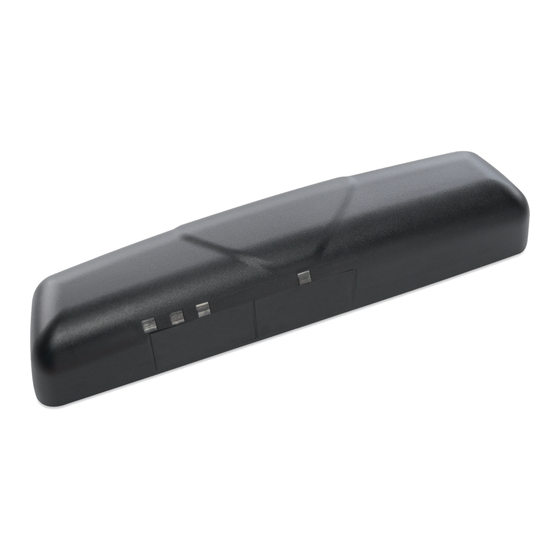
PrimeTec B
a
b
PrimeScan B
a
b
a) red LED
b) green LED
1
Safety instructions
– Consider the national and international regulations on door safety.
– Only trained, qualified personnel may mount and start up the detector.
– The unit may only be opened and repaired by Bircher Reglomat.
– The unit may only be operated from a safety extra-low voltage (SELV)
system with safe electrical separation.
– Always consider the safety functions of your application as a whole,
never just in relation to one individual section of the system.
Start-up
Recommended start-up sequence: Mounting Connection Initialisation
2
Mounting
1. Remove cover hood
2. Set AIR field width (see chapter 2.1)
2.1
Setting the AIR field width (PrimeTec / PrimeScan)
The width of the AIR field can be set using the click-in plastic cover in front of the detector's lens.
*
Detector without cover:
All light beams are active
Possible settings (Dimensions at 2.2 m mounting hight):
A, D covered
A
B
C
2.2
Mounting the detector
1. Position drill template
2. Drill the holes, remove drill template
3. Lay cable and mount detector
PrimeScan
PrimeTec
Field width:
2.3 m x 0.2 m
at 2.2 m
1. Slide
2. Push & click!
A, C, D covered
D
A
B
C
D
Mounting holes
Hood
AIR light window
LED AIR: red (left)
Cable bushing
Button function (red)
Short Guide
Button value (black)
– The installer is responsible for carrying out a risk assessment and in-
stalling the detector and the door system correctly.
– Avoid touching any electronic components.
– The door drive and transom profile must be grounded correctly.
3. Lay and connect cable
4. Mount detector
1.
2.
C, D covered
A, B, D covered
A
B
C
D
A
LED radar: green (right)
AIR adjustment screw
Radar module
LCD display
A, B covered
B
C
D
A
B
C
* Factory setting
267087I
03/16
D
1
Advertisement

Related Manuals for Bircher Reglomat PrimeTec B


Summary of Contents for Bircher Reglomat PrimeTec B
- Page 1 – Only trained, qualified personnel may mount and start up the detector. stalling the detector and the door system correctly. – The unit may only be opened and repaired by Bircher Reglomat. – Avoid touching any electronic components. – The unit may only be operated from a safety extra-low voltage (SELV) –...
- Page 2 Electrical connections PrimeTec B / PrimeScan B Controller 1 white white – Power Supply 11.5 – 32 VDC 2 brown brown 3 green green Radar output 4 yellow Radar yellow Cable 5 grey grey – Test 6 pink Test...
- Page 4 TÜV NORD CERT, NB 0044 Signee: Head of Sales & Marketing Damian Grand / Head of Operations Daniel Nef Product variant: PrimeTec B ES, PrimeTec B ES/01, PrimeTec B ES/02, PrimeScan B Contact Identification of the year of manufacture Manufacturer...
Need help?
Do you have a question about the PrimeTec B and is the answer not in the manual?
Questions and answers