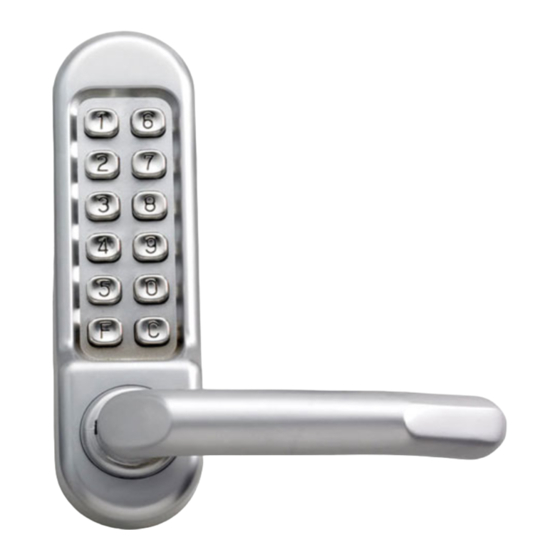
CODELOCKS CL500 Installation Manuals
Hide thumbs
Also See for CL500:
- Code change manual (2 pages) ,
- Instructions manual (7 pages) ,
- Installation instructions manual (20 pages)
Advertisement
You are currently in: Codelocks UK > CL500 Lock Installation Guide
CL500 Installation Guide
Box Contents
Check the contents of the box are correct according to the model.
Number relating to picture
1
2
3
4
5
6
7
8
9
9a
10
Tools Required
Power Drill
Drill bit 12mm
Philips screwdriver
Item
Front Plate and handle
Back Plate and handle
Neoprene seals x 2
Spindles :
a) RED and BLUE tipped spindles
b) Butterfly spindle
Fixing bolts x 2 (1 x spare)
Spare code tumblers x 2
Tweezers for code changing
Allen keys x 2
1 pair Euro profile cylinder escutcheons
1 pair Keyhole escutcheons
Adaptor kit for mortice locks with horizontal fixings
Print Page
CL500
*
*
*
*
*
*
*
*
*
*
*
*
Advertisement
Table of Contents

Summary of Contents for CODELOCKS CL500
- Page 1 You are currently in: Codelocks UK > CL500 Lock Installation Guide CL500 Installation Guide Print Page Box Contents Check the contents of the box are correct according to the model. Number relating to picture Item CL500 Front Plate and handle...
- Page 2 If you intend to change the code you should do it, if convenient, before installing the lock – see the Code Change instructions. The CL500 model is intended to replace the conventional door furniture fitted to an existing mortice latch, or an existing mortice lock which has both a spring latch and a deadbolt.
- Page 3 Fit the butterfly spindle to the inside, non-code side. 3. Check that the lever handles are correctly fitted for the hand of door. To change the hand of a lever handle, loosen the grub screw with the small Allen key, reverse the lever handle and fully tighten the grub screw. 4.


Need help?
Do you have a question about the CL500 and is the answer not in the manual?
Questions and answers