Table of Contents
Advertisement
Quick Links
Advertisement
Table of Contents

Subscribe to Our Youtube Channel
Related Manuals for Comelit 40437


Summary of Contents for Comelit 40437
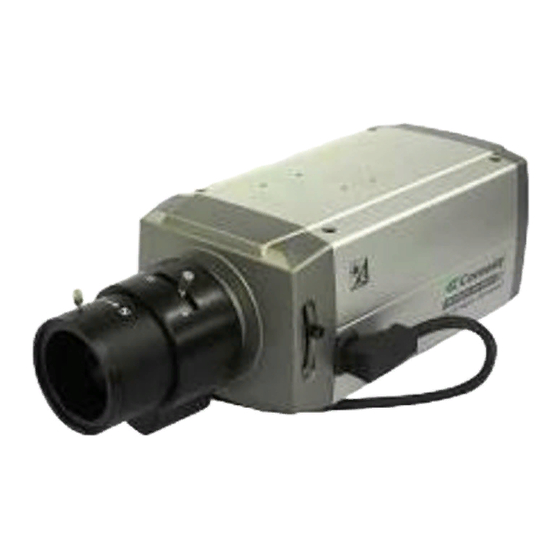
- Page 1 1/3” CCD SONY SUPERHAD HIGH RESOLUTION COLOR DAY & NIGHT CAMERA, 12V DC ART.40437-40438 Please read this manual thoroughly before use and keep it for future reference. Via Don Arrigoni, 5 24020 Rovetta S. Lorenzo (Bergamo) http://www.comelit.it – E mail: export.department@comelit.it...
-
Page 2: Warnings And Cautions
WARNINGS AND CAUTIONS: TO REDUCE THE RISK OF FIRE OR ELECTRIC SHOCK, DO NOT EXPOSE THIS PRODUCT TO RAIN OR MOISTURE. DO NOT INSERT ANY METALLIC OBJECTS THROUGH THE VENTILATION GRILLS OR OTHER OPENINGS ON THE EQUIPMENT. CAUTION: CAUTION CAUTION: TO REDUCE THE RISK OF ELECTRIC SHOCK, DO NOT REMOVE COVER(OR BACK). -
Page 3: Fcc Compliance Statement
FCC COMPLIANCE STATEMENT FCC INFORMATION : THIS EQUIPMENT HAS BEEN TESTED AND FOUND TO COMPLY WITH THE LIMITS FOR A CLASS A DIGITAL DEVICE, PURSUANT TO PART 15 OF THE FCC RULES. THESE LIMITS ARE DESIGNED TO PROVIDE REASONABLE PROTECTION AGAINST HARMFUL INTERFERENCE WHEN THE EQUIPMENT IS OPERATED IN A COMMERCIAL ENVIRONMENT. -
Page 4: Important Safeguards
IMPORTANT SAFEGUARDS 1. READ AND RETAIN INSTRUCTIONS that may be connected to the equipment. This will prevent damage to the equipment due Read the instruction manual before operating the to Lightning or power-line surges. equipment. Retain the manual for future reference. 11. -
Page 5: Table Of Contents
TABLE OF CONTENTS INTRODUCTION CAMERA OVERVIEW FUNCTION DESCRIPTION CONNECTIONS CONTENTS OF PACKAGE MANUAL IRIS LENS ADJUSTMENT VIDEO AUTO IRIS INSTALLATION & ADJUSTMENT DC AUTO IRIS LENS INSTALLATION & ADJUSTMENT BACK FOCUS ADJUSTMENT ZOOM LENS BACK FOCUS ADJUSTMENT TROUBLESHOOTING AND MAINTENANCE SPECIFICATIONS - 3 -... -
Page 6: Introduction
Auto electronic shutter [1/60(1/50) ~ 1/100,000] and manual electronic Shutter modes Auto Trace White balance modes Selectable BLC function Day & Night (True D&N – art. 40438/ Digital D/N – art. 40437) AGC (Auto Gain Control) Video out (BNC) Quick connect for video or DC lens... -
Page 7: Function Description
FUNCTION DESCRIPTION - SIDE VIEW Focus Adjusting Fixing Screw Auto Iris Lens Connector - REAR VIEW IRIS LEVEL AUTO FUNCTION SWITCH C OL OR D/ N POWER INPUT TERMINAL POWER INDICATOR VIDEO OUTPUT CONNECTOR DC 12V AC 24V 1) IRIS LEVEL Adjust the DC-type auto iris lens for an optimum picture. - Page 8 - FF (on/off) This function is used for removing flicker, when camera signal format does not coincide with power source frequency being used. - BLC (on/off) This on/off switch controls backlight compensation. When set to ON, the camera will automatically try to maintain proper exposure in the specific area even if the lighting level changes. - AGC (on/off) The auto gain control switch allows the video signals to maintain a constant level.
-
Page 9: Connections
CONNECTIONS 1) POWER INPUT TERMINAL This terminal accepts a DC 12V or AC 24V from a DC12V or AC24V +/-10% 60/50Hz +/- 1Hz power source Use Certified / Listed Class 2 power supply only. CLASS 2 In DC power, use the Adapter mode than DC 12V 500mA Capacity. + DC 12V - ~AC 24V~ 2) VIDEO OUT CONNECTOR... -
Page 10: Video Auto Iris Installation & Adjustment
VIDEO AUTO IRIS INSTALLATION & ADJUSTMENT The camera supports video-type auto iris lenses which adjust to changing light levels. Perform the following steps to install and adjust a video-type auto iris lens. 1. If necessary, solder the lens control wires to the connector supplied with The camera. -
Page 11: Dc Auto Iris Lens Installation & Adjustment
To increase the speed of the lens reaction to the changing light, set the lens adjustment to PK so the lens will adjust to the brightest or peak object in the video. Use this setting if you want to see the brightest object and not the background objects. -
Page 12: Back Focus Adjustment
4. Apply power to the camera. 5. Set the E/I dip switch (rear side on the camera) to OFF position. 6. Set the A/I dip switch (rear side on the camera) to DC position. 7. Adjust the auto iris lens for an optimum picture using the LEVEL volume on the rear side of the camera. -
Page 13: Zoom Lens Back Focus Adjustment
ZOOM LENS BACK FOCUS ADJUSTMENT The objective of back focusing a zoom lens is similar to that of a fixed focal length camera except the back focus is also adjusted to maintain the focus when "zooming" the lens in and out on a scene. -
Page 14: Specifications
SPECIFICATIONS 40438 40437 MODEL DC 12V / AC 24V 10% Power source Power 5.2 W 4.0 W Power consumption Image sensor CCD Sony Super HAD 1/3” Total pixels (H x V) 811 x 508 (NTSC) / 795 x 596 (PAL) - Page 16 Via Don Arrigoni, 5 24020 Rovetta S. Lorenzo (Bergamo) http://www.comelit.it – E mail: export.department@comelit.it...
Need help?
Do you have a question about the 40437 and is the answer not in the manual?
Questions and answers