Advertisement
Quick Links
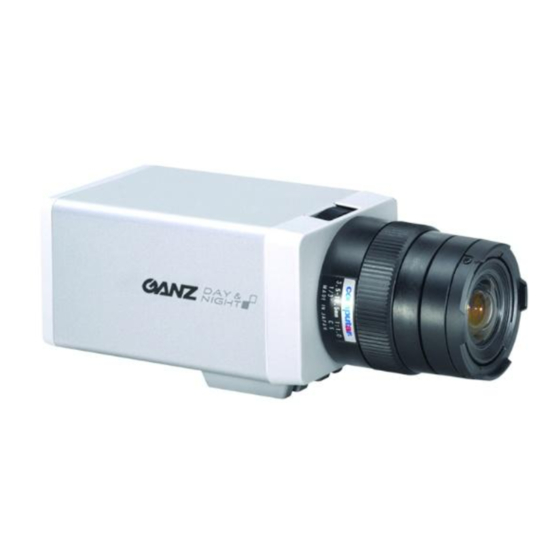
ZC-NH258P
IMAGE SENSOR CAMERA
Instructions for Use
Thank you for your purchase of this product. Before operating this product,
EN
please read this instruction manual carefully. After you have read this manual,
store it in a safe place for future reference.
Спасибо, что Вы выбрали нашу продукцию. Перед началом
RU
эксплуатации, пожалуйста, прочитайте внимательно данную инструкцию.
После прочтения сохраняйте её в надежном месте. Возможно, она Вам
ещё понадобится.
ВИДЕОКАМЕРА
Инструкция по эксплуатации
Advertisement

Subscribe to Our Youtube Channel
Related Manuals for Ganz ZC-NH258P


Summary of Contents for Ganz ZC-NH258P
- Page 1 ZC-NH258P IMAGE SENSOR CAMERA ВИДЕОКАМЕРА Instructions for Use Инструкция по эксплуатации Thank you for your purchase of this product. Before operating this product, please read this instruction manual carefully. After you have read this manual, store it in a safe place for future reference.
- Page 2 English Disposal of your old appliance When this crossed-out wheeled bin symbol is attached to a product it means the product is covered by the European Directive 2002/96/ EC. All electrical and electronic products should be disposed of separately from the municipal waste stream via designated collection facilities appointed by the government or the local authorities.
- Page 3 Cautions (GB) Power supply (1) Use only with a 24 V AC power supply marked class 2 or +12 V DC power supply. (2) Be sure to connect each lead to the appropriate terminal. Incorrect connection may cause a malfunction and/or damage to the video camera. Operating and storage locations (1) Whether or not the camera is turned on, do not aim it at the sun or other extremely bright objects.
- Page 4 Features ■ 1/3-type CCD interline transfer high resolution ■ Compact design CCD (540 TV lines or more horizontal) ■ Automatically switchable 12 V DC/24 V AC ■ Incorporation of digital signal processing 1С ■ Electric iris function ■ High-speed Day & Night mode (color/mono- ■...
- Page 5 External Dimensions Внешние размеры External dimensions (including connectors), in mm Внешние размеры (с коннекторами) в мм. CS Mount standard flange surface Стандартное крепление объектива CS 1/4-inch, 20 UNC (Tripod thread) 1/4" , 20 UNC (Резьба под кронштейн)
-
Page 6: Product Specifications
Product Specifications ZC-NH258P Video signal system Video output 1.0 V(p-p) /75 Ohm. Scanning system 2:1 interlace Resolution (horizontal TV line) F1.2 50 IRE 0.08lx (Night mode, B/W) Minimum F1.2 30 IRE 0.04lx (Night mode, B/W) Illumination With IR illumminance 0.00lx (Night mode, B/W) -
Page 7: Технические Характеристики
Технические характеристики ZC-NH258P Стандарт видео Выход видео 1 В(п-п) /75 Ом Система сканирования 2:1 чересстрочная Разрешение (ТВЛ по горизонтали) F1.2 50 IRE 0,08 люкс (Ночной режим, ч/б) Минимальная F1.2 30 IRE 0,04 люкс (Ночной режим, ч/б) освещенность С ИК освещением... -
Page 9: Description Of Functions
Description of functions Flange back adjustment wheel If the focus needs to be adjusted after the lens has been mounted, loosen the flange back locking screw (9) and rotate the adjustment wheel to adjust. DC iris level adjust POT Adjust DC iris level manually. WB (White Balance) switch AWB : Will set fixed white balance. -
Page 10: Описание Функций
Описание функций Колесо подстройки заднего фокуса Если после установки объектива необходимо подстроить задний фокус, ослабьте фиксирующий винт (9) и настройте задний фокус, вращая колесо. Потенциометр подстройки уровня автодиафрагмы DC Настройте вручную яркость изображения. Переключатель WB (баланс белого) AWB : Будет установлен фиксированный баланс белого цвета. ATW : Баланс... - Page 11 Camera mounting Установка камеры Moving the tripod set base plate Перемещение пластины крепления кронштейна Bottom attachment Крепление кронштейна снизу Top attachment Крепление кронштейна сверху...
- Page 12 ВНИМАНИЕ: Пластина крепления кронштейна может быть перемещена путем выкручивания двух удерживающих болтов и последующего ее перемещения наверх (или вниз) камеры. Не используйте никакие винты, кроме тех, которыми крепится пластина к камере. Использование более длинных болтов может повредить камеру www.cbc.ru www.ganz.jp...
Need help?
Do you have a question about the ZC-NH258P and is the answer not in the manual?
Questions and answers