
Related Manuals for Rear view safety RVS-83112-BA


Summary of Contents for Rear view safety RVS-83112-BA
-
Page 1: Instruction Manual
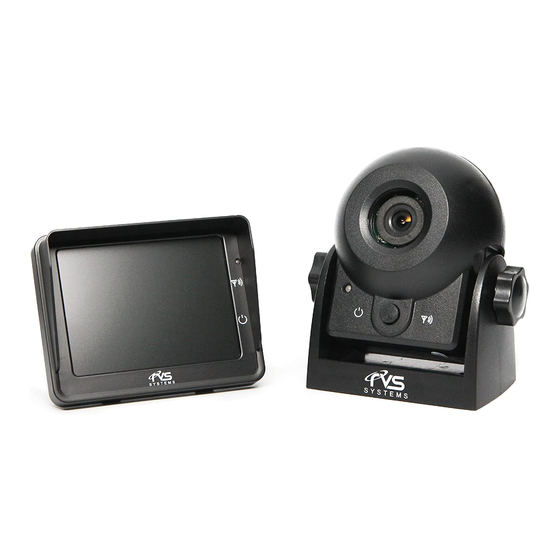
Instruction Manual Digital Wireless Hitch Camera RVS-83112-BA Rear View Safety, Inc. © 2016... -
Page 2: Table Of Contents
Installation......9 Pairing......10 Rear View Safety... -
Page 3: Introduction
NOTE! Please read all of the installation instructions carefully before installing the product. Improper installation will void manufacturer’s warranty. Congratulations on purchasing a Rear View Backup Camera System! With this manual you will be able to properly install and operate the unit. The Backup Camera System is intended to be installed as a supplement aid to your standard rear view mirror that already exists in your vehicle. -
Page 4: Safety Information
Rear View Camera System. If you back up while looking only at the monitor, you may cause Rear View Safety... - Page 5 INSTALLATION: • Electric shock or product or disconnected wire may cause a malfunction may occur if this fire. product is installed incorrectly. • While installing the Rear View System be careful with the wire • Use this product within positioning in order to avoid wire the voltage range specified.
- Page 6 IN NO EVENT SHALL SELLER OR MANUFACTURER BE LIABLE FOR ANY DIRECT OR CONSEQUENTIAL DAMAGES OF ANY NATURE, OR LOSSES OR EXPENSES RESULTING FROM ANY DEFECTIVE PRODUCT OR THE USE OF ANY PRODUCT. Rear View Safety...
-
Page 7: Before Beginning Installation
Before Beginning Installation Place monitor away from direct sunlight, heat, and water/moisture. This product is made with intricate electronic components. Handle with care. Improper use may cause a malfunction. Firmly fix the lighter plug to cigarette lighter. Do not install the monitor where it may obstruct drivers view or an air bag. -
Page 8: Features
Waterproof Camera (IP68 Rating) - Can withstand all weather elements. Six Infra-red Lights enable 30ft of vision on the darkest night. Built-in foam around lens eliminates infra-red glare. Rechargeable Battery – Recharge battery with included USB cable. Rear View Safety... -
Page 9: Installation
Installation Place camera above hitch ball and push power button for 2 seconds on camera until you see a steady blue light (to power off camera hold power button down for 2 seconds) Camera and Monitor Placement Monitor (plugs into cigarette lighter) Place between ball or behind trailer... -
Page 10: Pairing
1) Turn on camera. 2) Hold power button on camera for 6 seconds until led flashes blue. 3) Turn on monitor. 4) Push the pair button on monitor until PAIR OK is displayed. 5) Restart monitor. System is now PAIRED. Rear View Safety... - Page 11 MONITOR SPECS display 3.5”LCD system pal/ntsc color system display format display contrast 200:1 display brightness 300 cd/m2 viewing angle U: 10° D: 30° L/R: 45° display color 262k input voltage dc 9v - 24v power consumption <2w pixel count 480 x 234 respond time 30 ms CAMERA SPECS...
Need help?
Do you have a question about the RVS-83112-BA and is the answer not in the manual?
Questions and answers