ClearOne DIALOG 20 Installation Manual
Antenna installation guide
Hide thumbs
Also See for DIALOG 20:
- User manual (75 pages) ,
- Quick start manual (14 pages) ,
- Installation manual (8 pages)

Related Manuals for ClearOne DIALOG 20


Summary of Contents for ClearOne DIALOG 20
- Page 1 DIALOG 20 Wireless Microphone System ® Antenna Installation Guide www.ClearOne.com...
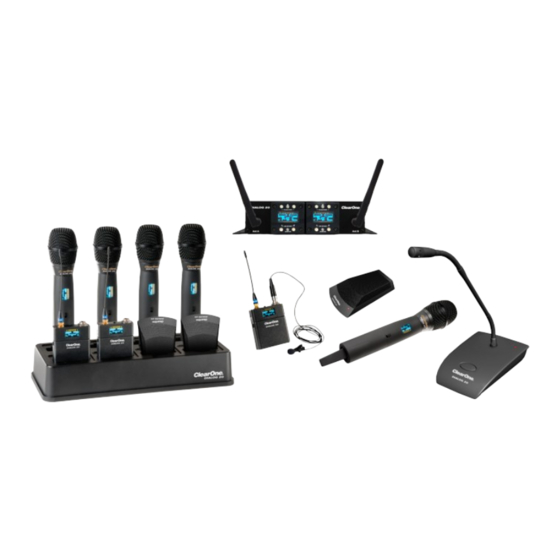
- Page 2 The system consists of a Receiver with two, built-in, passive antennas. When using a ClearOne Antenna Cable Kit, the antennas can be extended to either 10’ or 25’ lengths in either direction easily accommodating most conference requirements and room types.
- Page 3 • Tilt the antennas slightly outward. Antenna Cable Kits: DIALOG 20 Antenna Cable Kits are available in two lengths. The DIALOG 20 Antenna Cable kit can be used to extend the passive, Plenum-rated, dipole antennas that are included with the DIALOG 20 Receiver.
- Page 4 _____________________________ DIALOG ClearOne ® ® Confirm the Box Contains the Following: #8 - 15 x 1-3/4” Phillips-Drive Wood Screw TNC Panel Mount Antenna Extension Qty. 4 Connector Bracket Qty. 2 Qty. 2 Hollow Wall Anchor 10ft or 25ft 5/8” - 3/4” Grip Range Plenum Rated Qty.
- Page 5 _____________________________ DIALOG ClearOne ® ® Hollow-Wall Antenna Installation: Determine required mounting location. Fig. 2 Using the antenna extension brackets or Wall the templates , mark the two (2) Anchor (fig. 1; Pg. 2) mounting hole locations. Drill two 5/16” (8mm) pilot holes (Fig 2) Fig.
- Page 6 _____________________________ DIALOG ClearOne ® ® Wood-Stud Antenna Installation: Determine required mounting location. Using the antenna extension bracket or the template , mark two (fig. 1; pg. 2) (2) mounting hole locations. Drill two 7/64” (2.5mm) pilot holes to a depth of 1-3/4” (45mm).
- Page 7 Wall Mounted of both sides of the TNC Panel Mount Connector (Fig. 8). Attach the other end of the extension cable to the DIALOG 20 Receiver and secure by using a non-conductive adhesive on the threads of the Female TNC Connector.
- Page 8 Other product names may be registered trademarks of their respective owners who do not necessarily endorse ClearOne or ClearOne’s products. All rights reserved. Information in this document subject to change without notice. © 2017 ClearOne. DOC-0307-001 DIALOG20 ANTENNA INSTALLATION GUIDE V1.1...
Need help?
Do you have a question about the DIALOG 20 and is the answer not in the manual?
Questions and answers