Table of Contents
Advertisement
TWO-STAGE CONDENSING GAS FURNACES WITH FIXED & VARIABLE SPEED BLOWERS - 95.1 % AFUE
Installation Instructions
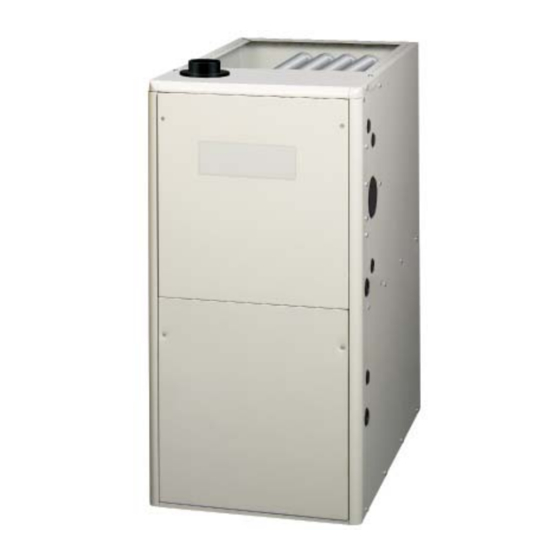
*TC UPFLOW/HORIZONTAL MODEL
WARNING:
FIRE OR EXPLOSION HAZARD
• Failure to follow safety warnings exactly
could result in serious injury or property
damage.
• Installation and service must be performed
by a qualifi ed installer, service agency or the
gas supplier.
• Do not store or use gasoline or other
fl ammable vapors and liquids in the vicinity
of this or any other appliance.
WHAT TO DO IF YOU SMELL GAS
• Do not try to light any appliance.
• Do not touch any electrical switch; do not
use any phone in your building.
• Leave the building immediately.
• Immediately call your gas supplier from a
neighbor's phone. Follow the gas supplier's
instructions.
• If you cannot reach your gas supplier, call
the fi re department.
DO NOT DESTROY THIS MANUAL. KEEP IN A SAFE PLACE FOR FUTURE REFERENCE.
*TL DOWNFLOW MODEL
AVERTISSEMENT
RISQUE D'INCENDIE OU D' EXPLOSION
• Le non-respect des avertissements de
sécurité pourrait entraîner des blessures
graves, la mort ou des dommages matériels.
• L'installation et l'entretien doivent être
effectués par un installateur qualifié, un
organisme de service ou le fournisseur de
gazstaller, service agency or the gas supplier.
• Ne pas entreposer ni utiliser de l'essence ni
d'autres vapeurs ou liquides infl ammables
dans le voisinage de cet appareil, ni de tout
autre appareil.
QUE FAIRE S'IL Y A UNE ODEUR DE GAZ
• Ne pas tenter d'allumer aucun appareil.
• Ne toucher à aucun interrupteur électrique;
n'utiliser aucun téléphone dans le bâtiment.
• Évacuer l'immeuble immédiatement.
• Appeler immédiatement le fournisseur de
gaz en employant le téléphone d'un voisin.
Respecter à la lettre les instructions du
fournisseur de gaz.
• Si personne ne répond, appeler le service des
incendies.
Advertisement
Table of Contents


Need help?
Do you have a question about the *TC and is the answer not in the manual?
Questions and answers