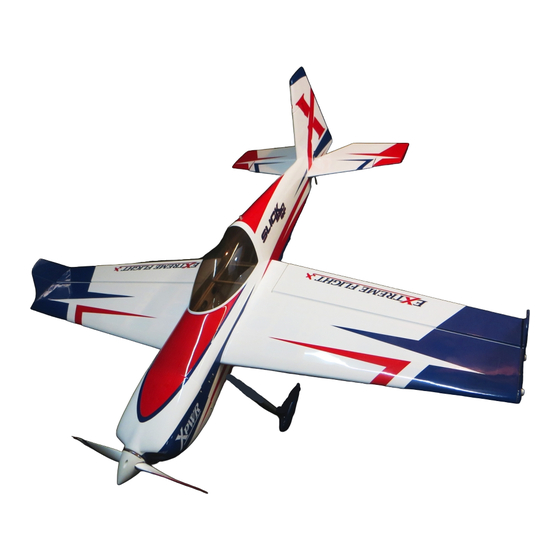
Summary of Contents for Extreme Flight slick 580 exp
- Page 2 If you need to repair any covering during the life of your aircraft, the colors are: Extreme Flight RC, Ltd. guarantees this kit to be free of defects in materials and workmanship for a period of 30 DAYS from the Yellow scheme: Bright Yellow, Black and Deep Blue in the Ultracote system.
- Page 3 Locate the carbon fiber landing gear. Note that it Locate the main wheels, the main wheels hardware has a front and a rear, it is designed to sweep for- pack, and the wheel pants hardware pack. ward toward the nose of the airplane. Locate the Main Landing gear hardware pack.
- Page 4 Increase the drill size until you can press the blind Once all six hinges have been lubricated, mix up a nut into the hole as shown. Use the 3mm screw and batch of 30 minute epoxy and place several large washer to draw the blind nut into the hole part way drops of glue into each of the hinge holes in the and the spikes on the blind nut engage the fiber-...
- Page 5 Once the hinges are cured, locate the hardware Note that the 74” Slick 580 EXP uses two different for the elevator as shown. We will be installing the types of ball joints. One is symmetrical and is used control horn, and we will install all remaining horns on the fiberglass control horns i the surfaces.
- Page 6 Clean any excess epoxy elevator servo. Install the servo into the fuselage. We with alcohol and a rag. Allow the epoxy to cure. recommend Extreme Flight RC socket head servo screws. Locate the balsa block you previously removed The Slick features hooks to secure your servo lead from the tail.
- Page 7 Install the servo arm and pushrod. We recommend Extreme Flight RC aluminum servo arms. Pictured is a 1.5” arm, but we recommend a 2.0” arm for max- imum options in control throw. Install the pushrod with 3mm hanrdware, note that you must use either a nyloc nut or loctite on the screw which attaches The rudder horn is double-sided.
- Page 8 X shape. Install your rudder servo cable ends into the nylon ball links. and arm as shown. Pictured is the Extreme Flight RC 4” aluminum arm, our recommendation. Install the front cable ends and attach to servo arm, as shown.
- Page 9 The firewall of the Slick 580 EXP is pre-marked The bottom of the motor box on your Slick is design for either the XPWR 30CC brushless motor or the witha custom mounting area for Castle Creations DA-35 gasoline engine.
- Page 10 Install the cowling by sliding it up onto the lower Assemble the throttle pushrod as shown. hooks, from the bottom, and installing the two cowl screws as shown. Assemble the throtle pushrod connector onto the Alternately, to install a DA-35 engine, drill the fire- throttle servo arm so that it can spin freely.
- Page 11 On either side of the motor box is a mounting location for your ignition box. Place vibration-ab- sorbing foam in-be- tween the box and the aircraft. We recommend an Ex- Ther are a variety of choke linkages possible on the DA-35. Here, we illustrate a forward choke, accessed treme Flight RC Flowmas- through the cooling hole on the front of the cowling.
- Page 12 Install an Extreme Flight RC fuel dot as shown into Use two6” (150mm) servo extensions for the ai- the fuselage side. leron leads inside the fuselage. Your Slick includes these mounting locations for the female servo con- nectors. This is a typical overflow vent outlet location on the Mount your receiver, and tie all wires to prevent bottom of the fuselage.
- Page 13 Again, this is just a starting point. Adjust to your liking. Thanks again for your purchase of the Extreme Flight RC 74” Slick 580 EXP ARF. I hope you enjoy assembling and flying yours as much as I have mine.
- Page 14 Copyright 2017 Extreme Flight RC...


Need help?
Do you have a question about the slick 580 exp and is the answer not in the manual?
Questions and answers