GeoMax Zenith35 Pro Series Installation Manual
Gnss
Hide thumbs
Also See for Zenith35 Pro Series:
- Quick manual (156 pages) ,
- User manual (34 pages) ,
- First steps (21 pages)

Related Manuals for GeoMax Zenith35 Pro Series


Summary of Contents for GeoMax Zenith35 Pro Series
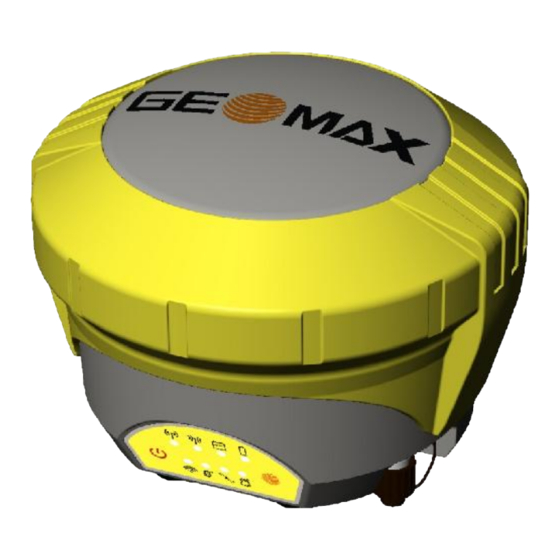
- Page 1 GeoMax GNSS Zenith35 Pro Series Installation Guide Version 2.00 English - 1 - Zenith35 Pro GNSS Series Installation Guide © 2016 GeoMax AG, Widnau Switzerland...
-
Page 2: Table Of Contents
Search your Zenith35 receiver ..............5 Connection to your PC ................6 Start the GeoMax Z35WebManager ............. 6 Change the language of the GeoMax Z35WebManager ......... 7 Firmware upload ..................7 3.6.1 Checking the receiver firmware version 3.6.2 Retrieving latest firmware versions 3.6.3 Zenith35 Pro Firmware update... -
Page 3: Introduction
User Manuals. The User Manual for the GNSS receiver is available from the Zenith CD and also from the GeoMax Partner Area. The Getac PS336 User Manual can be downloaded from Getac’s website, at http://en.getac.com/support/downloads.html. -
Page 4: General Preparation
While charging, the circled indicator on the front of the PS336 glows amber. Do not disconnect from power until the indicator glows green, indicating that the battery is fully charged. - 4 - Zenith35 Pro GNSS Series Installation Guide © 2016 GeoMax AG, Widnau Switzerland... -
Page 5: Preparation Of The Gnss Receiver
ANAGER The GeoMax Z35WebManager (web application) is comparable to the conventional “GeoMax Assistant” that allows to configure and to modify multiple settings at the Zenith35 Pro receiver. Furthermore data can be downloaded or receiver, radio, Measurement Engine (ME) and/or GSM firmware can be uploaded. -
Page 6: Connection To Your Pc
As soon as you are connected to the receiver, start the web browser (e.g. Internet Explorer, Firefox, Chrome…) and insert the following IP address in your browser: http://192.168.10.1 A login-window pops up. - 6 - Zenith35 Pro GNSS Series Installation Guide © 2016 GeoMax AG, Widnau Switzerland... -
Page 7: Change The Language Of The Geomax Z35Webmanager
HANGE THE LANGUAGE OF THE ANAGER Go to the top-right corner in The GeoMax Z35WebManager and open the selection list to see the available languages (click on “English”). Once the preferred language is selected, the Z35WebManager will be automatically displayed in the chosen language. -
Page 8: Retrieving Latest Firmware Versions
If the firmware is older than the one downloaded from the GeoMax download Area it is recommended to perform an update. 3.6.2 Retrieving latest firmware versions Visit GeoMax Positioning website select Downloads option (http://www.geomax-positioning.com/Downloads.htm) to check for the current GNSS firmware versions. -
Page 9: Changing The Uhf Radio Settings
Forward Error Correction and transmission power (in base mode). Please click Save Settings to update the defined radio configuration onto the receiver. - 9 - Zenith35 Pro GNSS Series Installation Guide © 2016 GeoMax AG, Widnau Switzerland... -
Page 10: Installation Of Licences
FFNRNNTVN GPS, GLONASS, BeiDou, Galileo, all Frequencies, 20 Hz The licence key file can be installed onto the receiver by using GeoMax Z35WebManager. With the receiver connected to the GeoMax Z35WebManager, select option Updates → License- Key File. Choose the key file (for example L_xxx.key where xxx is the receiver serial number) and click Upload. -
Page 11: Connecting To The Pc Via Usb
REPARATION OF THE ANDHELD 4.1 S ETTING UP INDOWS OBILE Once the battery is fully charged or while connected to AC power, press the power button - 11 - Zenith35 Pro GNSS Series Installation Guide © 2016 GeoMax AG, Widnau Switzerland... -
Page 12: Connecting To The Pc
AYOUT Download the latest version of GeoMax FieldGenius/Layout Pro from GeoMax Website at http://www.geomax-positioning.com/Downloads.htm?cid=15613 Here the latest installation version and Release Notes of GeoMax FieldGenius/Layout Pro is available. Download the Devices Installation and save onto your PC. - 12 -... -
Page 13: Registration Of Fieldgenius/ Layout Pro
With the handheld connected to your PC, run the installer file geomax-fieldgenius- devices-v.v.v.v-xxu.exe where v.v.v.v is the version number and xx the language. The PC will attempt to connect to the handheld and install the FieldGenius/ Layout Pro software. Follow the instructions of the Windows installation wizard. At the Device Selection window, select the data collector type as Windows Mobile 6.1 to 6.5 or higher. - Page 14 Note: Please make certain that the Device ID is entered correctly first time, since an activation key cannot be generated again with a different ID. - 14 - Zenith35 Pro GNSS Series Installation Guide © 2016 GeoMax AG, Widnau Switzerland...
-
Page 15: Connection To The Gnss Receiver
The screens that follow are used to set the default settings for this project. - 15 - Zenith35 Pro GNSS Series Installation Guide © 2016 GeoMax AG, Widnau Switzerland... - Page 16 At the Antenna Height panel, choose the Model as Zenith35 Pro. The Measured Height is the default length of the telescopic pole. At the Model & Communication panel, select the Make as GeoMax, Model as Zenith35 Pro and Port as Bluetooth. Tap Bluetooth Search to find all available devices and choose the required receiver by its serial number.
- Page 17 MiFi device - GSM Module: For network rover using the internal GSM - UHF Radio Module: When using the internal radio with base or rover mode - 17 - Zenith35 Pro GNSS Series Installation Guide © 2016 GeoMax AG, Widnau Switzerland...
- Page 18 For further information on using FieldGenius/ Layout Pro for GNSS measurements, refer to the FieldGenius/ Layout Pro instruction manual in the GPS REFERENCE chapter. - 18 - Zenith35 Pro GNSS Series Installation Guide © 2016 GeoMax AG, Widnau Switzerland...
-
Page 19: Equipment Setup
When working with the UHF radio, ensure the correct frequency and protocol are set as described in section 3.8. Attach a radio antenna suitable for the set frequency. The following UHF antennas can be ordered from GeoMax: - 19 -... -
Page 20: Base Setup
For long range RTK, a high powered radio can be used at the base station. Available from GeoMax is the 789359 Satel EASyPro 35W radio. This radio is connected to the receiver and an external power supply, with the 792382 ZDC221 cable. The cable needs to be connected to the Lemo port of the receiver.
Need help?
Do you have a question about the Zenith35 Pro Series and is the answer not in the manual?
Questions and answers