Table of Contents
Advertisement
Quick Links
Advertisement
Table of Contents

Subscribe to Our Youtube Channel
Related Manuals for GeoMax Zenith60 Series


Summary of Contents for GeoMax Zenith60 Series
- Page 1 Installation guide GeoMax Zenith60 Series English Version 1.0...
-
Page 2: Table Of Contents
Connect to your Zenith60 receiver via WiFi ..........4 Connect to your Zenith60 via USB cable ............ 5 Start the GeoMax Z60 WebManager ............6 Change the language of the GeoMax Z60 WebManager ......... 6 Menu functions ..................7 Firmware upload ................... 7 Changing the UHF radio settings .............. -
Page 3: Introduction
GNSS receiver. The latest versions of GeoMax documents and software referred to in this document are available from the Technical Library of the GeoMax Partner Area in the Zenith60 folder at: www.geomax-positioning.com/partner-area Only the tasks required for the initial setup of a new Zenith60 system are described in this document. -
Page 4: Preparation Of The Gnss Receiver
REPARATION OF THE GNSS RECEIVER Introduction to the GeoMax Zenith60 WebManager The GeoMax Z60 WebManager (web application) can be used to set up, configure and operate the instrument, download data from the instrument and microSD card, and upload licence keys and firmware. -
Page 5: Connect To Your Zenith60 Via Usb Cable
Once the serial number of the sensor is visible in the Wireless Network Connection list, select it and click “Connect”. The Zenith60 and your device will be connected. Connect to your Zenith60 via USB cable Locate the included cable (ZDC509) in the container and plug it into the corresponding port of the Zenith60. -
Page 6: Start The Geomax Z60 Webmanager
Change the language of the GeoMax Z60 WebManager Go to the top-right corner in the GeoMax Z60 WebManager and open the selection list to see the available languages (click on the dropdown menu under “English”). Once your preferred language... -
Page 7: Menu Functions
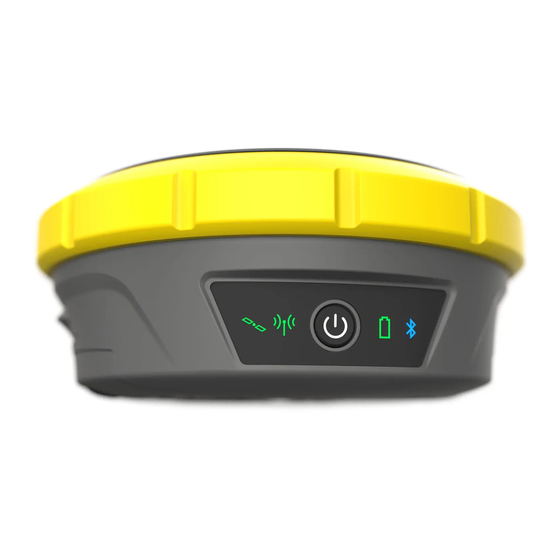
Firmware upload Before using the receiver, it is recommended that you check the firmware version currently loaded on it. Once connected with the GeoMax Z60 WebManager, the installed firmware version can be seen under the Status Info → Hardware Info tab. - Page 8 If the installed firmware is older than the latest one available in the GeoMax Partner Area, it is recommended to perform an update: Download the latest firmware file and store it on your PC or WiFi-enabled device. Go to the Updates tab in the GeoMax Z60 WebManager. Click ‘Choose File’ to select the latest firmware file from the saved location on your device and click ‘Upload’.
-
Page 9: Changing The Uhf Radio Settings
Once the sensor restarts (as seen by the LEDs turning off and back on), the firmware should be installed. Please re-connect the receiver to the GeoMax Z60 WebManager. Check that the new firmware version is now displayed in the Hardware Info tab. -
Page 11: Installation Of Licenses
Data Management tab and select the file that you want to download. Both .DAT and Rinex files can be downloaded directly. The raw data is then transferred from the instrument to the PC where it can be processed using the GeoMax X-PAD Fusion office software. -
Page 12: Disconnecting From The Pc
3.11 Disconnecting from the PC Once the receiver configuration is complete, it can be disconnected from the PC. Simply close the GeoMax Z60 WebManager and disconnect from the WiFi-connection or unplug the cable from both the instrument and the PC. - Page 13 Choose the second option, “Browse my computer for drive software”. Choose the second option, “Let me pick from a list …”. Scroll down (or press “n”) and choose “Network adapters”.
- Page 14 Left box: scroll down (or press “m”) and choose “Microsoft”. Right box: scroll down (or press “u”) and choose “USB RNDIS Adapter”. Accept the warning by pressing “Yes”. Windows updates (assigns) the driver automatically.
-
Page 15: Equipment Setup
The instrument will automatically be recognized correctly as “USB RNDIS” network adapter. QUIPMENT SETUP Setting Up as a Real-Time Rover The following equipment setup is used for real-time rover. - Page 16 1. Attach the field controller to the pole. Clip the field controller into the holder and lock it by tightening the screw on the holder. 2. Turn on the field controller. 3. Insert the batteries into the GNSS smart antenna. 4.
- Page 17 1.0.0en © 2021 GeoMax AG is part of Hexagon AB. All rights reserved. GeoMax AG Espenstrasse 135 9443 Widnau Switzerland geomax-positioning.com...
Need help?
Do you have a question about the Zenith60 Series and is the answer not in the manual?
Questions and answers