Table of Contents
Advertisement
Quick Links
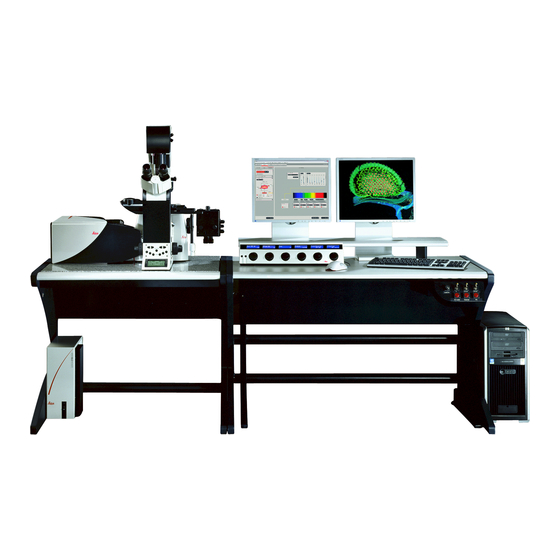
Title: Leica SP5 Confocal User Manual
Date of first issue: 23/10/2015
For assistance or to report an issue
Office: CG07 or 05
Email:
Igmm-imaginghelpdesk@igmm.ed.ac.uk
Website:
www.igmm-imaging.com
Download a PDF copy of manual:
\\igmm-smbhost\microscope-users\microscope user manuals\Leica
SP5
Facility Usage Policy
1. You must have the relevant Risk Assessment/COSHH form for the
work you are undertaking before using imaging facility resources
2. Users must be trained before using facility equipment
3. Please leave the microscope clean and tidy for the next user
4. Please report any issue, even if it seems minor, to facility staff
5. Any clinical waste must be placed in the orange bins provided
Date of review:
1
Version: Admin
Advertisement
Table of Contents

Related Manuals for Leica SP5 confocal


Summary of Contents for Leica SP5 confocal
- Page 1 Title: Leica SP5 Confocal User Manual Date of first issue: 23/10/2015 Date of review: Version: Admin For assistance or to report an issue Office: CG07 or 05 Email: Igmm-imaginghelpdesk@igmm.ed.ac.uk Website: www.igmm-imaging.com Download a PDF copy of manual: \\igmm-smbhost\microscope-users\microscope user manuals\Leica Facility Usage Policy 1.
-
Page 2: Table Of Contents
Table o f C ontents System S tartup .......................... 3 System S hutdown ........................... 4 Mounting a s ample ........................ 5 Finding ... -
Page 3: System S Tartup
System S tartup * See the labelled image below for location of each switch 1. Mercury-Metal Halide Fluorescence Lamp 2. Green confocal control switches found on the right side of the desk (from left to right) -PC/Microscope, Scanner Power and Laser Power Turn the Laser Emission key to the ON position 3. -
Page 4: System S Hutdown
System S hutdown 1. Check the booking system to see if anyone is booked on the system within the next hour. If not shutdown. 2. Select Configuration>Laser and drop the Argon slider back to standby 3. Close the LAS-AF program and shut down the PC 4. -
Page 5: Mounting A S Ample
Mounting a s ample Ensure the correct stage insert is mounted (see facility staff if unsure) Remember to invert your slide so that the cover glass is the closest surface to the lens Select the objective lens either using the two buttons behind the right focus wheel or in the software within the Acquire tab then select the Objective text to see a drop down list of lenses Use the joystick to move the stage if necessary. -
Page 6: Configuration M Enu
zero. Pressing the lower Z set button drops the lens to its lowest position. This is useful when you want to change to a different cover glass on the same slide if you’re using an oil immersion lens. Dropping the lens is always good practice when changing slides too. - Page 7 ...
-
Page 8: Scanning A L Ive I Mage
Scanning a l ive i mage 1. To see a continuously scanned live image of the sample press the Live button at the bottom of the screen. You can change any of the capture parameters with or without Live mode enabled. -
Page 9: Setting U P S Equential S Canning ( Recommended)
Setting u p S equential S canning ( Recommended) 1. From the left hand margin of the screen under Acquisition Mode select the Seq button to open the sequential mode window 2. Select the + button which will add a scan. Each scan corresponds to a single laser/detector combination. -
Page 10: Image O Ptimisation P Rocedure
Acquisition Settings 1. Select the XY window in the left hand margin 2. Format changes the size of the image in pixels. For better xy sampling choose 1024x1024. For speed choose 512x512. 3. Speed determines how long the laser spot dwells over any particular part of the sample. -
Page 11: Capturing A M Ulti--Wavelength 2 D I Mage ( Optical S Lice)
Save All option at the bottom of the experiment window. 5. Images are stored as Leica LIF format by default which can be opened with FIJI’s Bio-Formats plugin. -
Page 12: Capturing A M Ulti--Wavelength 3 D I Mage ( Z S Tack)
Capturing a M ulti-‐Wavelength 3 D I mage ( Z S tack) 1. Adjust scan parameters as for 2D image capture. 2. When optimising the image intensity for a z stack, move through focus while live scanning to find the focal plane with the highest signal intensity. - Page 13 Capturing a Tile Scan Image (Image Stitching) 1. Enable the tile scan option in the Acquisition mode window. The tile scan window will appear. 2. Here you can see an image of the stages travel range. The cross hairs point to a small square box which represents your current XY position.
-
Page 14: Acquiring I Mages A T D Ifferent S Tage P Ositions ( Mark A Nd F Ind)
Acquiring I mages a t d ifferent s tage p ositions ( Mark a nd F ind) 1. Enable the Mark and Find option in the Acquisition Mode window. The mark and find window will appear. 2. -
Page 15: Appendix
Appendix Adding a scale bar to an image 1. On an open image select the Scale icon from the set of tools left of the displayed image 2. Hold the left mouse button and drag across the image to draw a scale 3. -
Page 16: Frap
FRAP ... -
Page 25: Fret A Cceptor P Hotobleaching
FRET A cceptor P hotobleaching ... -
Page 32: Fret S Ensitised E Mission
FRET S ensitised E mission ... -
Page 42: Spectral I Maging
Spectral I maging ...
Need help?
Do you have a question about the SP5 confocal and is the answer not in the manual?
Questions and answers