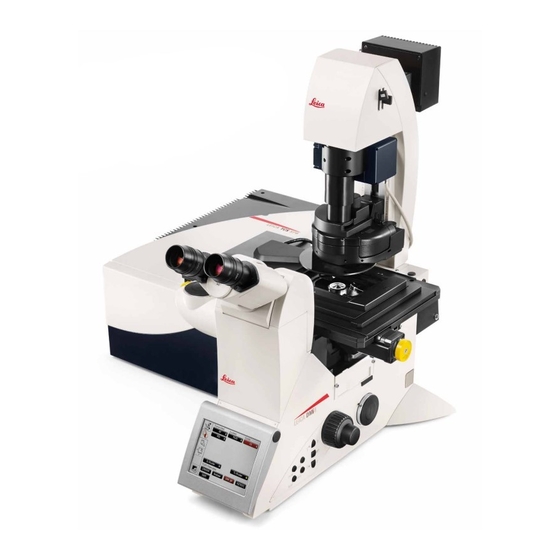
Leica SP8 Confocal Quick Start Manual
Hide thumbs
Also See for SP8 Confocal:
- Training manual (26 pages) ,
- Manual (12 pages) ,
- Manual (15 pages)
Advertisement
1.
Initial Set-up
~ Log in to NUCore and start a reservation.
~ Turn on power strip to turn on all components (Computer, Scanner power,
Laser power, Laser key). Note: Do not turn off the laser power key by itself!!
~ Log into computer, if necessary (password: user).
~ Launch LAS software. Select Resonant Scanning, if applicable.
~ Ensure 10x objective is in place and say "OK" when dialog appears.
~ Navigate to Laser panel (A) and select "classic" or "express" view for
your convenience.
~ Put slide on scope and set up image acquisition.
2.
Mount sample on microscope
~ Place slide on stage 'coverslip down'.
~ For transmitted light imaging: Select BF button and press TL-Shutter on LED screen. Focus on a sample.
~ For fluorescent light imaging: Select FLUO, then filter cube from buttons on LED screen, open TL-Shutter.
~ Focus on sample and find cell/region of interest. Close shutter.
3.
Confocal imaging
~ In software, navigate to
"Acquire"
(B)
tab
.
~ To set Beam Path Settings,
first activate the laser(s)
needed by clicking "ON" and
"+" (C). Set laser intensities at
0.5-2% to start.
~ Activate the HyD detector(s)
or PMT(s) by selecting the
"ON" button(s) (D). Choose a
color for the detector display
by clicking the color bar (E)
and selecting a LUT from the
window that opens.
~ To display emission peak to
guide detector settings,
choose from list of common
fluorophores (F).
Leica SP8 Confocal
Quick Start Guide
Advertisement
Table of Contents

Subscribe to Our Youtube Channel
Related Manuals for Leica SP8 Confocal


Summary of Contents for Leica SP8 Confocal
- Page 1 Leica SP8 Confocal Quick Start Guide Initial Set-up ~ Log in to NUCore and start a reservation. ~ Turn on power strip to turn on all components (Computer, Scanner power, Laser power, Laser key). Note: Do not turn off the laser power key by itself!! ~ Log into computer, if necessary (password: user).
- Page 2 ~ Place the detector bar (G) in correspondence with the fluorophore emission by sliding right or left and resizing. Repeat for each detector. ~ Click the “Live” Button to check settings. View image as intensity values by selecting the Glow (OAU) LUT with the QLUT button. ~ Adjust Smart Gain so that there are mostly orange and white pixels and minimal blue (saturated) pixels.
Need help?
Do you have a question about the SP8 Confocal and is the answer not in the manual?
Questions and answers