Table of Contents
Advertisement
Quick Links
Advertisement
Table of Contents

Summary of Contents for Humanscale eFloat
- Page 1 IN STALL AT ION IN STRUCT IO N S...
-
Page 2: Parts Required
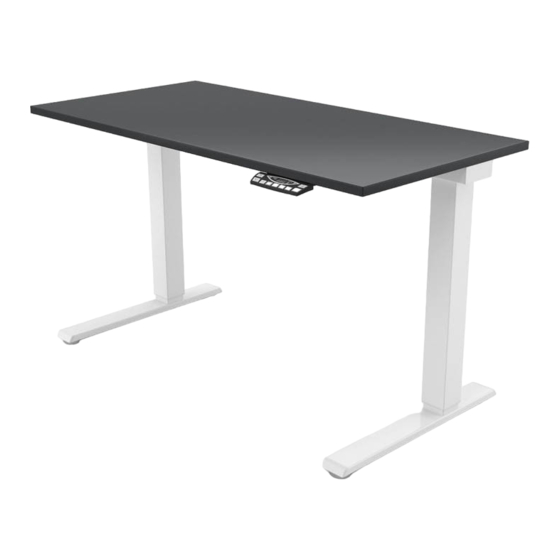
PA RT S R EQUIR ED eFloat Parts (1) Top Frame (consists of two separate weldments) (2) Legs (2) Feet (1) Smart Controller - 7 .3” (186.2 mm) x 3.9" (100.4 mm) (1) Touchpad (Analog or Digital) (1) Power cord - 78.7”(2000 mm) - Not shown... - Page 3 Do not open the table legs or control components under any circumstances. There is danger of electric shock. The eFloat table is not designed for continuous operation. Changing the desktop position without interruption for a period longer than two minutes will result in the Controller pausing operation for eighteen minutes to prevent overheating.
- Page 4 ST EP 1 Assemble LEG to TOP FRAME section Tools: 5 mm Hex Key • Thread LEG MOTOR CABLE into TOP FRAME opening followed by top of LEG until LEG rests flat against TOP FRAME mounting plate. Attach LEG to TOP FRAME using (4) M8 x 20 mm Flat Head Socket Screws.
- Page 5 • For ALL eFloat models: The maximum surface width is 72”. Do not exceed a width of 56.25” when measuring from outside of leg to outside of leg.
- Page 6 ST EP 4 (IF USING HUMANSCALE WORK SURFACE - CONT.) Mount DIGITAL TOUCHPAD (if specified) Tools: #2 Phillips Screwdriver • Line up DIGITAL TOUCHPAD with pilot holes and attach to WORK SURFACE using (4) #4.5 x 20 mm Pan Head Wood Screws. Please note that only the two forward holes are pre-drilled and the two back holes are not pre-drilled.
-
Page 7: First-Time Operation
ST EP 6 Turn table over • With assistance, flip table over so it rests on its FEET. Put table in its intended location and adjust LEVELING PADS, located under the feet (fig. E) so that table is stable and level. •... - Page 8 A N A L O G T O U C H PA D O P E R AT I O N Moving the desktop UP and DOWN • To move the table UP press and hold the UP BUTTON. Desktop will begin moving upward. Release button once the desired desktop height is reached.
-
Page 9: Storing A Position
D I G I TA L T O U C H PA D B A S I C F U N C T I O N S Moving the desktop UP and DOWN • To move the table UP press and hold the UP BUTTON. Desktop will begin moving upward. Release button once the desired desktop height is reached. - Page 10 D I G I TA L T O U C H PA D A D VA N C E D F U N C T I O N S ( C O N T. ) Changing the desktop height displayed This function enables you to change the height shown on the display, but not the actual position of the desktop.
-
Page 11: Troubleshooting
T R O U B L E S H O O T I N G Leg(s) Not Working Possible Cause Remedy Power cord is not connected Plug the power cord into the Controller. Reset table. Leg(s) are not connected Plug the motor cables into the Controller and the legs. Reset table. Touchpad is not connected Plug the Touchpad into the Controller. -
Page 12: T R O U B L E S H O O T I N G ( C O N T. )
T R O U B L E S H O O T I N G ( C O N T. ) Error messages on the handswitch display: (CONT.) Display Codes - Digital Memory Touchpad Code Description Remedy Internal Error Channel 1 Unplug the power cord for a minute.


Need help?
Do you have a question about the eFloat and is the answer not in the manual?
Questions and answers